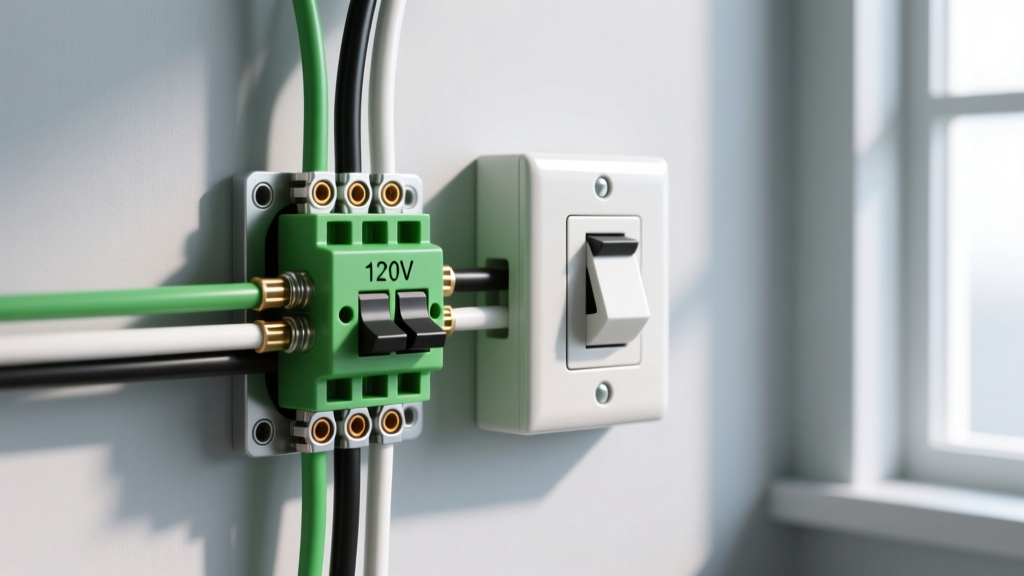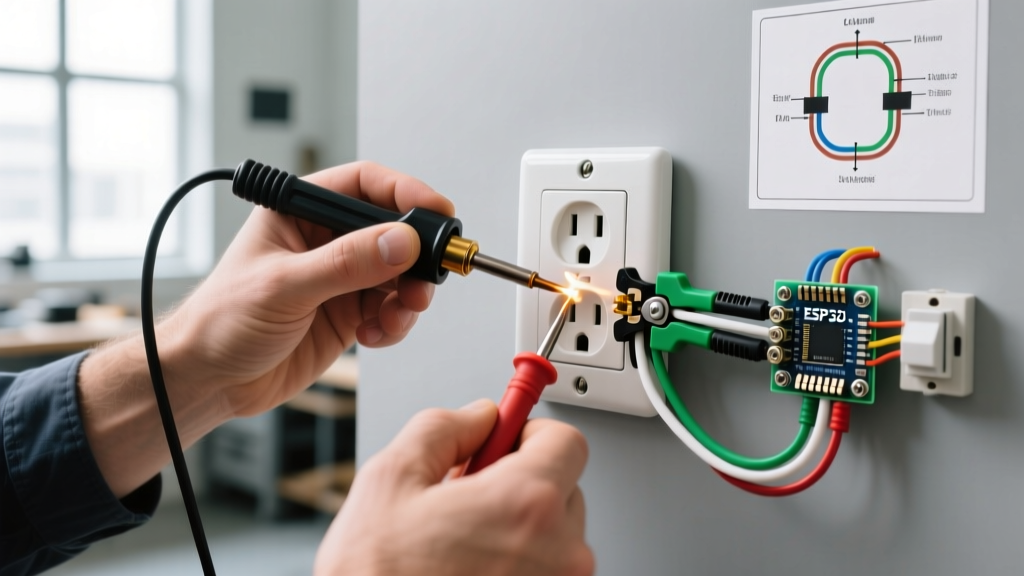

Why Upgrade to a Locking Electrical Outlet?
In environments subject to heavy vibration, frequent equipment relocation, or high-current continuous loads, standard NEMA 5-15R or 5-20R straight-blade receptacles are a liability. The mechanical friction of standard prongs is insufficient to prevent "back-out" failures, leading to high-resistance arcing, melted faceplates, and severe fire hazards. Upgrading to a locking electrical outlet (commonly known as a twist-lock receptacle) solves this by utilizing curved, rotating blades that mechanically wedge into the receptacle housing.
Whether you are wiring a commercial kitchen, setting up a portable generator inlet, or upgrading industrial machinery, replacing a standard outlet with a twist-lock variant requires strict adherence to wire gauge sizing, torque specifications, and modern electrical codes. This guide details the exact procedures, material costs, and edge cases for executing a professional-grade locking electrical outlet upgrade in 2026.
Decoding NEMA Twist-Lock Configurations
Before purchasing materials, you must match the receptacle to your specific voltage, amperage, and phase requirements. The National Electrical Manufacturers Association (NEMA) designates twist-lock devices with an "L" prefix. Below are the most common configurations utilized in residential and commercial upgrades.
| NEMA Config | Voltage | Amperage | Wiring (Poles/Wires) | Common Application | Min. Wire Gauge (Copper) |
|---|---|---|---|---|---|
| L5-30R | 125V | 30A | 2P, 3W (H, N, G) | RV Hookups, Heavy Duty 120V Tools | 10 AWG |
| L6-30R | 250V | 30A | 2P, 3W (H, H, G) | Welders, Commercial HVAC, Server Racks | 10 AWG |
| L14-30R | 125/250V | 30A | 3P, 4W (H, H, N, G) | Portable Generator Inlets, Transfer Switches | 10 AWG |
| L21-30R | 120/208V | 30A | 3P, 4W (X, Y, Z, G) | 3-Phase Industrial Machinery | 10 AWG |
Pre-Upgrade Requirements & NEC Compliance
Upgrading from a 15A/20A standard receptacle to a 30A locking electrical outlet is not a simple swap; it requires a complete circuit overhaul. You cannot install a 30A receptacle on a 20A breaker, nor can you use 12 AWG or 14 AWG wire.
NEC Compliance Alert: According to the NFPA 70 National Electrical Code, specifically Article 210.21(B)(1), a single receptacle installed on an individual branch circuit must have an ampere rating not less than that of the branch circuit. Therefore, a 30A L6-30R requires a dedicated 30A double-pole breaker and minimum 10 AWG copper conductors.
GFCI and Wet Location Mandates
If your locking electrical outlet is located outdoors, in a garage, or in a commercial kitchen, recent NEC cycles (carrying into the 2026 code adoption) mandate Ground Fault Circuit Interrupter (GFCI) protection. For 30A, 250V circuits (like an L6-30R), standard GFCI receptacles do not exist in the twist-lock format. You must install a GFCI circuit breaker (e.g., Eaton BR230GFI or Square D HOM230GFI, typically costing $90–$130) at the main panel to protect the entire branch circuit.
Essential Tools and Material Costs
Industrial-grade twist-lock receptacles feature robust thermoset or nylon housings designed to withstand impact and heat. Avoid big-box store generics for high-vibration environments.
- Receptacle: Hubbell HBL2620 (L6-30R) or Bryant 9660. Expect to pay $35–$55 for genuine Hubbell/Bryant industrial spec. Leviton equivalents (e.g., Leviton 2620) run $22–$30.
- Wall Plate: Stainless steel or cast-metal weatherproof cover with a flip-lid ($15–$25).
- Torque Screwdriver: CDI Torque or Klein Tools digital torque screwdriver (capable of 14–18 in-lbs). Cost: $120–$180.
- Wire Strippers & Prep: Klein Tools 11063W (for 10-14 AWG stranded) or a cable jacket stripper for SOOW portable cord.
- Voltage Tester: Fluke T6-1000 or a CAT III rated non-contact voltage tester.
Step-by-Step Replacement Procedure
Follow this exact sequence to ensure a safe, code-compliant installation that prevents cold-flow loosening and high-resistance arcing.
Step 1: Lockout/Tagout (LOTO) and Verification
Shut off the corresponding breaker at the main service panel. Apply a physical lockout tag. Use a CAT-rated multimeter to test between all hot-to-hot, hot-to-neutral, and hot-to-ground terminals to verify zero voltage. OSHA standard 1910.305 strictly mandates proper grounding and safe wiring methods, making LOTO non-negotiable.
Step 2: Conductor Preparation
If you are wiring with 10 AWG THHN in conduit, strip exactly 3/4-inch of insulation from the conductors. If you are using SOOW or SJOOW flexible portable cord (common for generator inlets), strip the outer jacket, remove the internal paper separator tape, and strip the individual 10 AWG stranded wires. Crucial: Do not "tin" (solder) the stranded wire tips before inserting them into the binding screws. Soldered copper exhibits "cold flow" under mechanical pressure, leading to loose connections and catastrophic arcing over time.
Step 3: Termination Sequence and Torque
Most premium locking electrical outlets (like the Hubbell Insulgrip series) utilize binding screws with deep pressure plates.
- Ground (Green): Terminate the bare or green insulated ground wire first. This ensures the chassis is grounded before any energized conductors are connected.
- Neutral (White/Silver): For 4-wire setups (L14-30R), terminate the neutral wire to the silver-colored terminal.
- Hot Conductors (Black/Red/Blue/Brass): Terminate the hot wires to the brass-colored terminals. For 3-phase setups, follow the specific X, Y, Z phase rotation labeling.
- Apply Torque: Tighten each terminal screw to the manufacturer's specified torque. For most 30A Hubbell and Leviton twist-locks, this is 14 to 18 inch-pounds. Use a calibrated torque screwdriver to click at 16 in-lbs.
Step 4: Strain Relief and Mounting
If wiring via flexible cord, the conduit knockout must be fitted with a cord grip connector (strain relief) to prevent the weight of the cable from pulling the conductors out of the binding screws. Secure the receptacle to the box using the provided 6-32 or 8-32 machine screws, ensuring the faceplate sits flush without warping the thermoset housing.
Troubleshooting Common Installation Failures
Even experienced electricians encounter edge cases when upgrading to NEMA twist-lock configurations. Here is how to diagnose the most frequent issues:
1. Plug Binding or Difficult Insertion
The Issue: The male plug requires excessive force to insert and twist.
The Fix: Inspect the ground pin alignment. The NEMA WD 6 dimensional standard dictates strict tolerances for the ground blade to ensure mismatched voltages cannot be mated. If the receptacle housing is warped from over-tightening the mounting screws, it will pinch the internal contacts. Loosen the mounting screws slightly to relieve housing stress.
2. Nuisance GFCI Tripping on Generator Inlets
The Issue: A newly installed L14-30R outdoor inlet trips the GFCI breaker immediately upon plugging in the generator.
The Fix: Long runs of SOOW portable cord can exhibit capacitive leakage to ground, which sensitive 2026-era GFCI breakers (tripping at 4-6mA) interpret as a ground fault. Ensure the generator's neutral-to-ground bonding is correctly configured. If the generator is a "separately derived system," the neutral must be bonded to ground at the generator, and the transfer switch must switch the neutral (a 4-pole transfer switch) to prevent parallel neutral-ground paths that cause GFCI trips.
3. Heat Discoloration at the Terminals
The Issue: After a month of use, the brass terminals show blue/brown heat discoloration.
The Fix: This is the hallmark of under-torqued binding screws. Vibration causes the un-torqued screw to back out microscopically, increasing electrical resistance. Replace the damaged receptacle immediately, strip the wires back to fresh copper, and use a calibrated torque screwdriver set to 16 in-lbs during re-termination.
Final Inspection and Testing
Once the locking electrical outlet is installed and the cover plate is secured, restore power at the panel. Use a digital multimeter to verify the exact voltage at the receptacle face (e.g., 240V across both hots for an L6-30R, and 120V from each hot to ground). For 3-phase L21-30R upgrades, use a phase rotation meter to confirm the X-Y-Z sequence matches the motor requirements of the connected machinery. Proper execution of this upgrade guarantees a vibration-proof, arc-free connection capable of handling continuous heavy loads for decades.