
The Definitive Wiring Diagram Reference for Every Electrical Outlet Type
Understanding the correct wiring for each electrical outlet type is the cornerstone of safe, code-compliant residential and commercial electrical work. As we navigate the 2026 National Electrical Code (NEC) cycle, the margin for error has shrunk. Modern requirements for tamper-resistant (TR) mechanisms, arc-fault (AFCI) protection, and precise torque specifications mean that guessing is no longer an option.
This wiring diagram reference breaks down the physical configurations, wire gauge requirements, and terminal assignments for the most common North American NEMA (National Electrical Manufacturers Association) receptacles. Whether you are wiring a standard 15A bedroom receptacle or installing a high-amperage NEMA 14-50R for a Level 2 EV charger, this guide provides the actionable specifics you need.
Standard 15A and 20A Receptacles (NEMA 5-15R and 5-20R)
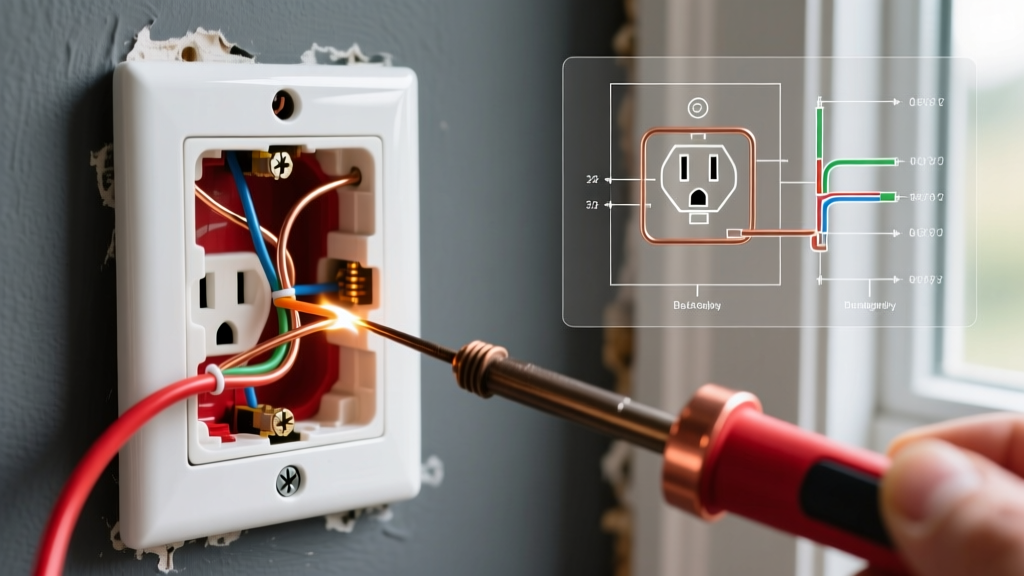
The NEMA 5-15R is the ubiquitous 120-volt, 15-amp, 3-prong receptacle found in nearly every room. Its 20-amp counterpart, the NEMA 5-20R, features a T-shaped neutral slot to accept both 15A and 20A plugs. Both operate on a single-phase, 3-wire system (Hot, Neutral, Ground).
Terminal Assignments and Wire Gauges
- Brass Terminal (Line/Hot): Connects to the black (or red) insulated wire. Supplies 120V from the breaker.
- Silver Terminal (Neutral): Connects to the white insulated wire. Returns current to the panel.
- Green Terminal (Ground): Connects to the bare copper or green insulated wire. Provides a safe path for fault currents.
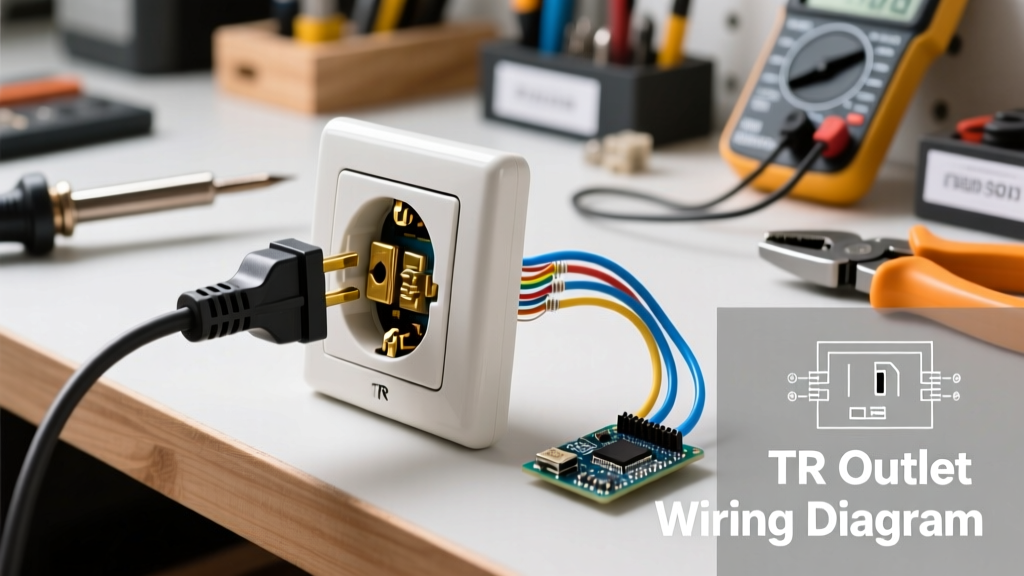
2026 NEC Code Alert: Per NEC Article 406.4(D), all 15A and 20A receptacles installed in dwelling units must be Tamper-Resistant (TR). Furthermore, back-stab (push-in) wiring is a leading cause of high-resistance failures. Always use the side-wiring terminals or the screw-clamp back-wiring plates found on premium models like the Leviton Decora 5320.
15A vs 20A Circuit Matrix
| Feature | NEMA 5-15R (15 Amp) | NEMA 5-20R (20 Amp) |
|---|---|---|
| Minimum Wire Gauge | 14 AWG Copper | 12 AWG Copper |
| Breaker Size | 15A | 20A |
| Neutral Blade Shape | Vertical Slot | T-Shape (Horizontal/Vertical) |
| Typical Application | Bedrooms, Living Rooms, Lighting | Kitchens, Bathrooms, Garage Workbenches |
High-Voltage Dryer and Range Outlets (NEMA 14-30R and 14-50R)
Heavy appliances require 240V circuits. Historically, 3-prong NEMA 10-30R outlets were used, which bonded the neutral and ground at the receptacle. This is now strictly prohibited for new installations. Modern code requires 4-prong configurations (NEMA 14-series) that isolate the neutral and ground.
Wiring the NEMA 14-50R (50A Range / EV Charger)
The NEMA 14-50R is the most requested high-amperage electrical outlet type in 2026, driven by the boom in residential Level 2 Electric Vehicle (EV) chargers. It requires a 50A double-pole breaker and 6 AWG copper wire (or 4 AWG aluminum).
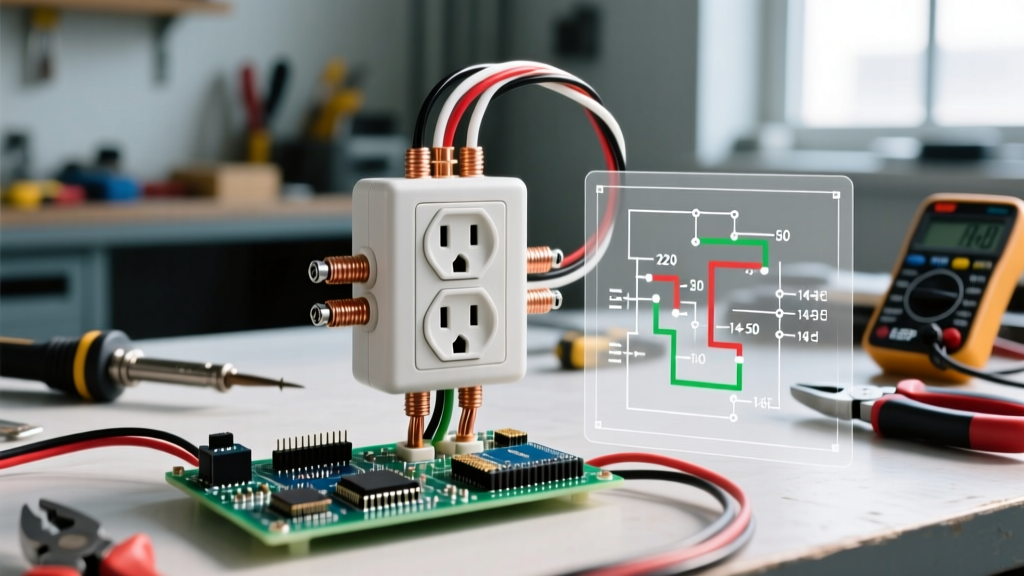
- X Terminal (Hot 1): Connect the black wire from one pole of the 50A breaker.
- Y Terminal (Hot 2): Connect the red wire from the second pole of the 50A breaker.
- W Terminal (Neutral): Connect the white wire to the panel's neutral bus bar.
- G Terminal (Ground): Connect the bare/green wire to the panel's equipment grounding bus bar.
Expert Insight: When wiring a 14-50R for an EV charger, the physical orientation of the outlet matters. Most EV manufacturers (including Tesla and Rivian) recommend installing the receptacle 'upside down' with the ground pin at the top. This prevents the heavy charging cable from bending sharply and stressing the ground prong. Always use a torque screwdriver (such as the CDI 401SM) set to the manufacturer's specification—typically 35 in-lbs for Leviton 14-50R terminals—to prevent thermal expansion loosening over time.
GFCI Receptacle Wiring: Line vs. Load
Ground Fault Circuit Interrupter (GFCI) outlets protect against lethal shock by monitoring the current balance between the hot and neutral wires. According to the Electrical Safety Foundation International (ESFI), GFCIs are mandatory in wet locations, including kitchens, bathrooms, garages, and outdoor areas.
The Feed-Through Wiring Method
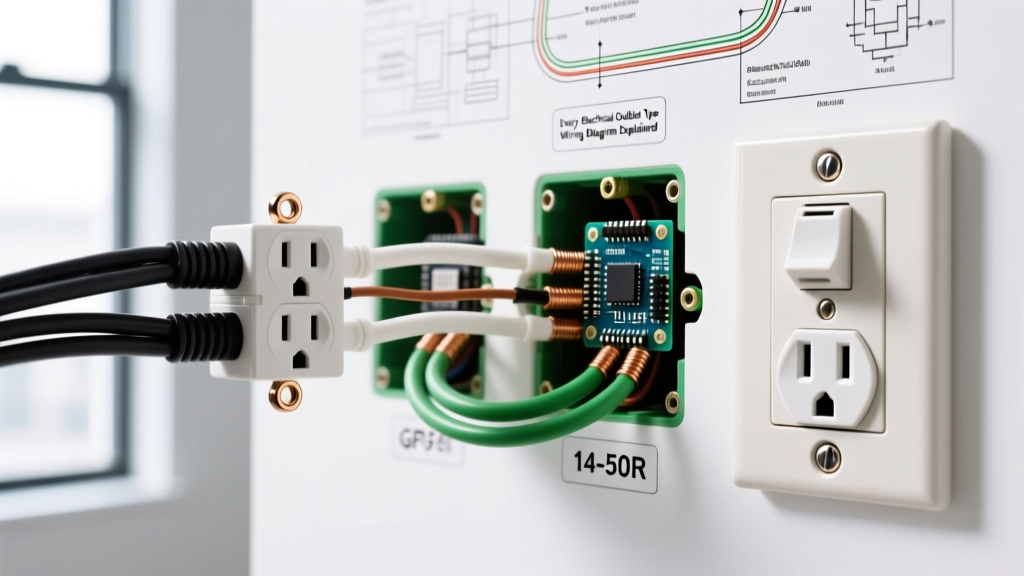
A standard GFCI receptacle (like the Leviton GFNT2-W) features two sets of terminals: LINE and LOAD.
- LINE Terminals: Connect ONLY to the incoming power source from the breaker panel. This powers the GFCI itself.
- LOAD Terminals: Connect to downstream standard receptacles. This extends GFCI protection to the rest of the circuit.
Common Failure Mode: Reversing the Line and Load wires is the most frequent DIY mistake. If reversed, the GFCI will power downstream outlets but will not provide ground-fault protection to itself, and the internal test button will fail to trip the device. Always use the included yellow tape to cover the LOAD terminals if you are only protecting the single receptacle location.
Multi-Wire Branch Circuits (MWBC) and Split Receptacles
In kitchen and dining room wiring, you will frequently encounter split-receptacles. This involves a NEMA 5-15R where the brass hot fin has been broken off, allowing the top and bottom outlets to be powered by different breakers.
Wiring the MWBC
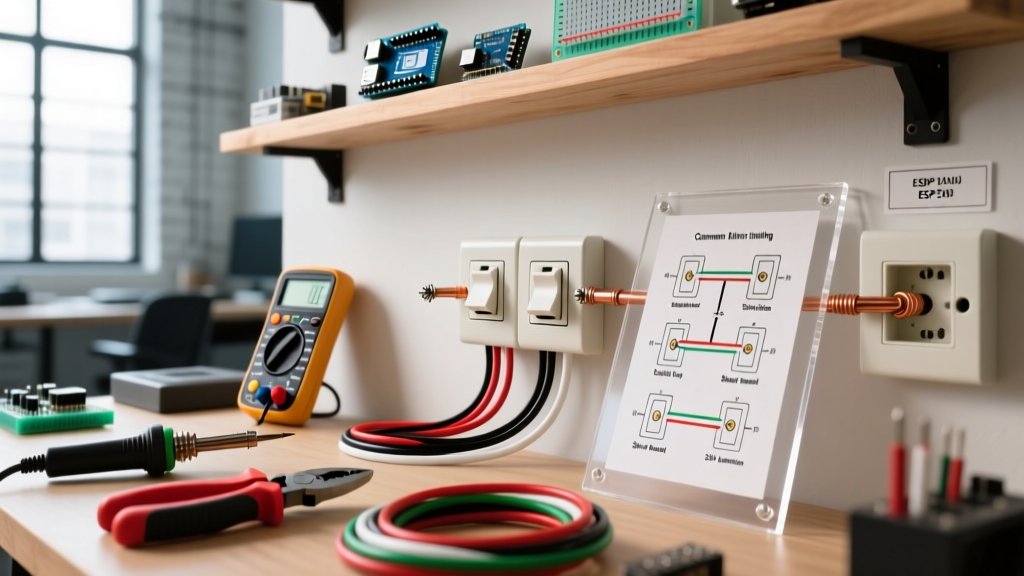
An MWBC uses a 3-wire cable (12/3 Romex: Black, Red, White, Bare). The black and red wires are connected to a double-pole 20A breaker (or two single-pole breakers with an identified handle tie, per NEC 210.4). This ensures both hots are on opposite phases, meaning the shared neutral only carries the unbalanced load, preventing neutral overload.
- Top Receptacle (Brass): Black wire (Phase A)
- Bottom Receptacle (Brass): Red wire (Phase B)
- Silver Terminals: White wire (Shared Neutral) - pigtailed to both top and bottom silver screws.
- Green Terminal: Bare ground.
NEMA Configuration Quick Reference Matrix
Use this matrix to quickly identify the correct electrical outlet type based on your appliance's amperage and voltage requirements. For comprehensive dimensional standards, refer to the NEMA Wiring Devices Dimensional Requirements publication.
| NEMA Code | Voltage | Amperage | Poles / Wires | Primary Application |
|---|---|---|---|---|
| 5-15R | 125V | 15A | 2P, 3W | General Household Lighting & Electronics |
| 5-20R | 125V | 20A | 2P, 3W | Kitchen Appliances, Power Tools |
| L6-20R | 250V | 20A | 2P, 3W | Industrial Equipment, Twist-Lock |
| 14-30R | 125/250V | 30A | 3P, 4W | Electric Clothes Dryers |
| 14-50R | 125/250V | 50A | 3P, 4W | Electric Ranges, RV Hookups, Level 2 EV Chargers |
Critical Code Compliance and Torque Specifications
The NFPA 70 National Electrical Code has drastically tightened termination requirements. NEC Article 110.14(D) mandates that any mechanical connection for equipment rated 100A or less must be tightened using a torque tool to the manufacturer's specified values.
Hand-tightening a 14-50R EV outlet terminal might feel secure initially, but the thermal cycling of drawing 40 continuous amps (80% of the 50A breaker capacity) will cause the copper to expand and contract. Within six months, an under-torqued connection will arc, melt the receptacle face, and potentially cause a fire. Invest in an inch-pound torque screwdriver and verify the terminal torque rating stamped on the back of the yoke (usually between 14 and 35 in-lbs depending on the wire gauge and brand).
Final Troubleshooting Checklist
Before energizing any newly wired outlet, perform these three checks:
- Continuity Test: With the breaker OFF, use a multimeter to verify continuity between the ground terminal and the panel's ground bus.
- Short Circuit Check: Ensure no stray strands of bare copper are touching the silver neutral terminal or the metal junction box.
- Polarity Verification: Once energized, use a 3-light receptacle tester to confirm correct hot/neutral orientation. If the tester shows 'Hot/Neutral Reversed', immediately cut power and swap the brass and silver wire assignments.