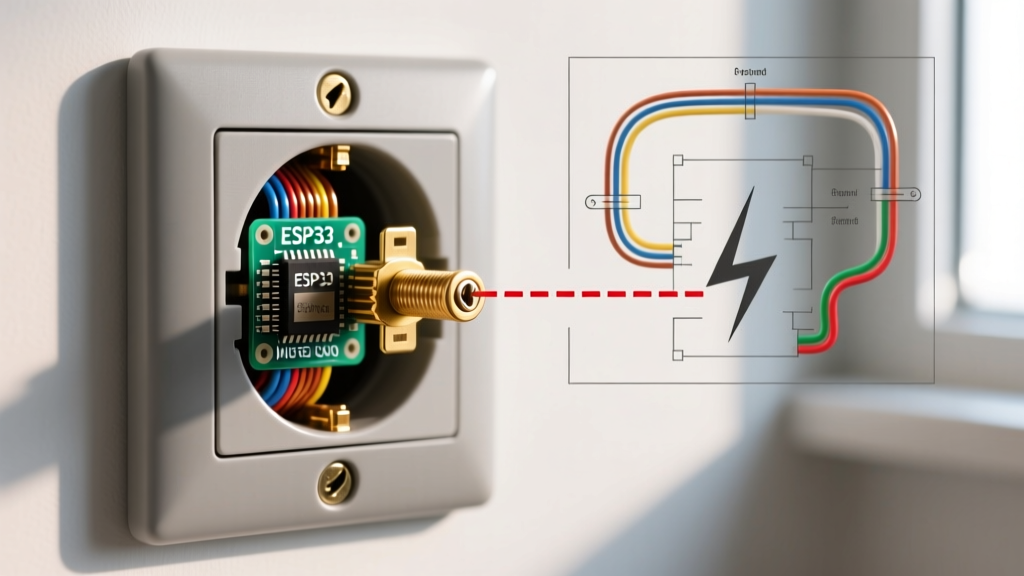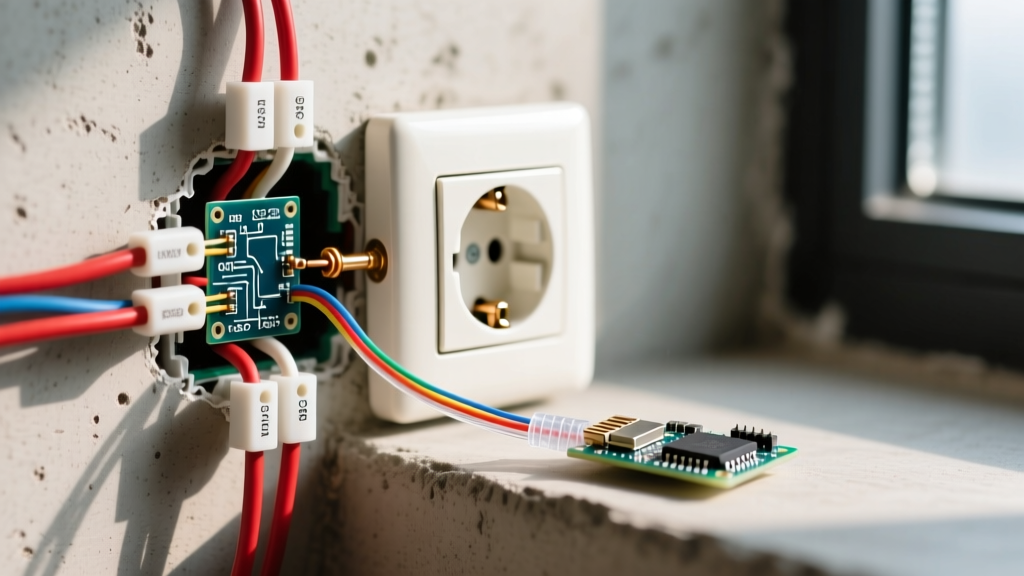

The Illusion of Safety: When a Grounded Electrical Outlet Fails
Walking into a modernized older home, you might see standard three-prong receptacles on every wall and assume the wiring has been fully updated. However, a visually grounded electrical outlet can harbor a dangerous secret: an open ground, a severed ground wire, or a deceptive "bootleg" jumper. According to the U.S. Consumer Product Safety Commission (CPSC), faulty grounding and improper receptacle wiring are leading contributors to residential electrical shocks and appliance damage. When a fault occurs in an appliance plugged into an ungrounded or falsely grounded receptacle, the circuit breaker will not trip, leaving the metal chassis of the appliance energized at a lethal 120 volts.
Troubleshooting a grounded electrical outlet that fails a standard receptacle test requires moving beyond simple plug-in testers. In this comprehensive 2026 diagnostic guide, we will explore the exact failure modes of three-prong outlets, the specialized tools required to identify high-resistance ground paths, and the National Electrical Code (NEC) compliant methods for repairing them.
2026 Diagnostic Toolkit: What You Need
To accurately diagnose ground faults, you need tools that measure continuity, voltage, and impedance. Relying solely on a $10 neon tester is insufficient for identifying edge cases like false grounds.
- Klein Tools RT250 GFCI Receptacle Tester ($28 - $35): The industry standard for basic open-ground, open-neutral, and hot/neutral reverse detection. It also features a solenoid to trip GFCI circuits.
- Fluke T6-1000 Electrical Tester ($215 - $240): Essential for non-contact voltage sensing and measuring actual AC voltage without needing to insert probes into tight terminal slots.
- Amprobe AT-3500 Cable & Wire Tracer ($350+): Necessary for tracing severed ground wires behind drywall when physical access is limited.
- Standard Digital Multimeter (DMM): Any CAT III rated DMM (e.g., Fluke 117 or Klein MM400) for measuring exact voltage drops between the hot and ground slots.
Step-by-Step Diagnosis: Finding the Open Ground
When your plug-in tester illuminates the "Open Ground" indicator (typically the rightmost amber LED on a standard 3-light tester), it means the ground terminal of the receptacle is not electrically continuous with the main service panel's grounding electrode system. Follow this diagnostic sequence:
- Verify the Hot and Neutral: Insert your DMM probes into the hot (short slot) and neutral (long slot). You should read between 118V and 124V. If you read 0V, you have an upstream open circuit, not just an open ground.
- Measure Hot-to-Ground Voltage: Move your black DMM probe to the round ground hole. If the reading drops to 0V or fluctuates wildly below 100V, the ground path is broken or has extremely high resistance.
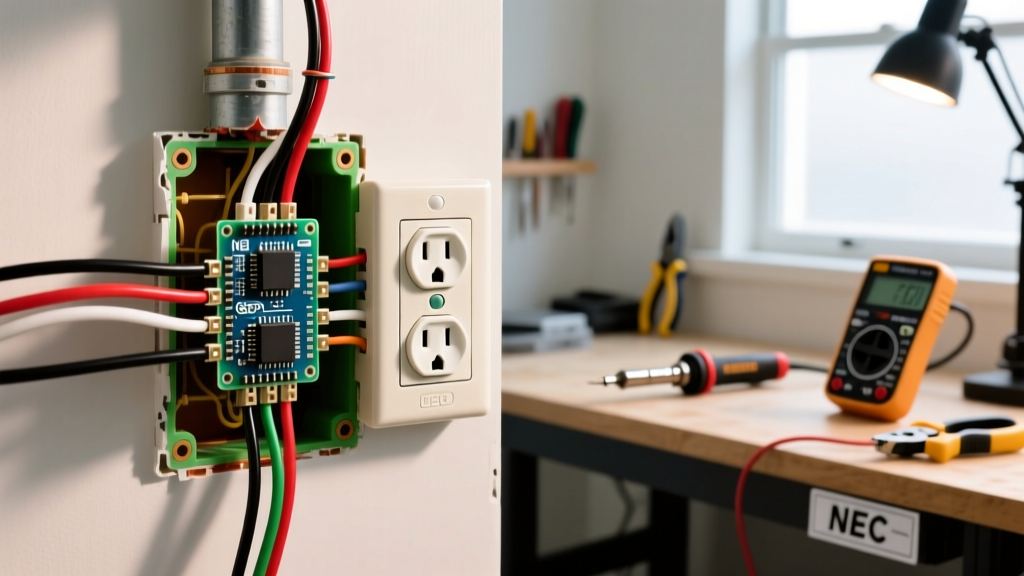
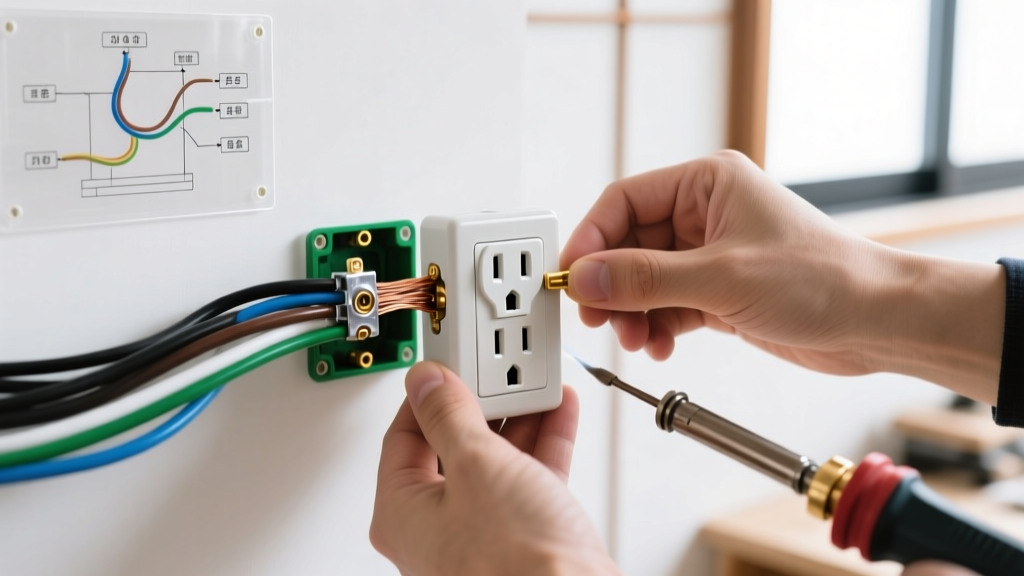
- Shut Off Power and Inspect the Receptacle: Turn off the circuit breaker and verify zero voltage. Remove the receptacle from the junction box. Look for a disconnected bare copper or green insulated wire. In older homes, the ground wire may have simply snapped off the green grounding screw due to thermal expansion and contraction over decades.
- Check the Panel and Splices: If the wire is securely attached to the receptacle, the break is inside the wall or at a wire nut splice in an upstream junction box. Use a tone tracer to follow the cable path.
The "Bootleg Ground" Trap: A Lethal Edge Case
The most dangerous scenario you will encounter when troubleshooting a grounded electrical outlet is the "bootleg ground." This occurs when a previous DIYer or unscrupulous handyman installs a short jumper wire between the silver neutral terminal and the green ground terminal on the back of the receptacle. This tricks a standard 3-light plug-in tester into showing a "Correct" wiring reading.
CRITICAL WARNING: A bootleg ground is a severe life-safety hazard. If the neutral wire breaks or becomes disconnected anywhere upstream between the receptacle and the panel, the return current from any plugged-in appliance will backfeed through the jumper wire, energizing the ground pin and the metal chassis of the appliance with 120V. The Occupational Safety and Health Administration (OSHA) strictly prohibits this configuration in all environments due to the high risk of fatal electrocution.
How to Detect a Bootleg Ground
To expose a bootleg ground without removing the receptacle, use your DMM. Measure the voltage between the hot slot and the neutral slot, then measure between the hot slot and the ground hole. In a properly wired circuit, both readings will be nearly identical (e.g., 120.5V). Now, plug in a high-draw appliance like a hairdryer or heat gun and turn it on. If the voltage between Hot and Ground fluctuates significantly compared to Hot and Neutral under load, or if you remove the faceplate and visually spot a wire connecting the silver and green screws, you have found a bootleg ground. It must be removed immediately.
Advanced Diagnosis: High-Resistance and False Grounds
Sometimes, a grounded electrical outlet will pass a basic plug-in test, but the ground path has high impedance. This often happens in homes with flexible metal conduit (FMC) or armored cable (BX) from the 1950s, where the metal jacket itself is being used as the ground path. Over time, corrosion at the coupling joints increases resistance. If a fault occurs, the resistance is too high to allow the massive instantaneous current surge required to trip a 15A or 20A breaker in under 25 milliseconds. To test this, measure the voltage drop between the receptacle's ground hole and a known true ground (like a copper water pipe bonded to the panel) while a 1500W load is running on the circuit. A drop greater than 2V indicates an inadequate ground path that requires pulling a new dedicated equipment grounding conductor (EGC).
Repair Matrix: Solutions Based on Your Wiring Scenario
Once you have isolated the failure mode, use the matrix below to determine the correct, code-compliant repair strategy. All repairs must align with the latest NEC guidelines, as detailed by the National Fire Protection Association (NFPA 70).
| Wiring Scenario | Recommended Fix | Est. Cost (2026) | NEC Compliance |
|---|---|---|---|
| Ground wire disconnected at receptacle | Re-terminate bare copper wire to the green grounding screw. Torque to manufacturer specs. | $5 - $15 | Fully Compliant |
| Ground wire severed inside wall cavity | Fish a new 12 AWG or 14 AWG ground wire through the wall to the nearest accessible junction box or panel. | $150 - $400 | Fully Compliant |
| No ground wire exists (Pre-1960s NM cable) | Install a GFCI receptacle and label it "No Equipment Ground". | $25 - $45 | Compliant via 406.4(D)(2)(c) |
| Bootleg ground (Neutral-to-Ground jumper) | Remove jumper immediately. Replace with GFCI or rewire with new EGC. | $25 - $400 | Mandatory Correction |
| Metal conduit with high-impedance joints | Pull a new, dedicated insulated copper EGC through the conduit alongside the existing conductors. | $100 - $250 | Fully Compliant |
The GFCI Workaround: NEC Article 406.4(D) Explained
What do you do if you are troubleshooting a grounded electrical outlet in a 1950s home with ungrounded 2-wire Romex, and fishing a new ground wire through plaster walls is financially impossible? The NEC provides a specific, safe exception.
Under NEC Article 406.4(D)(2)(c), you are permitted to replace an ungrounded two-prong receptacle (or a failing three-prong receptacle with no actual ground wire) with a Ground Fault Circuit Interrupter (GFCI) receptacle. A GFCI does not require a ground wire to function. Instead of looking for fault current traveling to the earth, a GFCI continuously monitors the current differential between the hot and neutral wires. If it detects an imbalance as small as 4 to 6 milliamps—indicating current is leaking through a person or water—it trips the circuit in roughly 25 milliseconds, preventing lethal electrocution.
Installation Requirements for the GFCI Exception
- Line vs. Load: Ensure the incoming power wires are connected to the "LINE" terminals on the GFCI. Connecting them to "LOAD" will result in a dead receptacle that offers no protection.
- Mandatory Labeling: You must apply the included UL-listed sticker reading "No Equipment Ground" to the faceplate of the GFCI, as well as to any downstream standard receptacles protected by that GFCI's LOAD terminals.
- Appliance Limitations: While a GFCI protects human life from shock, it does not provide a path for surge protectors to dissipate voltage spikes. Sensitive electronics (like high-end gaming PCs or home theater amplifiers) plugged into a GFCI-protected ungrounded outlet remain vulnerable to transient surges.
2026 Cost Expectations and When to Call a Professional
If your troubleshooting reveals a systemic open ground affecting multiple rooms, or if you discover degraded cloth-insulated wiring, it is time to call a licensed electrical contractor. As of 2026, the national average for an electrical diagnostic service call ranges from $85 to $150. Rewiring a standard 12x12 bedroom to bring all grounded electrical outlets up to modern code typically costs between $800 and $1,400, depending on drywall repair requirements and local permit fees. Always verify that your electrician pulls the necessary municipal permits; unpermitted electrical work can void your homeowner's insurance policy in the event of an electrical fire.
By methodically testing voltage, identifying deceptive bootleg grounds, and applying the correct NEC repair matrix, you can ensure that every grounded electrical outlet in your home provides the genuine safety it was designed to deliver.