
Why Upgrading Your Outdoor Electrical Outlet is Critical
If you are researching how to install an electrical outlet outside, you are likely dealing with an aging, cracked, or non-compliant receptacle. Outdoor electrical environments are brutally harsh. Ultraviolet (UV) radiation degrades cheap plastics, seasonal temperature swings compromise seals, and driven rain exploits the tiniest gaps. Upgrading an exterior outlet is not merely an aesthetic improvement; it is a vital safety intervention to prevent ground faults, electrical shocks, and potential fires.
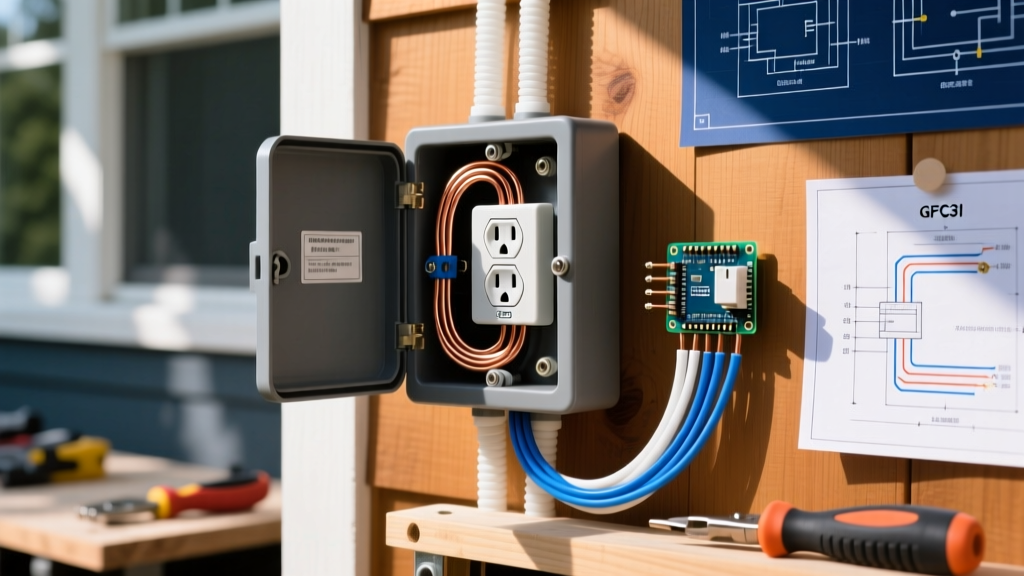
Legacy outdoor outlets often feature flat, flip-up metal or plastic covers. These older designs are fundamentally flawed for modern use. When you plug in a landscape lighting transformer, a power washer, or holiday string lights, the cover cannot close. This exposes the receptacle slots to direct moisture and debris. In this comprehensive upgrade guide, we will walk you through replacing an outdated exterior receptacle with a modern, code-compliant Ground Fault Circuit Interrupter (GFCI) and an extra-duty, while-in-use weatherproof enclosure.
Understanding the NEC Code Requirements
Before touching a single wire, you must understand the current regulatory landscape. The National Fire Protection Association (NFPA) mandates strict guidelines for outdoor receptacles under the National Electrical Code (NEC).
NEC Article 210.8(A)(3): All 125-volt through 250-volt receptacles installed outdoors must have ground-fault circuit-interrupter (GFCI) protection for personnel.
NEC Article 406.9(B)(1): Receptacles in damp or wet locations must be enclosed in a weatherproof enclosure that is weatherproof whether or not the attachment plug cap is inserted (commonly known as an 'extra-duty' or 'while-in-use' cover).
Furthermore, the U.S. Consumer Product Safety Commission (CPSC) strongly advocates for GFCI protection in all wet areas, noting that GFCIs have prevented thousands of fatal electrocutions over the past four decades. When performing your upgrade, you must install a 20-Ampere, Tamper-Resistant (TR) GFCI receptacle paired with an extra-duty bubble cover to meet current safety standards.
Tools and Materials Matrix
Sourcing the correct, commercial-grade components is half the battle. Avoid big-box store generic brands for outdoor applications; the internal contacts and UV stabilizers in premium brands last significantly longer.
| Component | Recommended Model | Purpose | Avg. Cost (2026) |
|---|---|---|---|
| GFCI Receptacle | Leviton 16342-W (20A TR) | Ground fault and tamper protection | $28.00 |
| In-Use Cover | TayMac MM540C Extra-Duty | Weatherproofing while plugged in | $34.00 |
| Conduit Sealant | Gardner Bender Duct Seal | Sealing conduit knockouts | $8.00 |
| Wire Connectors | Ideal Twist-On (Red/Yellow) | Secure pigtail connections | $6.00 |
Total estimated DIY upgrade cost: $76.00 - $95.00, depending on local hardware pricing and existing conduit conditions.
Step-by-Step Outdoor Outlet Upgrade Procedure
Follow this precise workflow to ensure a watertight, electrically sound installation. Always assume outdoor wiring may have hidden faults; proceed with extreme caution.
Step 1: Lockout and Voltage Verification
Navigate to your main electrical panel and switch off the breaker controlling the exterior circuit. Because outdoor circuits are sometimes daisy-chained from unexpected indoor locations (like a bathroom or garage), you must verify the power is dead. Use a non-contact voltage tester (NCVT) on the receptacle slots, followed by a multimeter set to AC voltage. Test from the hot (brass) terminal to the neutral (silver) terminal, and then from hot to ground. A reading of 0.0V confirms the circuit is safe to work on.
Step 2: Extracting the Legacy Enclosure
Unscrew the existing weatherproof cover and remove the receptacle mounting screws. Gently pull the old receptacle out of the box. If the old enclosure is a surface-mounted PVC or cast aluminum box, inspect the conduit entry points. If the old box is cracked, heavily oxidized, or allowing water ingress, you must replace the entire junction box, not just the receptacle. If the box is structurally sound, clean the interior with a dry brush to remove insect nests, dirt, and corrosion.
Step 3: Preparing the GFCI Receptacle
Identify the LINE and LOAD terminals on your new Leviton GFCI. The LINE terminals receive power directly from the breaker panel. The LOAD terminals are only used if you are sending GFCI protection downstream to another outlet. Critical Error Alert: If this outdoor outlet is the end of the line, do not wire anything to the LOAD terminals. Wiring a single outdoor receptacle to the LOAD side will cause the GFCI to fail to reset or trip immediately.
- Strip exactly 5/8-inch of insulation from the black (hot) and white (neutral) wires.
- Connect the black wire to the brass LINE terminal and the white wire to the silver LINE terminal.
- Use the side-wiring screw terminals rather than the push-in backstab holes. Backstab connections are notorious for failing under the thermal expansion and contraction cycles of outdoor environments.
- Create a ground pigtail: connect a 6-inch bare copper wire to the green ground screw on the GFCI, and join it to the incoming bare/green ground wire using a wire nut.
Step 4: Sealing the Conduit Entries
Water travels along the exterior of PVC conduit via capillary action. Where the conduit enters the electrical box, there is often a small gap. Do not use liquid silicone caulk here; it degrades under UV light and loses adhesion to dirty PVC. Instead, knead a piece of Gardner Bender Duct Seal compound and pack it tightly around the conduit hub where it meets the box. This creates a permanent, waterproof, and pliable gasket.
Step 5: Mounting the Extra-Duty Cover
Position the foam gasket provided with the TayMac extra-duty cover over the receptacle. The gasket must sit flush against the wall or siding. If your siding is uneven (like lap siding or stucco), apply a bead of exterior-grade polyurethane sealant (such as Sikaflex) behind the top and sides of the gasket to prevent wind-driven rain from bypassing the cover. Never caulk the bottom edge of the cover. The bottom must remain open to act as a weep hole, allowing any internal condensation to drain out.
Troubleshooting Edge Cases and Failure Modes
Even with a perfect installation, outdoor environments present unique challenges. Here is how to handle common post-upgrade issues:
Nuisance Tripping from Condensation
If your new GFCI trips randomly during early morning hours, condensation is likely the culprit. When warm, humid air gets trapped inside the bubble cover and the temperature drops at night, water droplets form on the internal receptacle contacts, triggering the GFCI sensor. Solution: Verify that the bottom weep holes on the bubble cover are clear of debris and silicone. Ensure the foam gasket is fully compressed to minimize the internal air volume.
Tripping When Plugging in High-Draw Tools
If the GFCI trips the moment you plug in a power washer or table saw, you may be dealing with inrush current or a motor fault. While a 20A GFCI can handle significant load, aging motors in outdoor equipment can leak current to ground, which the highly sensitive GFCI will instantly detect. Solution: Test the tool on an indoor GFCI. If it trips indoors, the tool's motor windings are degrading and leaking current; the tool requires repair or replacement.
Reset Button Will Not Stay Engaged
If the GFCI reset button immediately pops back out, you have either wired the LINE and LOAD backward, or there is a ground fault downstream. Solution: Turn off the breaker, remove the cover, and verify the incoming power wires are on the LINE terminals. If they are correct, check for pinched wires inside the crowded junction box.
Frequently Asked Questions (FAQ)
Can I use a standard indoor GFCI for an outdoor upgrade?
Electrically, yes, the internal mechanism is identical. However, you must ensure the receptacle is rated for wet locations and features UV-resistant face plastics. More importantly, the GFCI must be paired with an extra-duty, while-in-use weatherproof cover to meet NEC Article 406.9 requirements.
Do I need to replace the breaker if I install a GFCI outlet?
No. In fact, installing both a GFCI breaker and a GFCI receptacle on the same circuit is redundant and can cause nuisance tripping or make troubleshooting incredibly difficult. A standard thermal-magnetic breaker paired with a GFCI receptacle at the point of use is the standard, code-compliant approach.
How deep does the extra-duty cover need to be?
Modern extra-duty covers typically require a minimum of 2.75 inches of clearance from the wall to accommodate bulky transformer plugs and heavy-duty extension cords. Always measure your most commonly used outdoor plugs before purchasing a cover to ensure the lid will close fully.