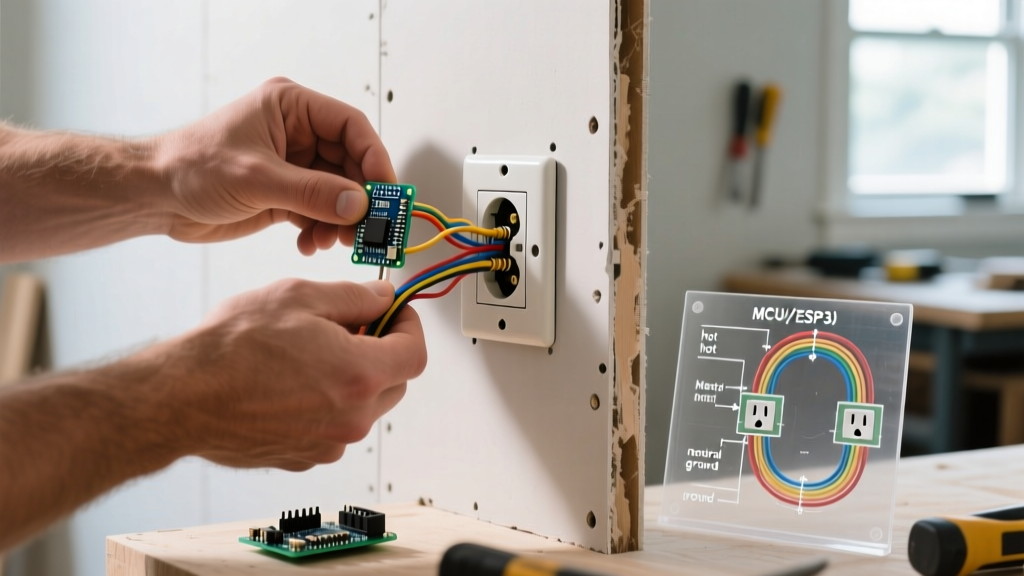

The Science of Electrical Outlet Placement
Strategic electrical outlet placement is the backbone of a functional, code-compliant, and future-proof home. In 2026, with the proliferation of high-draw smart home hubs, USB-C PD (Power Delivery) charging stations, and localized automation controllers, simply slapping a receptacle on a wall is no longer sufficient. Proper placement prevents the use of dangerous extension cords, reduces voltage drop over long daisy-chains, and ensures compliance with the latest National Electrical Code (NEC) standards.
This comprehensive guide breaks down the exact NEC spacing requirements, provides a room-by-room placement matrix, and delivers a professional-grade, step-by-step installation workflow for adding new 15A and 20A receptacles to your existing drywall.
Decoding NEC Article 210.52: The Spacing Rules
The NEC dictates receptacle placement primarily to eliminate the need for extension cords, which the U.S. Consumer Product Safety Commission (CPSC) identifies as a leading cause of residential electrical fires. The core philosophy is based on the standard 6-foot power cord.
NEC 210.52(A)(1) & (2) Summary: Receptacles shall be installed so that no point measured horizontally along the floor line in any wall space is more than 6 feet from a receptacle outlet. Furthermore, no wall space wider than 2 feet can be left without an outlet.
The 'Usable Wall Space' Definition
A wall space is measured from the edge of a door frame, fireplace, or fixed cabinet to the next interruption. If a wall is 12 feet long, it requires a minimum of two outlets, placed no more than 12 feet apart, ensuring the 6-foot reach rule is satisfied from any point along the baseboard.
Room-by-Room Placement Matrix (2026 Standards)
Different environments demand specific placement strategies and protective devices. The table below outlines the baseline requirements for modern residential construction and retrofits.
| Room / Area | Standard Height (Floor to Box Center) | Max Spacing | Special Code Requirements |
|---|---|---|---|
| Living Room / Bedroom | 12 to 16 inches | 12 feet | AFCI protection required at the panel. |
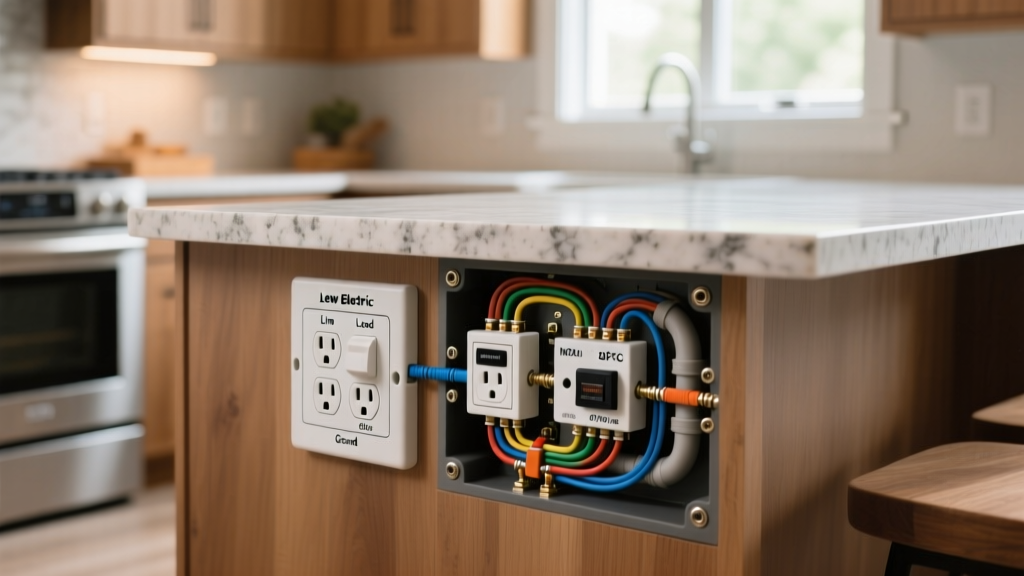
| Kitchen Countertops | 44 to 48 inches (above finished counter) | 4 feet (NEC 210.52(C)) | 20A circuits, GFCI required, no face-up outlets. |
| Bathroom Vanity | 40 to 44 inches | 36 inches from basin edge | 20A dedicated circuit, GFCI required. |
| Garage / Workshop | 48 to 54 inches | Vehicle bay spacing | GFCI required, 20A minimum for workbenches. |
| Home Office / Tech Wall | 12 to 16 inches (or 24'' for desk height) | 6 to 8 feet (best practice) | Consider isolated ground or UPS integration. |
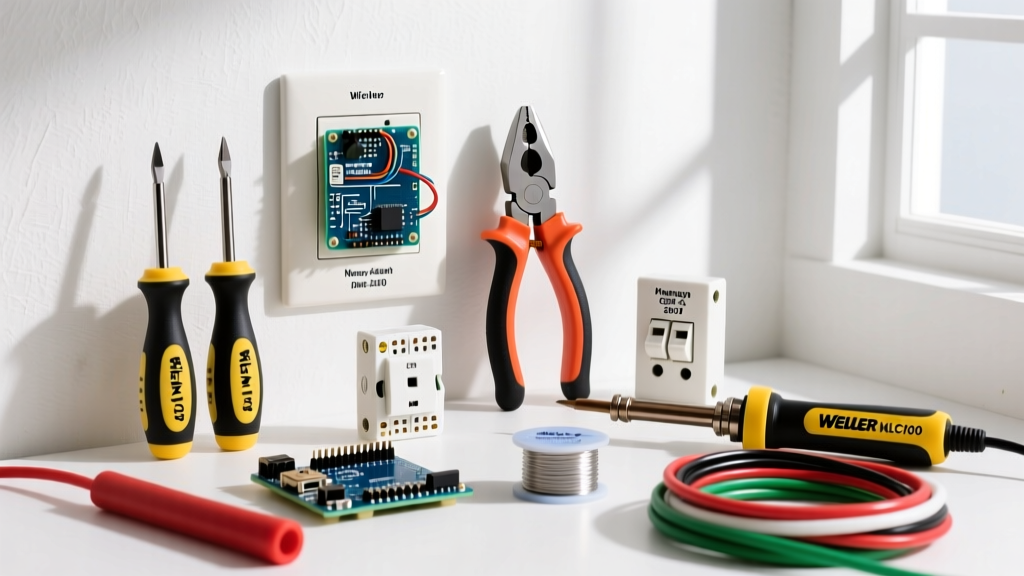
Essential Tools for Precision Installation
Before cutting into drywall, assemble professional-grade tools. Cheap tools lead to stripped screws, damaged drywall, and failed inspections.
- Locating & Leveling: Milwaukee 48-22-4201 Laser Level, Franklin Sensors FS710PRO Stud Finder.
- Cutting & Stripping: Klein Tools 11055 Wire Strippers (10-20 AWG), Stanley 12-150 Drywall Keyhole Saw.
- Boxes & Hardware: Carlon B120R-UPC 20-cubic-inch Old-Work Boxes, Steel Nail Plates (for studs).
- Termination: Wiha 28502 Torque Screwdriver (crucial for NEC 110.14(D) compliance), Leviton T5252-W 15A Tamper-Resistant Receptacles.
- Testing: Klein Tools RT250 GFCI Receptacle Tester.
Step-by-Step Installation Workflow
Step 1: Mapping, Marking, and Stud Avoidance
Use your laser level to project a horizontal line at your desired height (e.g., 14 inches to the center of the box). Slide the Franklin Sensors stud finder along the line to map the framing. Pro-Tip: You must maintain at least 1.25 inches of clearance from the edge of a wooden stud to the edge of your outlet box to avoid driving drywall screws into the Romex cable later. If you must place a box directly on a stud, use a 4x4 wooden block between the studs to mount a new-work bracket, or install a steel nail plate over the stud face.
Step 2: Cutting the Drywall and Routing NM-B Cable
Trace the Carlon B120R-UPC old-work box onto the drywall. Cut the outline using the keyhole saw, keeping the blade angled slightly outward to prevent over-cutting the backside of the drywall. Next, drill a 3/4-inch hole through the bottom plate or top plate of the wall cavity. Fish a 12/2 or 14/2 NM-B (Romex) cable from the panel or nearest junction box, leaving at least 8 inches of slack protruding from the new opening.
Step 3: Securing the Old-Work Box
Feed the NM-B cable through the knockout of the Carlon box. Push the box into the drywall hole. As you tighten the two mounting screws on the face of the box, the internal PVC 'wings' will rotate and pull tight against the back of the drywall. Do not overtighten, or you will crush the drywall paper and compromise the box's structural integrity.
Step 4: Precision Wiring and Torque Specifications
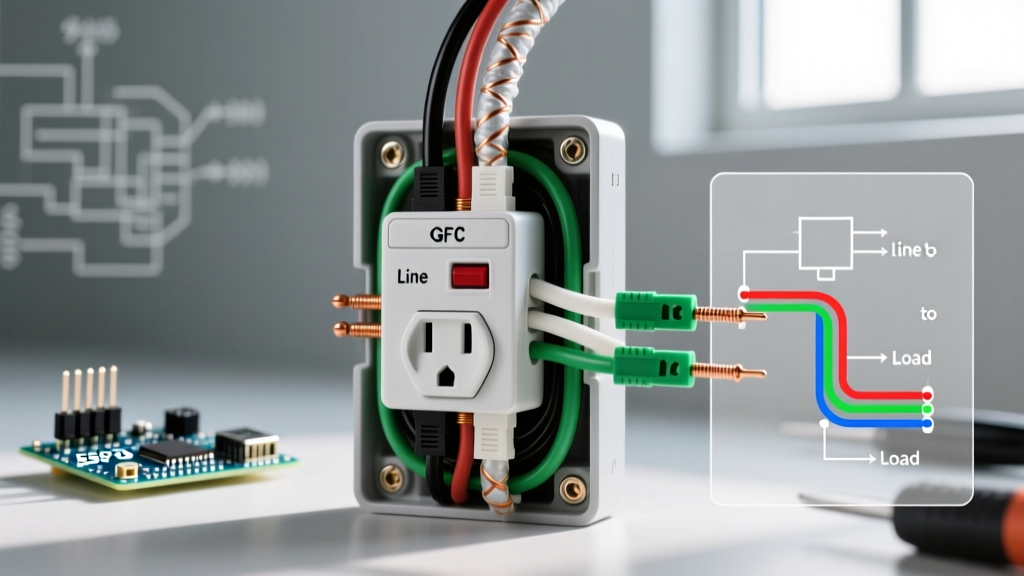
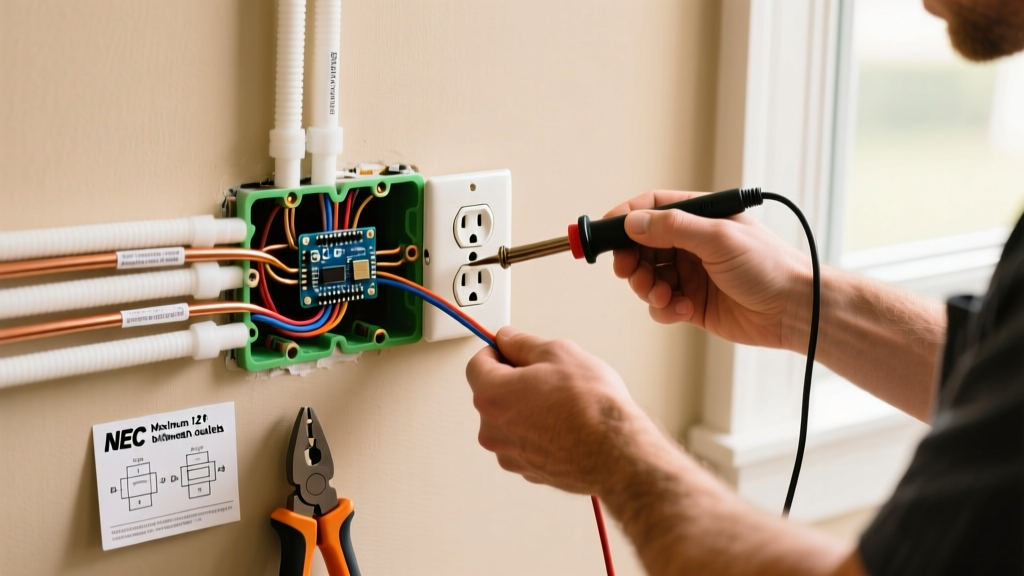
Strip exactly 3/4 inch of insulation from the black (hot) and white (neutral) wires using the Klein 11055s. Form a smooth 'J-hook' using needle-nose pliers. Critical 2026 Code Update: Under NEC 110.14(D), all terminations must be tightened to the manufacturer's specified torque. For a standard Leviton T5252-W receptacle, the torque requirement is typically 14 in-lbs for 14 AWG wire and 16 in-lbs for 12 AWG wire. Use your Wiha torque screwdriver to secure the brass (hot) and silver (neutral) screws. Hook the wire clockwise so the screw pulls the loop closed as it tightens. Attach the bare copper ground to the green screw.
Step 5: Final Trim, Testing, and Verification
Carefully fold the wires into the box using a 'Z-fold' method (ground in back, neutral in middle, hot in front) to prevent pinching. Mount the receptacle and install the faceplate. Turn the breaker back on and insert the Klein RT250 tester. The tester should display two solid amber lights, indicating correct wiring. Press the GFCI test button if applicable to verify trip functionality.
Modern Upgrades: Integrating USB-C and Smart Outlets
In 2026, standard duplex outlets are frequently swapped for integrated tech receptacles in high-traffic areas. When upgrading to a USB-C PD outlet like the Leviton T5636-W (30W Power Delivery), be aware of box fill calculations. USB-C outlets generate heat and have deeper bodies. You must use a 'deep' 22.5-cubic-inch old-work box (like the Carlon B122R-UPC) to accommodate the larger chassis and ensure proper heat dissipation, satisfying NEC Article 314.16 box fill volume requirements.
Frequently Asked Questions
Can I install an electrical outlet in the floor?
Yes, but floor outlets require specialized, UL-listed floor boxes (such as the Thomas & Betts 6230 series) that are rated to withstand physical impact and liquid spills. Standard wall boxes mounted in the floor are a severe code violation and a major shock hazard.
How do I hide outlets behind a wall-mounted TV?
For a clean look, install a recessed media box (like the Legrand On-Q WP3410) behind the TV. This allows the plug and HDMI cables to sit flush against the wall. Ensure this outlet is fed from an AFCI-protected living room circuit, and never run standard power cables inside the wall—only in-wall rated (CL2/CL3) AV cables and NM-B electrical wiring are permitted.
What is the difference between AFCI and GFCI placement?
GFCI (Ground Fault Circuit Interrupter) protects against electrical shock in wet areas (kitchens, baths, exteriors) and is built into the receptacle or breaker. AFCI (Arc Fault Circuit Interrupter) protects against electrical fires caused by arcing in damaged wires and is almost exclusively installed at the main breaker panel for living spaces and bedrooms. Consult the National Fire Protection Association (NFPA) NEC handbook for the exact circuit-by-circuit breakdown.
Final Thoughts on Safety and Compliance
Proper electrical outlet placement is a blend of ergonomic design and strict adherence to safety codes. By respecting the 6-foot/12-foot spacing rules, utilizing torque-calibrated tools, and selecting the correct box volumes for modern USB-C upgrades, you ensure a safe, high-performance electrical system. For further reading on residential electrical safety practices, review the comprehensive guides provided by the Electrical Safety Foundation International (ESFI). Always pull a local permit and schedule a rough-in and final inspection with your municipal building department before energizing new circuits.