
The Renovation Mindset: Why Standard Kits Ruin Rebuilds
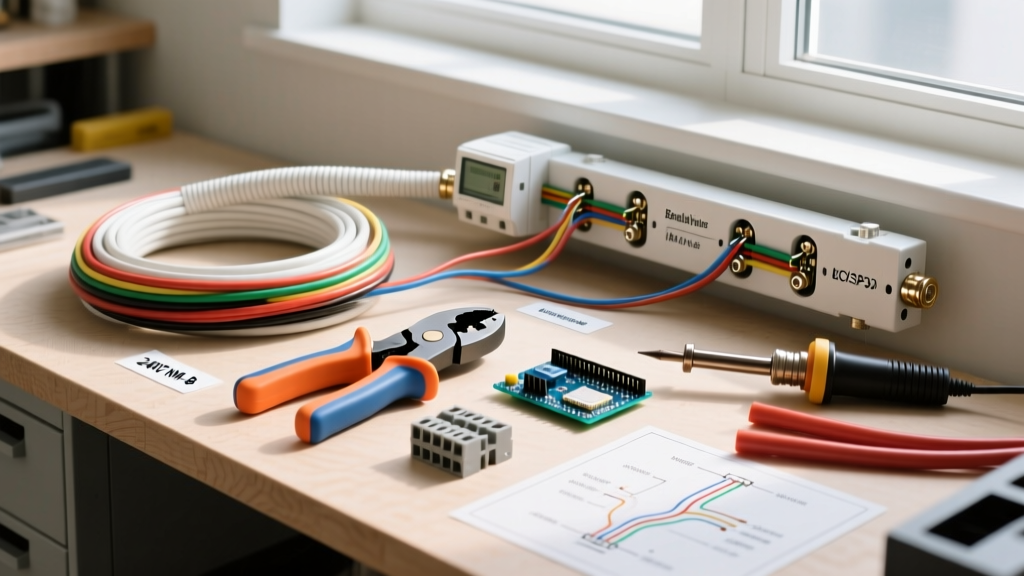
When planning a comprehensive utility trailer renovation, the electrical harness is often treated as an afterthought. Builders will spend thousands of dollars and hundreds of hours sandblasting, welding, and applying premium ceramic chassis coatings, only to zip-tie a $29.99 auto-parts store wiring kit to the frame. By 2026, the consensus among professional trailer fabricators is clear: standard copper-clad aluminum (CCA) wire and non-sealed incandescent fixtures are the primary failure points in custom trailer builds.
Proper utility trailer electrical wiring requires a strategic approach that integrates with your chassis modifications, accounts for vibration dynamics, and preempts galvanic corrosion. This renovation planning guide details the exact materials, routing strategies, and termination protocols required to build a harness that outlasts the trailer itself.
Anatomy of a Wiring Failure: What to Look For During Teardown
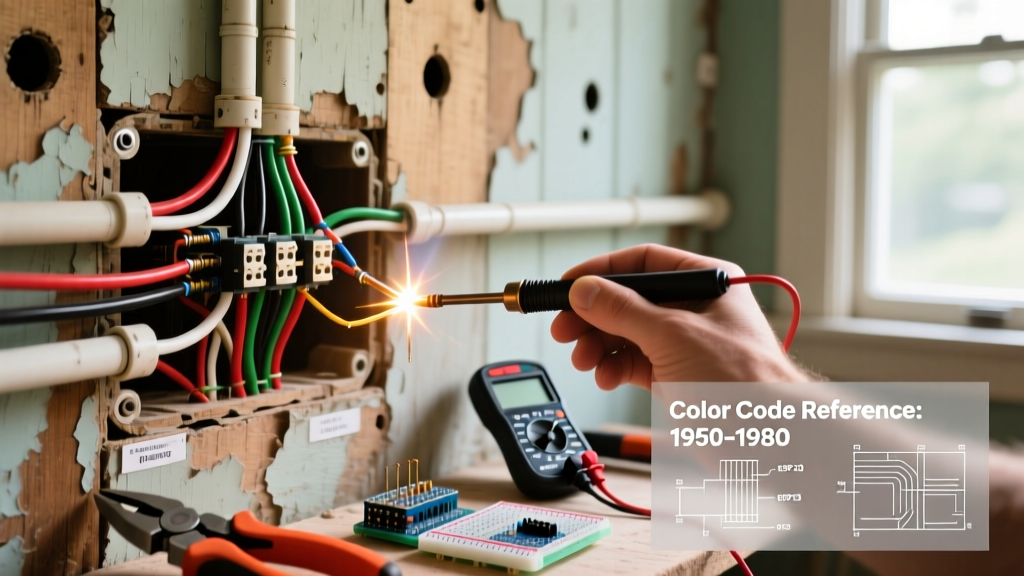
Before purchasing new materials, analyze why the previous harness failed. During your demolition phase, inspect the old wiring for these three common failure modes:
- Chafing at Frame Penetrations: Wires passed through C-channel or square tubing without rubber grommets inevitably wear through their PVC insulation due to high-frequency road vibration, causing short circuits against the steel frame.
- Galvanic Corrosion at Grounds: Standard ring terminals crimped over painted or powder-coated frames create high-resistance grounds. Furthermore, bare copper resting against galvanized steel accelerates oxidation, turning the ground point into a non-conductive crust of zinc and copper oxide.
- Capillary Moisture Intrusion: Cheap butt connectors wick moisture up the wire strands via capillary action, leading to internal copper oxidation (the "green death") that increases resistance and dims lights.
Material Selection & Budgeting: The Marine-Grade Standard
For a renovation meant to last decades, abandon automotive wire. Instead, source marine-grade, tinned copper wire. According to the American Boat & Yacht Council (ABYC), tinned copper is mandatory in marine environments to resist saltwater corrosion—a standard that perfectly translates to winter road salt and harsh trail conditions.
| Component | Budget Kit (Avoid) | Renovation-Grade (Recommended) | Est. Cost (2026) |
|---|---|---|---|
| Main Harness Wire | 16 AWG CCA, PVC Jacket | 12 AWG & 16 AWG Tinned Copper (UL 1426) | $45 - $65 |
| Connectors | Vinyl crimp butt splices | Adhesive-Lined Heat Shrink (e.g., 3M EPS300) | $25 - $35 |
| Conduit/Loom | Split corrugated plastic | Techflex F6 Braided PET Sleeving + Flex Conduit | $20 - $30 |
| Tail/Marker Lights | Incandescent, screw-mount | IP68 Sealed LED (e.g., Optronics STL72RB) | $80 - $120 |
| Plug/Connector | 4-Way Plastic Flat | 7-Way RV Blade, Cast Metal (Pollak PK11720) | $25 - $40 |
Total Premium Harness Budget: $195 - $290 (compared to $35 for a budget kit). The ROI is measured in eliminated roadside troubleshooting.
Strategic Routing & Chassis Integration
Routing must be planned before the final chassis coat is applied. Map out the harness pathway using the following structural integration rules:
1. Frame Penetrations and Grommets
Whenever the harness must pass through a crossmember or frame rail, drill the hole 1/4-inch larger than the bundled wire diameter. Insert a high-durometer rubber grommet (such as a 3/4-inch ID neoprene grommet). Feed the wires through the grommet, and apply a bead of marine-grade polyurethane sealant (like 3M 5200) around the outer lip to prevent water ingress into the frame cavity.
2. Conduit Strategy
Do not use standard black split-loom tubing for the main run; it traps water and degrades under UV exposure. For the main backbone running along the tongue and center I-beam, use Techflex F6 braided PET sleeving. It is flexible, self-wrapping, and sheds water rather than trapping it. For areas exposed to extreme physical abuse (e.g., near the jack stand or wheel wells), use heavy-wall adhesive-lined heat shrink tubing or rigid aluminum conduit.
3. The Dedicated Ground Bus
Stop relying on the trailer frame as a return path for high-draw circuits. While the frame can ground low-draw LED markers, run a dedicated 10 AWG tinned copper ground wire from the 7-way plug directly to a centralized stainless steel ground bus bar mounted inside a weatherproof junction box near the axle. From the bus bar, run individual ground pigtails to each light fixture.
The 7-Way Upgrade: Integrating Auxiliary Power
Even if your tow vehicle currently uses a 4-way flat connector, plan your renovation around a 7-way RV blade (such as the Pollak PK11720 cast-metal socket). This future-proofs the trailer for electric brakes and auxiliary power.
- Pin 4 (12V Auxiliary): Run a dedicated 10 AWG wire to a fused relay block. This allows you to wire interior LED cargo lights, a 12V winch charging circuit, or an electric tongue jack without overloading the tail light circuits.
- Pin 2 & 6 (Brakes & Power): If planning an axle upgrade to include electric brakes (e.g., Dexter 3,500 lb axles with 10-inch drums), run 10 AWG wire for the brake circuit to prevent voltage drop under heavy braking loads.
DOT Compliance & Lighting Layout
Renovations that alter the trailer's dimensions or chassis type must adhere to federal lighting regulations. According to the Federal Motor Carrier Safety Administration (FMCSA) and DOT FMVSS 108 standards, specific lighting is mandated based on width and length.
Expert Planning Note: If your renovated utility trailer exceeds 80 inches in width, you are legally required to install three amber identification (ID) clearance lights on the top center of the front header, and three red ID lights on the top center of the rear. Failing to plan the wiring drops for these top-mounted lights before installing the roof or header cap is a common and costly renovation mistake.
Termination & Weatherproofing Protocol
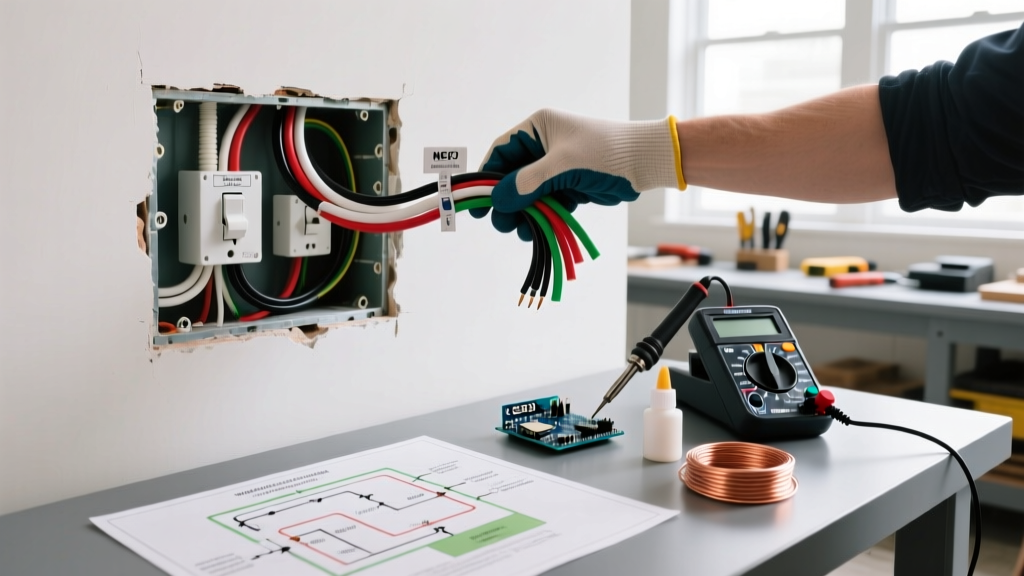
The physical connection points are where 90% of electrical gremlins originate. Follow this exact termination sequence for every splice and fixture connection:
- Strip and Clean: Strip the wire using precision gauged strippers to avoid nicking the tinned strands. Wipe the exposed copper with isopropyl alcohol.
- Crimp with Force: Use a ratcheting crimp tool (e.g., IWISS SN-58B) on adhesive-lined heat shrink butt connectors. The ratchet ensures the exact compression ratio required for a gas-tight connection.
- Heat and Seal: Apply heat with a dedicated heat gun (not a lighter) starting from the center and moving outward. Stop when the adhesive melts and extrudes slightly from both ends of the shrink tube, creating a 100% waterproof seal.
- Fixture Connections: For LED fixtures with pre-attached pigtails, use 3M Scotchlok UR2 gel-filled butt connectors if heat shrink cannot easily fit over the molded fixture housing. The dielectric gel inside the UR2 permanently blocks moisture.
Voltage Drop Calculations for Long Trailers
When planning wire gauges, distance is your enemy. A 20-foot run from the tongue to the rear lights means a 40-foot total circuit (power and ground). While 16 AWG wire is sufficient for modern IP68 sealed LEDs (which draw less than 0.5 amps per fixture), it is wholly inadequate for incandescent backup lights or auxiliary 12V outlets.
Use this rule of thumb during your renovation planning: Never exceed a 3% voltage drop on any circuit. For a 10-amp auxiliary circuit on a 25-foot trailer (50-foot round trip), 10 AWG wire is the absolute minimum. Upgrading to 8 AWG for the main backbone from the plug to the rear junction box guarantees that voltage remains stable, ensuring your electric brakes receive the full amperage required during emergency stops.
Final Pre-Close Testing
Before sealing up junction boxes, applying final undercoating, or mounting the cargo floor, perform a load test. Do not simply plug the trailer in and check if the lights turn on. Connect a digital multimeter at the furthest fixture (usually the rear license plate or tail light). Measure the voltage with the tow vehicle running and all lights/brakes engaged. If the voltage reads below 12.2V at the rear fixture, you have undersized your wire or have a high-resistance ground that must be addressed before the renovation is closed up.