
Decoding the Blueprint: Your Guide to Electrical Symbols
Whether you are planning a full-gut kitchen remodel or simply adding a new 20-amp receptacle in your garage, understanding an electrical wiring symbols chart is the difference between a smooth project and a failed municipal inspection. Architectural blueprints and electrical schematics rely on a standardized visual language governed by the National Electrical Code (NEC) and ANSI Y32.9 standards. For the home DIYer, misinterpreting these symbols can lead to overloaded circuits, improper grounding, or severe shock hazards.
This guide breaks down the essential symbols you will encounter on residential blueprints, providing actionable context, specific product recommendations, and NEC 2023/2026 compliance notes to ensure your home project is safe and up to code.
The Core Language: Standard Architectural Electrical Symbols
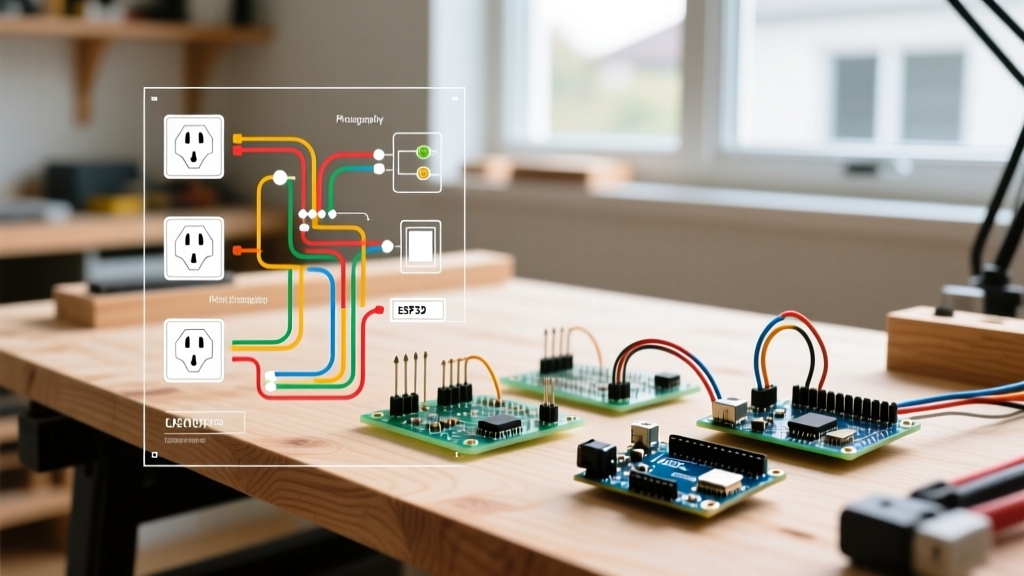
Architects and electrical engineers use a specific set of geometric shapes and letters to represent components. Below is a master reference table for the most common residential symbols.
| Symbol Representation | Component Name | NEC Reference | Home Application & Specifics |
|---|---|---|---|
| Circle with 'X' or '$' | Standard Duplex Receptacle | Article 210.50 | General purpose 15A/125V outlets. Use Leviton 5262-W (15A) or 5654-W (20A) Tamper-Resistant (TR) models. |
| Circle with 'G' | GFCI Receptacle | Article 210.8 | Required within 6 feet of water sources (kitchens, baths, garages). Look for the 'TEST/RESET' buttons. |
| Circle with 'A' | AFCI Receptacle | Article 210.12 | Arc-Fault protection required in bedrooms, living rooms, and hallways to prevent electrical fires. |
| Circle with 'S' | Single-Pole Switch | Article 404 | Controls a light from one location. Standard toggle or Decora paddle style. |
| Circle with 'S3' | 3-Way Switch | Article 404 | Controls a light from two locations (e.g., top and bottom of stairs). Requires 14/3 or 12/3 NM-B wire. |
| Circle with 'S4' | 4-Way Switch | Article 404 | Used between two 3-way switches for control from three or more locations. |
| Half-Circle with 'X' | Switched Half-Receptacle | Article 210.52 | Bottom half is always hot; top half is controlled by a wall switch. Requires breaking the brass fin tab. |
| Ceiling 'X' with Lines | Ceiling Fan / Light Combo | Article 314.27 | Requires a fan-rated electrical box (e.g., Carlon B618R) capable of supporting 35-70 lbs of dynamic torque. |
Decoding Circuit Routing and Wire Annotations
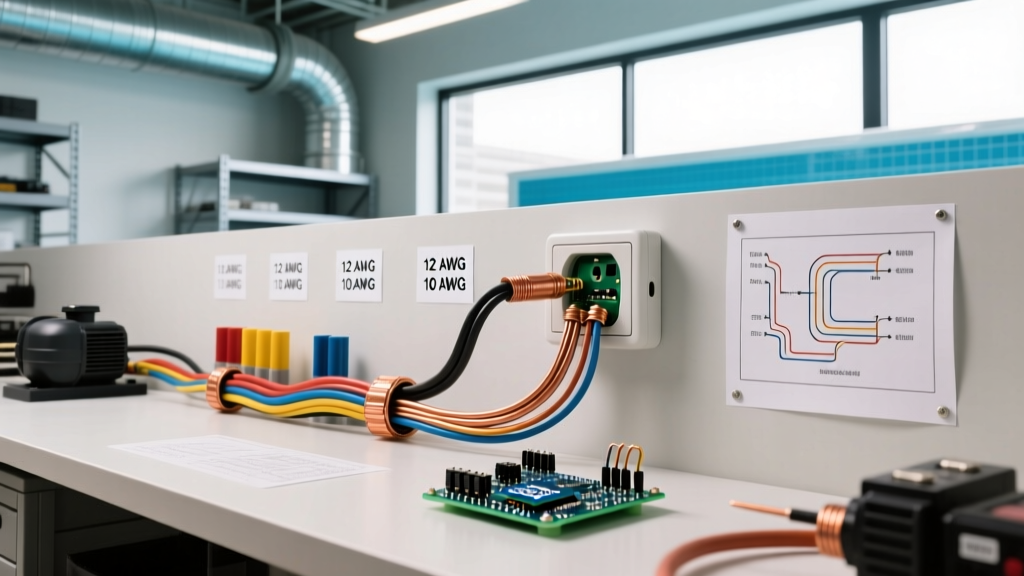
Symbols alone do not tell the whole story. An electrical wiring symbols chart must be paired with circuit annotations—the text and lines connecting the symbols. These annotations dictate the wire gauge, sheath type, and circuit breaker amperage.
Reading the Wire Legend
When you see a line connecting a breaker panel to a kitchen receptacle, it will typically be labeled with a string like: 2-12/2 NM-B w/ GND 20A. Here is how to parse that data:
- 2: Indicates Circuit #2 on the panel schedule.
- 12/2: Specifies 12 AWG copper wire with 2 current-carrying conductors (Black/Hot, White/Neutral). Note: Older blueprints may use a dash (12-2), but the slash is the modern industry standard.
- NM-B: Non-Metallic Sheathed Cable, Type B (rated for 194°F/90°C). Southwire Romex SIMpull is the industry benchmark.
- w/ GND: Includes a bare copper equipment grounding conductor.
- 20A: Must be protected by a 20-Ampere breaker (e.g., Square D Homeline HOM120CP).
CRITICAL SAFETY & CODE WARNING: Under NEC Article 210.52(B), kitchens require at least two dedicated 20-amp small-appliance branch circuits. You cannot mix kitchen counter receptacles with lighting or dining room outlets on these circuits. Always verify your blueprint annotations match this requirement before pulling wire.
Practical Exercise: Tracing a Kitchen Remodel Circuit
Let's apply the electrical wiring symbols chart to a real-world scenario. Imagine you are reviewing a blueprint for a 150-square-foot kitchen remodel.
- Identify the GFCI Hub: Locate the symbol for the GFCI receptacle (Circle with 'G') near the main sink. This will be your upstream protection device.
- Trace the Load Side: Follow the solid line from the 'LOAD' terminals of the GFCI symbol to the downstream standard duplex symbols (Circle with 'X') along the counter. This ensures all counter outlets are protected without buying five $25 GFCI units.
- Check the Island Requirement: NEC 2023 mandates at least one receptacle for kitchen islands. Look for a specialized floor box symbol or a side-cabinet outlet symbol. If the blueprint shows a standard wall outlet symbol more than 12 inches below the countertop, it violates code.
- Verify Appliance Dedicated Circuits: Locate the symbols for the dishwasher and disposal. They should be annotated with separate circuit lines (e.g.,
C-15 12/2 NM-B) running directly back to the panel, bypassing the small-appliance branch circuits.
Low-Voltage vs. Line-Voltage Symbols
A common pitfall for DIYers is confusing line-voltage (120V/240V) symbols with low-voltage (data, telecom, smart home) symbols. Mixing these in the same junction box without a physical barrier is a severe NEC violation (Article 725).
- Line-Voltage: Represented by solid lines and standard geometric circles/squares.
- Low-Voltage: Often represented by dashed lines, triangles, or symbols with 'TV', 'DATA', or 'CAT6' inside. Smart home hubs (like the Lutron Caseta RRK-1-PAC) will have specific proprietary symbols indicating RF communication zones.
Essential Tools for Blueprint Markups and Verification
Reading the chart is only step one. Verifying the physical space against the blueprint requires specific tools. Budget approximately $350-$500 for this foundational DIY kit:
- Fluke T6-1000 Electrical Tester (~$180): Essential for non-contact voltage verification and measuring up to 1000V without exposing bare wire tips. Crucial for verifying existing circuits match the 'as-built' blueprint.
- Klein Tools CL800 Clamp Meter (~$130): Use this to measure the actual amperage draw on a circuit to ensure your blueprint's load calculations align with reality.
- Bosch GLM 20 Laser Measure (~$35): Verify the physical distances on the blueprint. NEC 210.52 requires that no point along a wall is more than 6 feet from a receptacle. Laser measuring ensures your symbol placement is accurate.
DIY Blueprint Reading vs. Hiring an Electrical Designer
Should you interpret the electrical wiring symbols chart yourself, or pay a professional? Here is a practical decision matrix:
- DIY Approach (Pros): Saves $500-$1,500 in design fees; builds intimate knowledge of your home's infrastructure; ideal for single-room remodels or basement finishes.
- DIY Approach (Cons): High risk of missing nuanced local amendments to the NEC; requires 10-15 hours of study; potential for failed inspections costing $150+ per re-inspection.
- Pro Designer (Pros): Stamped plans guaranteed to pass municipal permitting; optimized load calculations; integrates smart home schematics seamlessly.
- Pro Designer (Cons): Upfront cost; less flexibility for on-the-fly changes during demolition.
Frequently Asked Questions
What does a circle with a diagonal line through it mean on a wiring chart?
A circle with a diagonal line or a cross typically represents a ceiling-mounted light fixture or an incandescent lamp in schematic diagrams. In architectural floor plans, a simple circle with radiating lines often denotes a recessed can light (e.g., Halo H550ICAT for insulated ceilings).
Are electrical symbols universal across all countries?
No. The symbols detailed in this guide conform to US and Canadian standards (NEC and ANSI Y32.9). European (IEC 60617) and Australian (AS 1102) standards use entirely different graphical representations. Always verify the standard referenced in the blueprint's title block.
How do I represent a smart switch on a blueprint?
Standard architectural charts do not have a universal symbol for smart switches yet. Most designers use the standard 3-way or single-pole switch symbol and add a text annotation (e.g., 'SMART / WIFI - Lutron DVRF-6L'). Always include a legend on your DIY blueprints to clarify these modern additions.
Authoritative References & Further Reading
To ensure your home projects meet the highest safety standards, consult the following resources during your planning phase: