
The Foundation of Safe Towing: Electric Brake Wiring Materials
When towing a 5,000-pound trailer, your electric brake wiring is the single most critical safety link between your vehicle's brake pedal and the trailer's axles. A failure in this low-voltage, high-current DC circuit doesn't just mean a blown fuse; it means a complete loss of trailer stopping power. Yet, most DIYers compromise their builds by using off-the-shelf building wire and cheap crimpers. In 2026, with modern brake controllers like the Tekonsha P3 and Curt Discovery pushing precise pulse-width modulation (PWM) signals, the physical wiring must be flawless to prevent signal degradation and voltage drop.
This comprehensive material and tool guide strips away the guesswork. We will detail the exact wire gauges, insulation types, circuit protection components, and professional-grade tools required to build a bulletproof electric brake wiring harness.
Core Wiring Selection: Why THHN Fails and GXL Reigns
The most common mistake in trailer wiring is repurposing solid-core THHN building wire. THHN is designed for static, indoor conduit runs. It lacks the strand count to survive the constant high-frequency vibration of a trailer A-frame, leading to internal copper fatigue and eventual open circuits. Furthermore, standard PVC insulation becomes brittle in sub-zero temperatures and melts when routed near hot exhaust components.
For electric brake wiring, you must use cross-linked polyethylene (XLPE) insulated stranded wire. The industry standards are GXL (General Cross-Linked) and SXL (Standard Cross-Linked). Both are rated to 125°C (257°F) and resist automotive fluids, road salt, and abrasion. GXL features a thinner insulation wall than SXL, making it the superior choice for routing through tight trailer frames and flexible looms.
Wire Gauge & Specification Matrix
| Wire Type | Gauge | Strand Count | Max Ampacity (Chassis) | Best Application | Approx. Cost (2026) |
|---|---|---|---|---|---|
| Southwire GXL | 10 AWG | 19 Strands | 30 Amps | Main brake feed (Battery to 7-Way) | $0.75 / ft |
| Carol Cable SXL | 12 AWG | 19 Strands | 20 Amps | Axle drop-downs (7-Way to brakes) | $0.55 / ft |
| Standard THHN | 10 AWG | Solid / 19 | 30 Amps | DO NOT USE (Fails under vibration) | $0.40 / ft |
Note: Always run a dedicated 10 AWG charge line and a dedicated 10 AWG brake controller power line from the tow vehicle battery to the 7-way receptacle. Do not rely on the factory 12V auxiliary pin for brake power, as factory wiring is often undersized (14 AWG) and suffers from severe voltage drop over the 15+ foot run to the rear bumper.
Circuit Protection: Auto-Reset Breakers
Electric brake magnets can draw up to 12-15 amps per axle under heavy braking. A tandem-axle trailer will pull roughly 25-30 amps. Therefore, your main brake power feed requires a 30-Amp or 40-Amp auto-reset circuit breaker. Avoid standard blade fuses for the main feed; when a brake magnet shorts internally, it can cause a blade fuse to blow repeatedly, leaving you stranded.
Recommended Component: Bussmann (Eaton) CB184-30 or CB184-40. Priced around $14.00, these thermal auto-reset breakers feature a copper contact face and a weather-resistant molded housing. According to NFPA 1192 (Standard on Recreational Vehicles) and standard NFPA DC wiring guidelines, overcurrent protection must be installed within 18 inches of the battery positive terminal to protect the entire downstream cable run.
Connectors and Terminations: The Polyolefin Standard
Vinyl and nylon insulated ring terminals are unacceptable for exterior trailer wiring. Moisture wicks into the crimp barrel via capillary action, turning the copper green and increasing resistance. This resistance causes the brake controller to read a 'short' or 'overload' error on the dashboard.
You must use Marine-Grade Polyolefin Heat Shrink Terminals. Brands like Ancor or Molex use a dual-wall heat shrink tube with an inner layer of hot-melt adhesive. When heated, the adhesive melts and seals the wire strands, creating a 100% waterproof, strain-relieved connection.
- Ring Terminals (12-10 AWG, #10 stud): For grounding to the trailer frame and brake magnet studs.
- Butt Splices (12-10 AWG): For extending wires or repairing chafed sections.
- Cost: Expect to pay $0.40 to $0.60 per terminal. Do not buy the 500-piece bulk bins from discount auto stores; the adhesive lining is often missing or insufficient.
Essential Tools for Professional Terminations
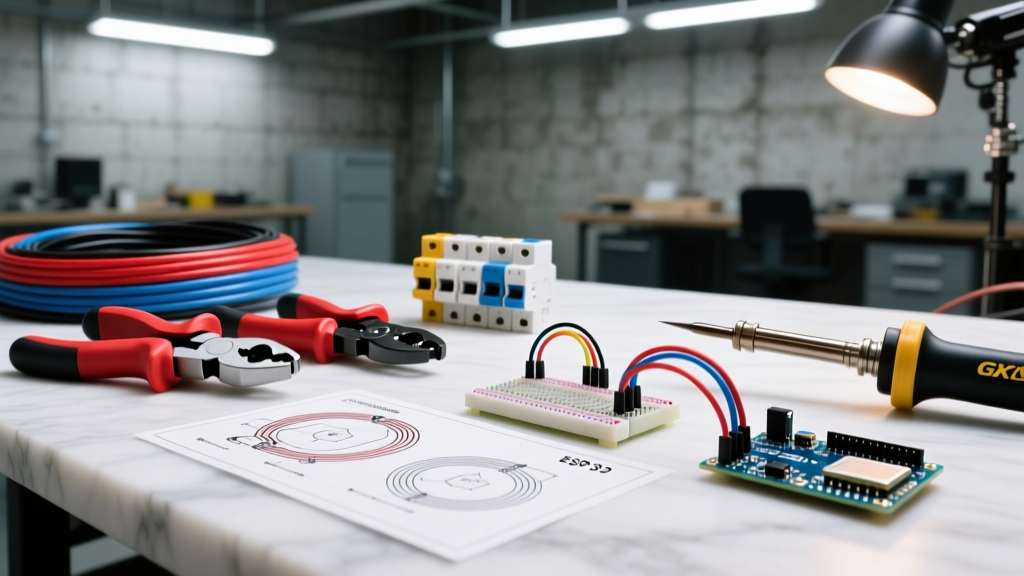
The best wire and connectors will fail if crimped with a pair of slip-joint pliers. A proper crimp cold-welds the copper wire to the terminal barrel. Here is the exact tool loadout required for the job.
1. Ratcheting Crimper: Titan 11477 or Knoweasy Ratchet Crimper
Price: $45.00 - $60.00. A ratcheting crimper locks onto the terminal and will not release until the exact compression force is achieved. This ensures a 360-degree uniform crimp, eliminating the 'pull-out' failure mode. The Titan 11477 features interchangeable jaws specifically profiled for insulated heat-shrink terminals.
2. Wire Strippers: Klein Tools 11063W
Price: $28.00. This tool cleanly strips 10-20 AWG stranded wire without nicking the outer copper strands. Nicking a strand reduces the wire's cross-sectional area and creates a weak point that will snap under trailer vibration.
3. Heat Gun: Wagner HT1000
Price: $35.00. Do not use a butane lighter to shrink polyolefin terminals; it creates carbon buildup and uneven heating, which melts the adhesive out of the joint before the plastic shrinks. The Wagner HT1000 provides a consistent 750°F airflow that shrinks the terminal evenly in about 4 seconds.
Step-by-Step Termination & Grounding Protocol
Expert Insight: 80% of electric brake wiring failures are not broken wires; they are bad grounds. The brake magnets complete their circuit through the trailer frame. If the ground path has high resistance, the brakes will pulse weakly or not at all.
- Prep the Ground Point: Select a thick section of the trailer frame near the axle. Use a 3-inch sanding disc or a Dremel to grind away all paint, powder coating, and rust down to bare, shiny steel.
- Crimp the Ring Terminal: Strip exactly 5/16 inch of insulation from the 10 AWG white ground wire. Insert it into the 12-10 AWG ring terminal until the copper is flush with the barrel shoulder. Crimp using the ratcheting tool.
- Seal the Connection: Apply heat evenly until the adhesive bubbles slightly out of both ends of the shrink tube.
- Mount and Protect: Bolt the ring terminal to the bare steel using a 3/8-inch stainless steel bolt and a star washer (to bite into the metal). Critical Step: Smear a thick layer of dielectric grease or marine grease over the entire terminal and bolt head to prevent flash rust.
Edge Cases & Troubleshooting the 7-Way Plug
The 7-way RV blade connector is the most vulnerable point in any electric brake wiring harness. The factory-molded plugs often suffer from pin corrosion and loose internal grips.
- The 'Trailer Disconnected' False Alarm: If your modern brake controller randomly displays a 'disconnected' error while driving over bumps, the issue is rarely a broken wire. It is almost always the female pins inside the tow vehicle's 7-way socket losing tension. Use a small pick tool to gently bend the internal female brass tabs inward to restore grip tension on the male plug.
- Pigtail Replacement: If replacing the trailer-side pigtail, cut the old plug off 3 feet back from the junction box to ensure you are splicing into healthy, unoxidized wire. Use the polyolefin butt splices mentioned above, and wrap the entire splice bundle in 3M Scotch 88 or Tesa 51036 PET cloth tape. Never use standard vinyl electrical tape; the adhesive turns to a messy sludge in summer heat, unraveling within weeks.
Final Routing and Loom Protection
Once your wiring is terminated, it must be protected from road debris. Route all 10 AWG and 12 AWG lines through 1/2-inch split corrugated loom tubing. Secure the loom to the trailer frame every 8 inches using UV-resistant, 8-inch zip ties. Avoid routing the brake wiring parallel to the trailer's 120V AC lines (if applicable on large RVs) to prevent electromagnetic interference, which can cause erratic PWM signals in the brake controller.
By investing roughly $120 in high-temperature GXL wire, marine-grade heat shrink terminals, a ratcheting crimper, and a Bussmann auto-reset breaker, you eliminate the most common failure points in trailer towing. For further reading on standardized RV and trailer wiring practices, consult the Curt Manufacturing Trailer Wiring Guide and always verify your specific vehicle's towing capacity and electrical limits in the owner's manual.