
The Anatomy of Safe Electric Cord Wiring
Whether you are replacing a frayed power cord on a vintage drill press, building custom extension cables for a job site, or rewiring a high-draw kitchen appliance, electric cord wiring demands precision. Unlike fixed branch-circuit wiring hidden behind drywall, flexible cords are subjected to continuous mechanical stress, bending, and environmental exposure. A poorly executed termination doesn't just fail; it creates high-resistance joints that lead to thermal runaway, arcing, and fire.
This comprehensive material and tool guide cuts through the generic advice. We will break down the exact cable jacket types, professional-grade hand tools, and termination hardware required to execute code-compliant, durable cord repairs in 2026. All recommendations align with the flexible cord requirements outlined in NFPA 70 (NEC) Article 400 and OSHA 1910.305 wiring standards.
Decoding Flexible Cord Materials: SJT vs. SVT vs. SOOW
Selecting the correct cable is the first critical step. Using an undersized or improperly jacketed cord for an appliance's amperage draw is a direct violation of electrical codes and a primary cause of cord meltdowns. The National Electrical Manufacturers Association (NEMA) and UL classify these cords based on their service type, voltage, and jacket material.
| Cord Type | Full Designation | Voltage Rating | Jacket Material | Best Use Case | Avg. Cost/Ft (2026) |
|---|---|---|---|---|---|
| SVT | Service Vacuum Thermoplastic | 300V | PVC (Thin) | Vacuums, fans, light-duty office equipment (Max 10A-13A) | $0.35 - $0.50 |
| SJT | Service Junior Thermoplastic | 300V | PVC (Medium) | Power tools, desktop computers, medium-draw appliances (15A) | $0.55 - $0.85 |
| SOOW | Service Oil Oil Water | 600V | CPE / Rubber (Heavy) | Industrial machinery, outdoor equipment, welding cables (20A+) | $1.10 - $2.40 |
Expert Insight: Never substitute an SVT cord for an SJT application. The thinner PVC insulation on SVT cords cannot withstand the mechanical clamping force of heavy-duty strain reliefs, leading to insulation crush and short circuits. For any appliance drawing near 15 amps continuously (like a space heater or microwave), always default to a 14 AWG SJT or SOOW cord to mitigate voltage drop and heat buildup.
Precision Hand Tools: Strippers and Crimpers
The most common failure point in electric cord wiring occurs before the wire even touches the terminal. Nicking a single copper strand during the stripping process reduces the wire's cross-sectional area. A 14 AWG wire with three nicked strands effectively becomes a 16 AWG wire at that specific point, creating a localized hotspot under load.
Wire Strippers: Automatic vs. Precision Manual
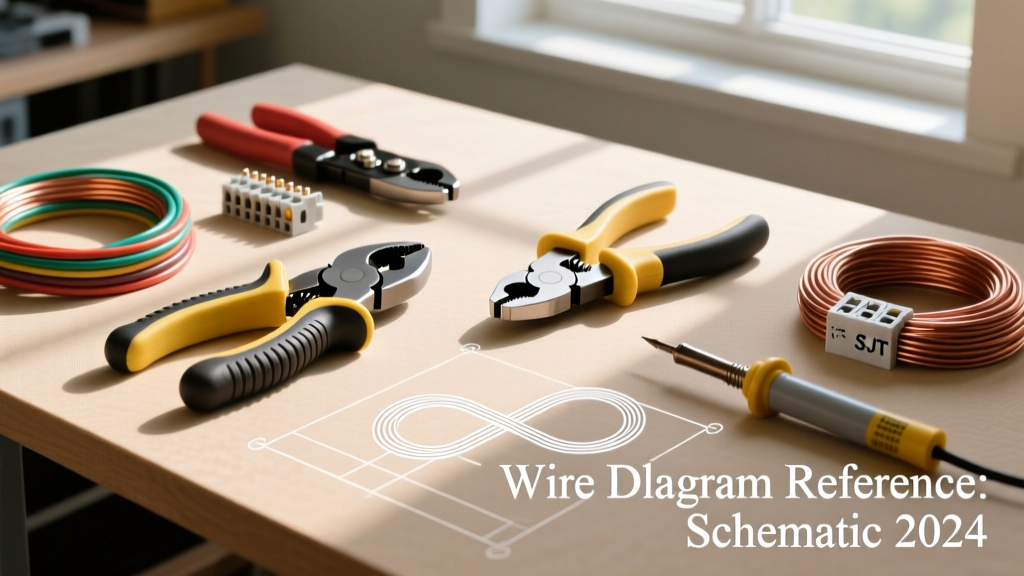
- Knipex 12 62 200 ESD Precision Stripper (~$78): The gold standard for SVT and SJT cords. The interchangeable blades allow you to set the exact cutting depth to the thousandth of an inch, ensuring the PVC jacket is sliced without scoring the copper conductors underneath. Essential for high-volume repair shops.
- Klein Tools 11063W Kurve Wire Stripper (~$32): An excellent, budget-friendly option for DIYers. The curved nose allows for easy maneuvering inside tight appliance housings, and the precision-machined holes cleanly strip 10-20 AWG stranded wire without catching.
- IRWIN VISE-GRIP Automatic Wire Stripper (~$28): Great for rapid, repetitive stripping of standard SJT cords, but can struggle with the thick, tacky rubber jackets of SOOW cables, occasionally pulling and stretching the inner copper bundles.
Terminal Crimpers
If your appliance uses screw terminals, you must use wire ferrules to prevent 'cold flow' (where stranded copper compresses and flattens under screw pressure over time, loosening the connection). The IWISS IWS-16 Ferrule Crimper (~$25) features a ratcheting mechanism that ensures every crimp reaches the exact required pressure before releasing, yielding a gas-tight, uniform connection every time.
Termination Hardware: Plugs, Connectors, and Strain Reliefs
Hardware selection dictates the mechanical longevity of your cord. Avoid the $1.50 generic, unbranded replacement plugs found in bulk bins; their internal brass contacts are often thin and prone to arcing.
- Replacement Plugs: The Leviton 5266-C (15A 125V NEMA 5-15P) (~$6) features a ribbed thermoplastic body and heavy-duty brass terminal screws. For 20A applications, step up to the Hubbell 5266C (~$14), which utilizes internal clamping plates rather than direct screw-to-wire pressure, eliminating strand damage entirely.
- Strain Reliefs: This is non-negotiable. A cord grip (like the Hubbell 4745 Kellems Grip, ~$4) absorbs any pulling force, transferring it to the cable jacket rather than the delicate electrical terminations. If your appliance housing lacks an integrated cord grip, you must install an external one.
- Insulated Ferrules: Use DIN 46228 standard twin or single ferrules. For 14 AWG wire, use a gray 14 AWG (1.5mm²) ferrule. The plastic collar provides a secondary layer of insulation and acts as a physical stop to prevent the wire from being inserted too deeply into the terminal block.
Step-by-Step Execution: Avoiding Critical Failure Modes
Follow this exact sequence to ensure a professional-grade termination.
- Jacket Removal: Strip exactly 2.5 inches of the outer jacket. Failure Mode: Stripping too little jacket leaves the outer sheath trapped inside the strain relief, which will eventually tear. Stripping too much exposes unprotected inner conductors to sharp housing edges.
- Conductor Prep: Strip 1/2 inch of insulation from the individual black, white, and green wires. Twist the strands tightly clockwise. Failure Mode: Leaving strands splayed out causes 'whiskers' to bridge the gap between the hot and neutral terminals, resulting in an immediate dead short upon energizing.
- Ferrule Crimping: Slide the appropriately sized ferrule over the twisted strands. The wire should sit flush with the end of the metal tube—do not let copper protrude past the collar. Crimp using the ratcheting tool.
- Terminal Termination: Insert the ferrule into the plug's terminal block. Tighten the screw to the manufacturer's specified torque (typically 12-14 in-lbs for 14 AWG). Failure Mode: Overtightening strips the soft brass threads of the terminal screw; undertightening allows the wire to pull out under minor vibration.
- Strain Relief Assembly: Route the cord through the Kellems grip or internal cord clamp. Ensure the clamp bites down exclusively on the thick outer PVC/rubber jacket, never on the individual colored conductors.
Testing and Validation Protocol
Never plug a newly wired cord into a live receptacle without testing it first. A $200 multimeter is cheap insurance against a destroyed appliance or a shock hazard.
Using a digital multimeter (such as the Fluke 117 True-RMS, ~$210, or the budget-friendly Klein Tools MM400, ~$45), set the dial to continuity (the diode/audio symbol).
- Polarity Check: Touch one probe to the narrow (hot) prong of the plug and the other to the brass terminal inside the appliance. You should hear a beep. Repeat for the wide (neutral) prong and the silver terminal. If you get a beep between the hot prong and the silver terminal, your polarity is reversed—a severe shock hazard.
- Short Circuit Check: Place probes on the hot and neutral prongs simultaneously. The meter must read 'OL' (Open Line). If it reads near zero ohms, you have a dead short inside the plug housing. Disassemble and inspect for copper whiskers.
- Ground Continuity: Verify continuity between the round ground prong and the appliance's metal chassis or green grounding screw.
Safety Directive: According to OSHA regulations, flexible cords must not be used as a substitute for fixed wiring, run through holes in walls or ceilings, or concealed behind drywall. Electric cord wiring is strictly for the connection of movable appliances, luminaires, and portable tools to the fixed branch circuit.
Final Thoughts on Cord Longevity
Mastering electric cord wiring is about respecting the mechanical forces at play. Electricity will always find a path, but it is the physical integrity of the copper, the precision of the crimp, and the robustness of the strain relief that determine whether that path remains safe for a decade or fails catastrophically in a month. Invest in the proper stripping tools, refuse to skip the ferrules, and always validate your terminations with a meter before applying power.