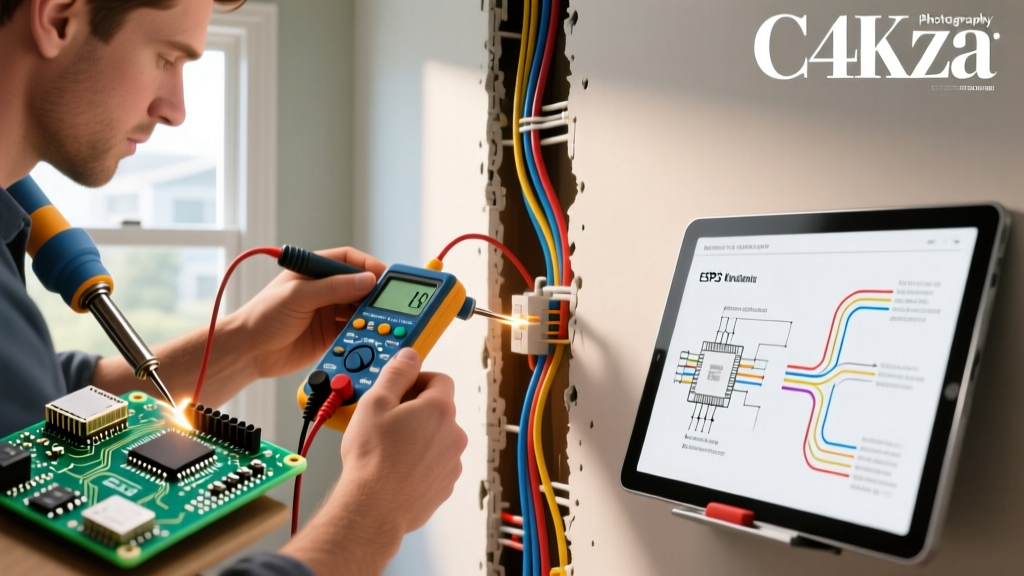

The Hidden Maze: Why Tracing Wiring is Critical for Home Projects
Whether you are remodeling a 1970s split-level home or simply adding a new smart thermostat, knowing exactly where your cables run behind the drywall is the difference between a successful weekend project and a catastrophic, potentially lethal mistake. Blindly drilling into walls or cutting into ceilings without verifying cable routing is a leading cause of residential electrical fires and severe shock injuries. According to the U.S. Consumer Product Safety Commission (CPSC), electrical wiring faults and accidental wire strikes during renovations contribute to tens of thousands of home fires annually.
This comprehensive guide will teach you how to trace home electrical wiring using modern, non-invasive diagnostic tools. We will cover the physics of wire tracing, compare the best 2026 tracing equipment, and detail step-by-step protocols for both energized (live) and de-energized (dead) circuits, including advanced troubleshooting for edge cases like metal conduit and AFCI breakers.
The Physics of Wire Tracing: Capacitive vs. Inductive Coupling
Before purchasing a tool, you must understand how wire tracers actually work. Consumer-grade tracers generally rely on one of two physical principles to locate a hidden cable:
- Capacitive Coupling (Non-Contact Voltage Detection): This method detects the alternating electric field radiating from an energized (live) wire. The tracer acts as an antenna, sensing the 60Hz electromagnetic field. It is highly effective for finding live 120V/240V NM-B (Romex) cables but fails completely on dead circuits or wires shielded by metal conduit.
- Inductive/RF Tone Tracing: This requires a two-piece kit: a tone generator and an inductive probe. The generator injects a high-frequency radio frequency (RF) signal onto the wire. The probe detects this specific RF signature through drywall, wood, and plaster. This method works on both live and dead circuits, provided the signal is not blocked by a Faraday cage effect (such as metal armor or EMT conduit).
2026 Wire Tracer Comparison Matrix for DIYers and Pros
The market for circuit tracers has evolved significantly. Cheap analog tone generators are highly susceptible to interference from modern Wi-Fi routers, smart home hubs, and LED drivers. Below is a comparison of the top three tracing solutions available in 2026, categorized by user need and budget.
| Tool Model | Technology | Avg. Price (2026) | Best Use Case |
|---|---|---|---|
| Klein Tools ET910 | NCV + Analog Tone | $65 - $75 | Basic DIY receptacle mapping and simple live-wire routing in standard drywall. |
| Amprobe AT-3500 | Digital Tone + Induction Clamp | $340 - $380 | Advanced home remodels, tracing through thick plaster, and identifying specific breakers. |
| Fluke IntelliTone Pro 200 | Digital SmartTone + NCV | $410 - $450 | Professional electricians, high-noise environments, and complex multi-wire branch circuits. |
Protocol 1: Tracing a De-Energized (Dead) Circuit
Tracing a dead circuit is the safest method and is highly recommended when mapping out a panel or planning a major renovation. This requires a dedicated tone generator and probe kit (like the Amprobe AT-3500).
- Lockout / Tagout: Turn off the target breaker at the main service panel. Verify the circuit is truly dead using a reliable Non-Contact Voltage Tester (NCVT) or a digital multimeter (DMM) at the receptacle or switch.
- Isolate the Circuit: Unplug all devices and remove any hardwired loads on the circuit. This prevents the tone signal from bleeding into other appliances, which causes false readings.
- Connect the Generator: Attach the tone generator's alligator clips directly to the bare copper ground wire and the black (hot) conductor at the receptacle or junction box. Never pierce the insulation of the wire to make a connection; always use exposed terminal screws or stripped ends.
- Calibrate the Probe: Turn on the inductive probe and adjust the sensitivity dial. Hold it near the generator to hear the baseline tone, then back away until the sound fades. This sets your signal-to-noise threshold.
- Trace the Route: Slowly sweep the probe tip across the drywall. The tone will peak in volume and pitch when the tip is directly over the hidden NM-B cable. Mark the route with painter's tape.
Protocol 2: Tracing an Energized (Live) Circuit
Sometimes, turning off the power is not an option (e.g., tracing a circuit that powers a critical medical device or a sump pump). Tracing live wiring requires extreme caution and adherence to OSHA electrical safety standards regarding PPE and safe work practices.
- Don Proper PPE: Wear voltage-rated gloves and safety glasses. Ensure your workspace is dry and you are standing on a non-conductive surface.
- Use an Induction Clamp: Do not use alligator clips on a live wire. Instead, use a tone generator equipped with an inductive signal clamp. Open the clamp and place it around the entire NM-B cable (or the individual hot wire if in a panel) without making direct metal-to-metal contact.
- Inject the Signal: The clamp uses electromagnetic induction to wrap the wire in an RF field without physically touching the energized conductors.
- Follow the Signal: Use your probe to track the RF signature through the walls. Note that live wires emit their own 60Hz hum; ensure your probe is tuned specifically to the high-frequency tone (usually between 1kHz and 10kHz) injected by your generator, not the ambient mains hum.
Critical Safety Warning: Never attempt to trace wiring inside the main service panel while the main breaker is energized unless you are a licensed electrician. The exposed bus bars and lugs carry lethal fault currents that can cause arc flashes. Always refer to the National Electrical Code (NEC) guidelines for safe panel access and working clearances.
Edge Cases and Signal Failure Modes
Even the best 2026 tracing tools will fail if you do not understand the physical limitations of RF signals. Here are the most common edge cases encountered in residential wiring and how to overcome them:
1. The Metal Conduit Faraday Cage
If your home was built with THHN/THWN-2 wires pulled through EMT (Electrical Metallic Tubing) or flexible metal conduit (FMC), standard RF tone generators will fail. The metal conduit acts as a Faraday cage, absorbing and grounding the RF signal before it can penetrate the drywall.
The Fix: You cannot trace the wire itself. Instead, use a stud finder with a deep-scan metal detection mode to trace the physical conduit. Alternatively, push a fiberglass fish tape equipped with a specialized 33kHz sonde transmitter through the conduit and trace the sonde head.
2. AFCI Breaker Nuisance Tripping
Arc-Fault Circuit Interrupter (AFCI) breakers are now required by the NEC in almost all living spaces. These breakers contain microprocessors that constantly monitor the circuit for high-frequency electrical noise (which indicates an arc). If you inject a high-frequency RF tone onto an energized AFCI circuit, the breaker's microprocessor will often interpret the tone signal as a dangerous arc fault and immediately trip.
The Fix: Always de-energize AFCI circuits before applying a direct tone signal. If you must trace it live, use the induction clamp method (Protocol 2) and keep the signal strength as low as possible.
3. Signal Bleed on Multi-Wire Branch Circuits (MWBC)
In older homes, electricians frequently used MWBCs (two hot wires sharing a single neutral). If you inject a tone onto one hot leg, the signal can capacitively couple onto the adjacent leg inside the cable sheath, making it appear as though two separate cables are running together.
The Fix: Use a digital smart-tone tracer (like the Fluke IntelliTone Pro) which utilizes a microprocessor to differentiate between direct signal paths and capacitive bleed, providing a definitive positive/negative confirmation at the breaker panel.
Mapping Your Panel to the Receptacles
Tracing wires is only half the battle; documenting them is what saves you time in the future. Once you have traced a circuit, create a comprehensive panel directory. Do not use vague terms like "Bedroom 2" or "Living Room." Instead, use precise directional mapping:
- Bad: "Kitchen"
- Good: "Kitchen: North wall receptacles, under-cabinet LED driver, and microwave dedicated 20A."
Take a photo of the finished directory and save it to your phone's cloud storage. For advanced DIYers, consider using a thermal imaging camera (like the FLIR C5) while running a high-draw load (such as a space heater) on the circuit. The heat signature of the loaded wire will sometimes be visible through thin drywall, providing a secondary, non-invasive verification of your tracer's results.
When to Call a Licensed Electrician
While learning how to trace home electrical wiring is an empowering skill, there are hard limits to DIY diagnostics. If your tracer indicates a cable routing directly through a plumbing cavity, if you discover ungrounded 2-prong circuits disguised as 3-prong receptacles, or if you suspect aluminum branch wiring (common in homes built between 1965 and 1973), stop immediately. These scenarios require professional remediation to ensure compliance with modern fire safety codes and to protect your home's insurance validity.