
The Renovation Reality Check: Why Testing Precedes Demolition
Planning a home renovation involves countless decisions, from selecting finishes to mapping out new floor plans. However, one of the most critical—and frequently overlooked—steps in remodel planning is understanding the hidden infrastructure behind your walls. Learning how to test electrical wiring before swinging a sledgehammer can save you from the nightmare of discovering degraded insulation, ungrounded circuits, or obsolete panels after your new drywall is already taped and mudded.
According to the National Fire Protection Association (NFPA), electrical failures or malfunctions are among the leading causes of residential fires. When you open up walls for a kitchen expansion or a basement finish, you assume liability for bringing the exposed infrastructure up to the current 2026 National Electrical Code (NEC). A comprehensive testing protocol ensures you budget accurately for necessary upgrades rather than facing emergency rewiring costs mid-project.
The Renovator's Testing Arsenal
You cannot accurately assess a home's electrical health with a single tool. Professional electricians and advanced DIY renovators rely on a tiered testing approach. Below is the essential gear required for a pre-renovation audit, complete with current market pricing.
| Tool Category | Recommended Model | Primary Use in Renovation | Approx. Cost |
|---|---|---|---|
| Non-Contact Voltage Tester (NCVT) | Klein Tools NCVT-3 | Dual-range detection for live wires and low-voltage thermostat cables. | $35 - $45 |
| True-RMS Digital Multimeter | Fluke 117 Electricians True-RMS | Checking exact voltage drop, continuity, and identifying phantom voltages. | $210 - $230 |
| Receptacle & GFCI Tester | Gardner Bender GFI-3501A | Verifying wiring sequence and tripping GFCI/AFCI circuits at the outlet. | $15 - $20 |
| Insulation Resistance Tester (Megger) | Fluke 1587 FC Insulation Multimeter | Stress-testing degraded wire insulation in homes older than 50 years. | $750 - $850 |
| Advanced Cable Tracer | Amprobe AT-3500 | Mapping buried or concealed circuits to breakers before cutting into walls. | $350 - $400 |
Phase 1: Non-Invasive Sweep and Receptacle Mapping
Before removing any cover plates, conduct a non-invasive sweep of the renovation zone. This phase establishes a baseline of what is live and how the circuits are routed.
1. The NCVT Perimeter Check
Use your Klein Tools NCVT-3 to scan along baseboards, ceiling joists (in unfinished basements), and around switch plates. The dual-range feature is vital here: the high-voltage setting (70V to 1000V) identifies standard Romex runs, while the low-voltage setting (12V to 48V) helps you locate thermostat wires or doorbell transformers hidden in the walls you plan to demolish.
2. Receptacle Sequence Testing
Plug a Gardner Bender receptacle tester into every outlet in the renovation zone. Look for three specific failure modes that immediately impact your renovation budget:
- Open Ground (Yellow/Red Light): Common in pre-1960s homes. If you are installing modern appliances or smart home hubs, you will need to run new grounded cables or install GFCI protection at the first outlet in the series per NEC Article 406.4(D).
- Hot/Neutral Reverse: A severe shock hazard indicating amateur DIY work from a previous owner. The outlet must be pulled and rewired.
- Bootleg Ground: The tester reads "Correct," but a multimeter check between Neutral and Ground shows 0.00 Ohms with the power off, indicating a previous owner illegally jumpered the neutral to the ground screw to pass an inspection. This requires a full wire replacement.
Phase 2: Invasive Panel and Circuit Testing
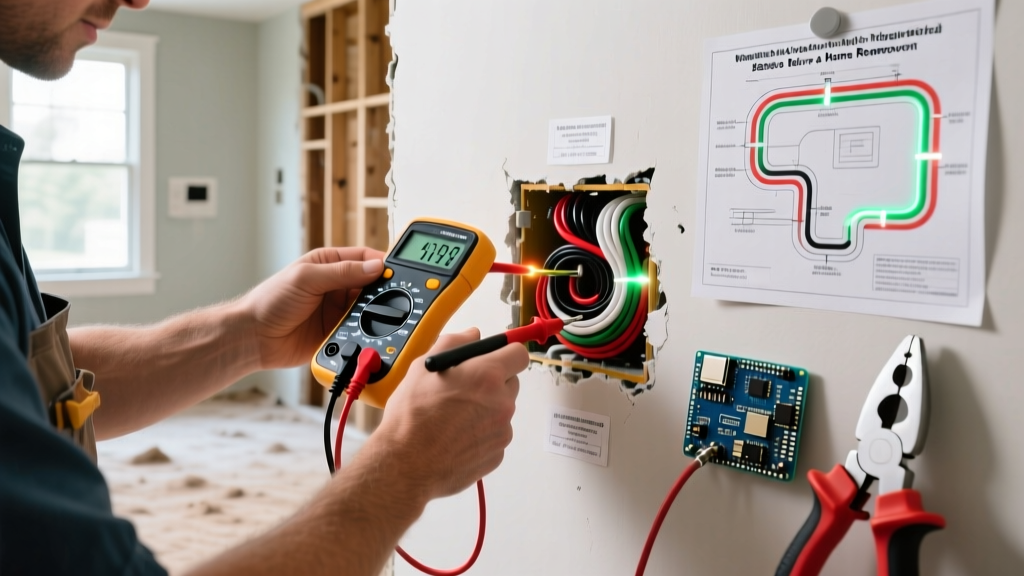
Once the non-invasive sweep is complete, turn off the main breaker to the renovation zone and remove the cover plates. This is where you determine the physical integrity of the conductors.
Continuity and Voltage Drop Analysis
Set your Fluke 117 multimeter to the Ohms (Ω) setting to test continuity. If you are extending an existing circuit to add new outlets in a remodeled living room, you must verify that the existing cable is unbroken. Touch one probe to the bare copper ground at the panel and the other to the ground at the furthest outlet. A reading near 0.5Ω confirms a solid path; a reading of "OL" (Open Loop) means the ground wire is severed somewhere inside the wall, rendering the circuit unextendable.
Renovator's Warning: Never rely solely on a non-contact tester to confirm a wire is dead before cutting into it. Capacitive coupling can cause "phantom voltage" readings on dead wires running parallel to live ones. Always verify with a True-RMS multimeter set to AC Voltage, testing Hot-to-Neutral, Hot-to-Ground, and Neutral-to-Ground.
Insulation Resistance (Megger) Testing for Older Homes
If your renovation involves a home built before 1970, standard multimeters are insufficient. A multimeter uses a 9V battery to test continuity, but it cannot tell you if 60-year-old cloth-braid or early PVC insulation will break down under 120V/240V load.
Using a Fluke 1587 FC, apply 500V DC to the conductor (with all loads and switches disconnected). The Consumer Product Safety Commission (CPSC) notes that aging insulation becomes brittle and prone to shorting when disturbed. If your Megger reads anything below 1.0 Megohm (MΩ), the insulation is compromised. Any wall opening that exposes wiring with sub-1.0 MΩ insulation mandates a complete circuit replacement, not just a patch.
Phase 3: Evaluating the Service Panel and Feeder
Your renovation might include adding a 50-amp induction cooktop or a Level 2 EV charger. Before planning these additions, test the main service infrastructure.
Thermal and Load Testing
With the home under normal load (HVAC running, oven on), use an infrared thermometer to scan the main breaker lugs and bus bars. Temperatures exceeding 140°F (60°C) indicate loose connections or an overloaded neutral. Furthermore, check the panel manufacturer label. If you identify a Federal Pacific Electric (FPE) Stab-Lok or Zinsco panel, testing is almost secondary; these panels have documented failure rates where breakers fail to trip during short circuits. Budget $2,500 to $4,500 for a full panel replacement and service upgrade before adding any new renovation circuits.
The Aluminum Wiring Dilemma
Homes built between 1965 and 1973 often used AA-1350 aluminum branch wiring. Use your multimeter to check voltage drop across outlets under load. If you see a drop greater than 5% (e.g., below 114V on a 120V circuit), the aluminum connections at the outlets are oxidizing and increasing resistance. To integrate this wiring into your modern renovation safely, you must either rewire entirely or use COPALUM crimps or AlumiConn lug connectors to pigtail the aluminum to copper before terminating at new devices.
Renovation Decision Matrix: Patch, Repair, or Rewire?
Use this matrix after completing your tests to finalize your renovation electrical budget.
| Test Result / Condition | Impact on Renovation | Required Action |
|---|---|---|
| Copper wiring, >1 MΩ insulation, grounded, modern panel. | Minimal. Can easily extend circuits for new layouts. | Patch/Extend: Standard rough-in for new outlets/switches. |
| Open grounds, bootleg grounds, or reversed polarity. | Moderate. Requires opening drywall to fix specific runs. | Repair: Pull new 12/2 or 14/2 NM-B cable to affected zones. |
| Cloth-braid wiring, Megger <1 MΩ, or FPE/Zinsco panel. | Severe. High fire risk; uninsurable in many markets. | Rewire: Full gut-and-replace of branch circuits and main panel. |
Final Code Considerations for the 2026 NEC
When planning your renovation, remember that the NEC defines a "renovation" or "remodel" as an alteration that exposes the wiring. Once a wall is opened, the National Electrical Code requires you to bring the exposed circuits up to current standards. This means installing AFCI (Arc-Fault Circuit Interrupter) protection in living spaces, bedrooms, and kitchens, and ensuring GFCI protection in any wet areas or within 6 feet of a sink. By rigorously testing your electrical wiring before demolition day, you transform unknown liabilities into a structured, predictable line item in your renovation budget.