
The Foundation of Safe DIY Electrical Wiring
Embarking on a home electrical project requires more than just a screwdriver and a roll of electrical tape. Safe, code-compliant DIY electrical wiring demands precision tools, high-grade materials, and a strict adherence to the National Electrical Code (NEC). According to the U.S. Fire Administration, electrical malfunctions account for tens of thousands of home fires annually, many of which stem from improper tool usage, loose terminations, or undersized conductors. As we navigate the 2026 NEC adoption cycle across various municipalities, the margin for error in residential wiring has never been smaller. This guide strips away the fluff and details the exact diagnostic tools, hand instruments, and raw materials you need to execute professional-grade electrical work in your home.
Phase 1: Diagnostic & Safety Instruments
Before a single wire is stripped, the circuit must be verified dead. Relying solely on a basic neon tester is a relic of the past; modern DIYers need dual-range verification to detect both standard and low-voltage hazards.
1. Non-Contact Voltage Testers (NCVT)
The Klein Tools NCVT-41 (approx. $35) is the current industry benchmark for DIYers. Unlike single-range testers, it detects standard voltage (12V to 1000V AC) and low voltage (70V to 1000V AC) without manual switching. Its IP67 rating and 6-foot drop protection make it ideal for dusty remodel environments. Always test on a known live source before and after checking your target circuit.
2. True-RMS Digital Multimeters
For checking continuity, measuring exact voltage drop, and diagnosing phantom voltages, a True-RMS multimeter is mandatory. The Fluke 117 Electricians True-RMS Multimeter ($220) features VoltAlert technology for non-contact voltage detection and AutoVolt for automatic AC/DC selection. For a budget-conscious alternative, the AstroAI DM6000AR ($35) provides adequate 6000-count resolution for basic residential diagnostics, though it lacks the rugged durability and CAT III/IV safety ratings of the Fluke.
Expert Safety Rule: Never trust a single verification method. OSHA's electrical safety guidelines mandate a 'Test-Before-Touch' protocol. Use your NCVT for initial screening, then verify with a multimeter or a dedicated solenoid voltage tester (like the Wiggy) to confirm zero energy state.
Phase 2: Precision Hand Tools for Termination
Chewed insulation, nicked copper conductors, and loose connections are the primary culprits behind high-resistance faults and subsequent electrical fires. Your hand tools dictate the quality of your physical connections.
- Wire Strippers: The Klein Tools 11063W Katapult ($30) allows for one-handed stripping of 10-14 AWG solid and stranded wire. Its shear blade cleanly cuts without deforming the wire tip, ensuring it seats perfectly under terminal screws.
- Lineman Pliers: The Knipex 01 26 200 (approx. $55) features a high-leverage joint that requires 35% less effort to cut 12/2 Romex compared to standard pivot pliers. The induction-hardened cutting edges cleanly shear copper without leaving sharp burrs.
- Insulated Screwdrivers: Use 1000V-rated drivers like the Wiha 32004 Insulated Slotted/Phillips Set ($45). While you should always work on de-energized circuits, insulated shafts prevent accidental short circuits if a tool slips across a busbar in a live panel.
- Torque Screwdriver: As of recent NEC updates (specifically Article 110.14(D)), terminations must be tightened to the manufacturer's specified torque. The Klein Tools 69000 torque screwdriver ($130) ensures you hit the exact 15-20 in-lb requirement typical for 15A/20A receptacles, preventing thermal expansion loosening over time.
Phase 3: Core Materials & Conductor Selection
Material selection in DIY electrical wiring goes far beyond grabbing the cheapest spool at the big-box store. You must match the conductor material, gauge, and insulation type to the specific circuit load and environmental conditions.
Non-Metallic Sheathed Cable (NM-B)
For standard indoor, dry-location residential wiring, Southwire or CerroWire NM-B is the standard.
- 14/2 NM-B (15-Amp Circuits): Used primarily for lighting circuits and general-purpose bedrooms. Costs roughly $0.45 per foot. Protected by 15A breakers.
- 12/2 NM-B (20-Amp Circuits): Mandatory for kitchen, dining, bathroom, and garage receptacle circuits. Costs roughly $0.55 per foot. Many professional electricians use 12/2 exclusively for all general receptacles to minimize voltage drop on long runs and allow for future load upgrades.
- 10/3 NM-B (30-Amp Circuits): Required for heavy appliances like electric dryers. Contains two hot legs, a neutral, and a ground.
THHN/THWN-2 Conductors
When pulling wire through EMT (Electrical Metallic Tubing) or flexible metal conduit in exposed basements or garages, individual THHN/THWN-2 wires are required. You must purchase separate hot (black/red), neutral (white), and ground (green/bare) conductors. Always ensure the wire is dual-rated THHN/THWN-2, which guarantees moisture resistance up to 75°C in wet locations.
Connector Showdown: Traditional Wire Nuts vs. Lever Nuts
The method you use to splice conductors inside a junction box or device backbox directly impacts the long-term reliability of the circuit. Below is a direct comparison of standard twist-on connectors versus modern push-in lever technology.
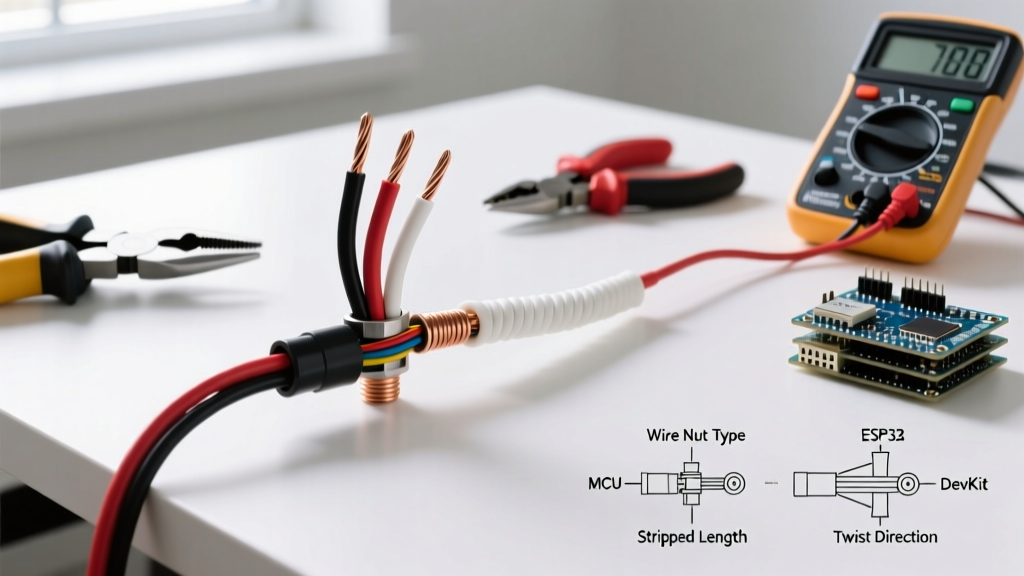
| Feature | Ideal Twist-On Wire Nuts (e.g., 73B Blue) | WAGO 221 Series Lever-Nuts (2-Conductor) |
|---|---|---|
| Unit Cost | $0.03 - $0.05 each | $0.40 - $0.55 each |
| Installation Time | 15-20 seconds per splice | 3-5 seconds per splice |
| Visual Verification | Requires physical 'tug test' | Transparent housing shows wire strip length and seating |
| Stranded/Solid Mix | Difficult; stranded can wrap around solid | Flawless; independent clamps for each wire |
| Reusability | Damages wire insulation upon removal | Infinitely reusable via lever release |
| NEC Compliance | UL Listed (must be sized correctly for wire combo) | UL Listed (independent of wire combination) |
The Verdict: For main panel work and high-volume rough-ins, traditional wire nuts remain cost-effective. However, for device boxes, lighting fixtures, and complex 3-way/4-way switch splices, WAGO 221 Lever-Nuts are vastly superior. They eliminate the risk of 'cold joints' caused by insufficient twisting torque and easily accommodate the mixing of 12 AWG and 14 AWG wires, which is notoriously difficult with twist-on caps.
Phase 4: Code Compliance & Device Selection
Modern DIY electrical wiring must integrate advanced protection devices. The National Fire Protection Association (NFPA) continually updates the NEC to mitigate arc faults and ground faults.
AFCI and GFCI Requirements
- GFCI (Ground Fault Circuit Interrupter): Required in all wet or damp locations (kitchens, bathrooms, garages, outdoors, crawl spaces). For DIYers, installing a GFCI receptacle at the first outlet in the run protects downstream standard receptacles, saving the cost of GFCI breakers.
- AFCI (Arc Fault Circuit Interrupter): Required in virtually all living spaces (bedrooms, living rooms, hallways, closets). AFCI protection is best handled at the breaker panel using Combination-Type AFCI breakers (e.g., Square D HOM120CAFIC, approx. $45), which detect both parallel and series arcing conditions that standard thermal breakers miss.
Edge Cases & Common DIY Failures to Avoid
Even with the right tools, DIYers frequently fall into specific traps that compromise system integrity:
- Shared Neutrals (Multi-Wire Branch Circuits): If you are working in an older home with a shared neutral (red and black hots on opposite phases sharing one white neutral), you MUST turn off both breakers simultaneously. Failing to do so can result in a lethal shock from the neutral wire, which will be carrying the unbalanced return current. Use a 2-pole breaker or handle ties to ensure simultaneous disconnect.
- Overcrowded Boxes: NEC Article 314 dictates strict box fill calculations. Every wire, clamp, and device counts toward the cubic inch capacity. A standard single-gang 'old work' box (like the Carlon B114R-UPC, 14 cubic inches) can comfortably hold one 14/2 cable and a single receptacle. Cramming three 12/2 cables and a GFCI device into a standard box creates heat buildup and physical stress on the terminals. Always upgrade to 'deep' boxes (22.5 cubic inches) for GFCI or smart switch installations.
- Aluminum Wiring Remediation: If you encounter solid aluminum branch circuit wiring (common in homes built between 1965 and 1973), do not simply attach it to modern copper-only devices. You must use CO/ALR rated devices or, preferably, pigtail the aluminum to copper using AlumiConn lug connectors and antioxidant paste to prevent galvanic corrosion and thermal creep.
Final Thoughts on DIY Execution
Successful DIY electrical wiring is a discipline of patience and precision. By investing in True-RMS diagnostics, torque-calibrated hand tools, and modern lever-connectors, you elevate your work from 'amateur hack' to 'code-compliant installation.' Always consult your local Authority Having Jurisdiction (AHJ) regarding permitting; in most municipalities, homeowners are legally permitted to pull electrical permits for their own primary residence, provided they pass the required rough-in and final inspections. For comprehensive safety protocols, always review OSHA's electrical safety guidelines before energizing any new circuit.