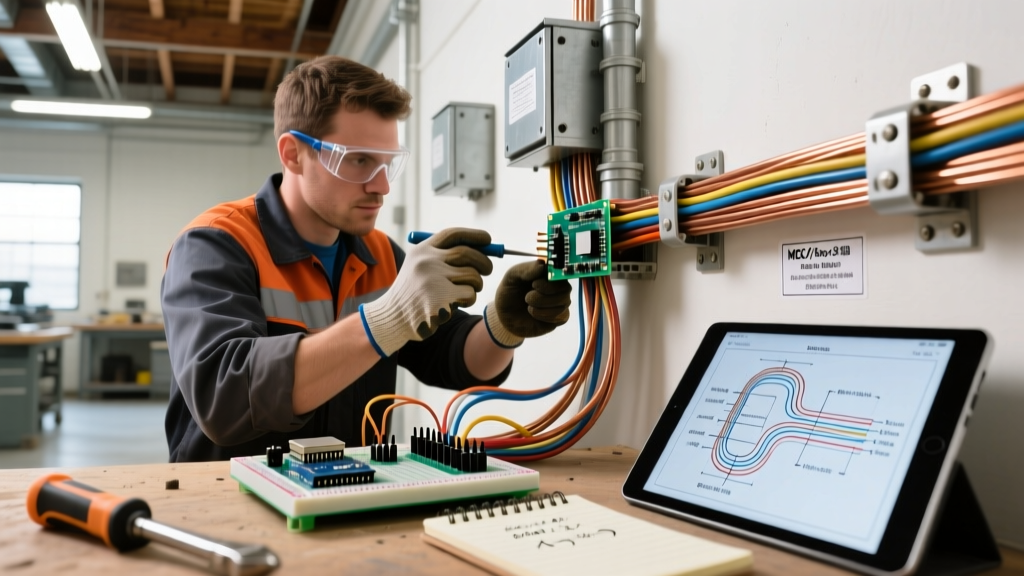

The Critical Role of Rough-In Safety
The rough-in phase is the skeleton of any electrical installation. It occurs after framing is complete but before insulation and drywall are laid. While it might seem like a simple matter of pulling wire through studs, rough in electrical wiring demands rigorous adherence to safety best practices and the National Electrical Code (NEC). Mistakes made during this phase are notoriously expensive to fix later—often requiring drywall demolition—and worse, they create latent fire and shock hazards that can compromise a structure for decades.
As of the 2026 construction season, with copper prices stabilizing but smart-home device integration increasing the complexity of standard junction boxes, precision during the rough-in is more critical than ever. This guide details the exact measurements, code articles, and material specifications required to execute a safe, inspector-approved rough-in.
Phase 1: Box Fill Calculations (NEC Article 314.16)
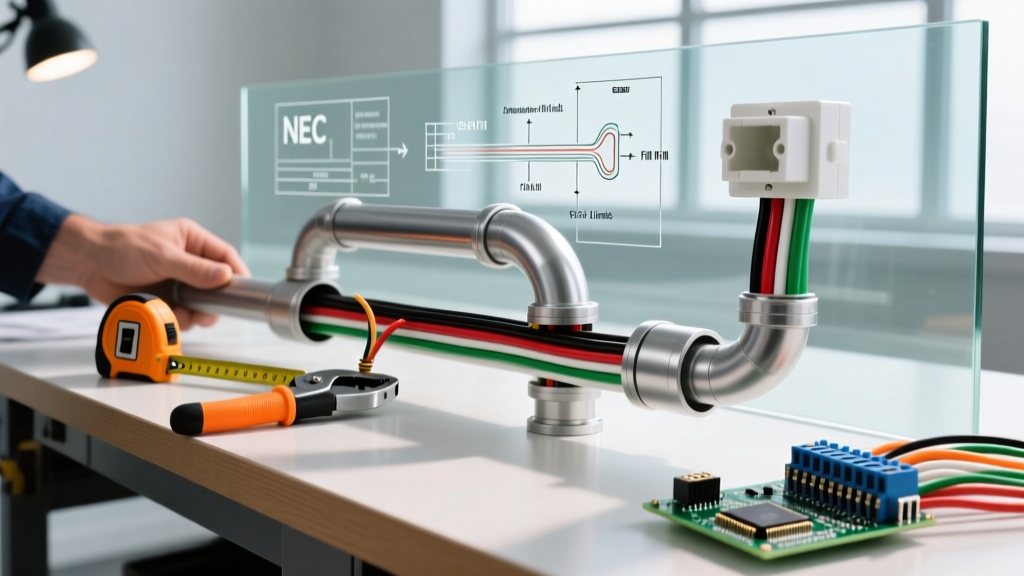
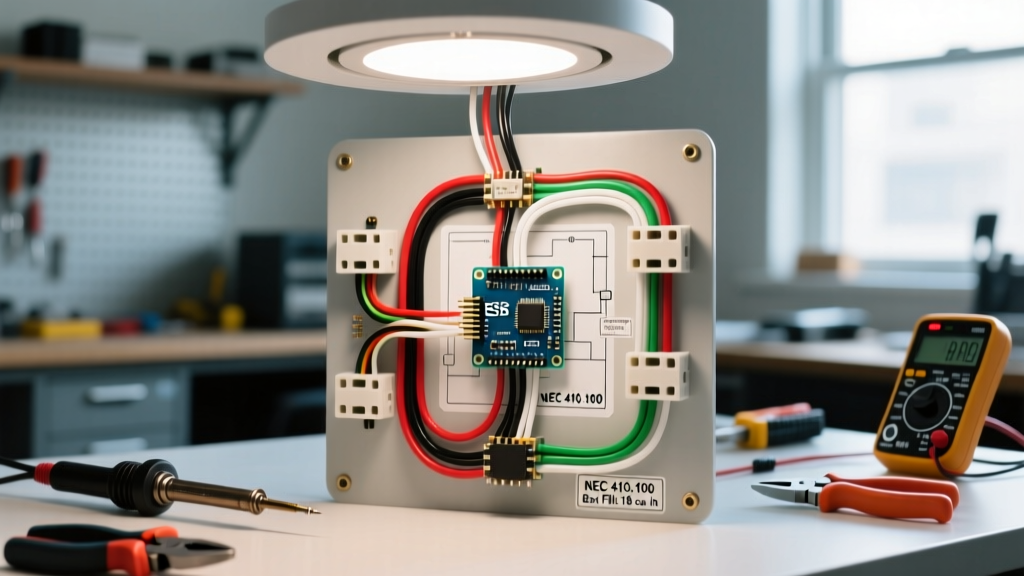
Overcrowded junction boxes are a leading cause of electrical fires due to heat buildup and damaged wire insulation. NEC Article 314.16 dictates strict volume requirements for electrical boxes based on the number and gauge of conductors, clamps, and devices (switches/receptacles) contained within.
With the proliferation of Wi-Fi-enabled smart switches and dimmers—which often feature deep, bulky heat sinks—standard 14-cubic-inch boxes are frequently inadequate for modern rough-ins. Always calculate box fill before nailing up a single box.
| Conductor Size (AWG) | Volume Allowance per Conductor | Typical Use Case | Recommended Box (Example) |
|---|---|---|---|
| 14 AWG | 2.0 cubic inches | Standard 15A lighting circuits | Carlon E989B-UP (22.5 cu in) |
| 12 AWG | 2.25 cubic inches | 20A kitchen/bathroom receptacles | Thomas & Betts B120R (20 cu in) |
| 10 AWG | 2.50 cubic inches | 30A dryer/HVAC equipment | 4x4x2-1/8 Steel Deep Box (30.3 cu in) |
Pro Tip: When calculating box fill, count each device (switch or receptacle) as two conductors based on the largest wire connected to it. Internal cable clamps count as one conductor, and grounding wires count as a single conductor regardless of how many are present.
Phase 2: Framing Penetrations and Physical Protection
Drilling holes through studs and joists to route NM-B (Romex) cable requires an understanding of structural integrity and physical wire protection. The NEC and the International Residential Code (IRC) overlap here to ensure you do not weaken the framing or expose the wire to drywall screws and nails.
The 1.25-Inch Edge Rule (NEC 300.4)
When boring holes in wood studs for rough in electrical wiring, the edge of the hole must be at least 1.25 inches from the nearest edge of the stud. This 1.25-inch buffer zone protects the cable from standard 1.5-inch drywall screws and finish nails.
- If you must drill closer than 1.25 inches: You are legally required to install a steel nail plate over the stud face. The Gardner Bender GN-401 (1.5 x 3 inch steel plate) is the industry standard for this application.
- Joist Penetrations: Holes in floor joists must be at least 2 inches from the top and bottom edges of the joist to preserve the tension and compression zones of the lumber.
- Drill Bit Selection: Use a self-feeding auger bit like the Milwaukee SWITCHBLADE2 or Bosch Daredevil. These pull through the wood cleanly without splintering the exit side, which can damage delicate NM-B jackets.
Phase 3: NM-B Cable Routing, Bending, and Securing
How you physically handle and secure the cable during the rough-in directly impacts the longevity of the copper conductors and the insulation jacket.
Stapling Intervals (NEC 334.30)
Nonmetallic-sheathed cable must be secured and supported to prevent sagging and stress on terminal connections. The code mandates specific intervals:
- Within 8 inches: Every NM-B cable must be stapled within 8 inches of entering a single-gang electrical box (or within 12 inches for boxes without internal clamps).
- Every 4.5 feet: Cables must be secured at intervals not exceeding 4.5 feet (54 inches) along the framing.
- Stacking Restrictions: Do not stack multiple NM-B cables under a single staple unless the staple is specifically listed for multiple cables. Using a standard 1/2-inch staple (like the Gardner Bender GS-1026) on two 12/2 cables will crush the jacket and deform the internal copper.
Bending Radius (NEC 334.24)
Copper work-hardens and can snap if bent too sharply, while the PVC jacket can crease and tear. The NEC requires that the bend radius of NM-B cable must not be less than five times the diameter of the cable. For a standard 12/2 NM-B cable (which is roughly 0.2 inches thick), the minimum bending radius is 1 inch. Avoid sharp 90-degree folds around tight corners; instead, use sweeping, gradual curves.
Phase 4: 2026 AFCI and GFCI Circuit Mapping
The rough-in phase is when you must finalize your circuit mapping to ensure compliance with Arc-Fault Circuit Interrupter (AFCI) and Ground-Fault Circuit Interrupter (GFCI) requirements. As of the latest NEC adoptions rolling into 2026, AFCI protection is required in virtually all 120-volt, 15- and 20-amp branch circuits supplying living spaces, including kitchens and laundry rooms.
'The primary goal of the rough-in is not just to get wire from point A to point B, but to map the physical topology of the house to the breaker panel in a way that minimizes voltage drop, eliminates neutral-sharing errors, and guarantees AFCI compliance.' — Master Electrician Field Notes, 2025
Hardware Specifics: For dual-function protection (AFCI + GFCI) required in kitchens and bathrooms, utilize breakers like the Siemens Q215DF (15A Dual Function) or Eaton BR215DF. Ensure you run a dedicated, continuous neutral wire to every AFCI-protected outlet location; shared neutrals on multi-wire branch circuits (MWBCs) will cause modern AFCI breakers to nuisance-trip immediately upon energization.
Top 5 Reasons Inspectors Red-Tag Rough-Ins
Failing a rough-in inspection halts drywall and insulation, costing contractors thousands in delays. According to data aggregated from municipal building departments, these are the most common red-tag violations:
- Missing Nail Plates: Failing to protect wires routed within 1.25 inches of the stud edge.
- Overcrowded Boxes: Cramming four 12/2 cables and a smart dimmer into an 18-cubic-inch box.
- Improper Stapling: Leaving cables unsupported across long ceiling joist spans or stapling too tightly, deforming the cable.
- Exposed Wiring in Ducts: Running NM-B cable through cold air return plenums. Only plenum-rated (CMP) cable or metallic conduit is permitted in environmental air spaces (NEC 300.22).
- Fire Stopping Violations: Failing to seal holes bored through top and bottom wall plates that penetrate between floors, which violates fire-draftstopping codes.
Material Costs and Planning for 2026
When estimating your rough-in materials, factor in current market rates. As of early 2026, a 250-foot coil of Southwire 14/2 NM-B averages between $115 and $135, while 12/2 NM-B ranges from $145 to $165. To minimize waste, map your longest continuous runs first (such as kitchen home runs to the panel) and use the remaining tail-ends for shorter switch loops and daisy-chains.
For authoritative reference on electrical safety standards and code updates, always consult the National Fire Protection Association (NFPA) and review the Consumer Product Safety Commission (CPSC) guidelines on residential electrical fire prevention. Additionally, commercial and multi-family rough-ins must adhere to strict OSHA guidelines detailed in OSHA Standard 1926.405 regarding wiring methods and temporary safety power during construction.
Final Thoughts
A successful rough in electrical wiring project is defined by what you don't see once the walls are closed. By strictly adhering to box fill calculations, respecting the 1.25-inch framing edge rule, and meticulously securing your NM-B cable, you ensure a safe, high-performance electrical system that will pass inspection on the first visit and protect the building's occupants for a lifetime.