
Electric Baseboard Heat Wiring: Complete Home Installation Guide
Adding electric baseboard heating to a home addition, sunroom, or finished basement is one of the most cost-effective and reliable climate control upgrades available in 2026. Unlike forced-air systems that require extensive ductwork and central blower modifications, electric baseboard heat wiring relies on simple, silent convection currents. However, because these systems operate as continuous high-wattage loads, improper circuit sizing or ignored electrical codes can lead to nuisance tripping, melted wire insulation, or severe fire hazards.
This comprehensive home project guide breaks down the exact load calculations, National Electrical Code (NEC) requirements, and step-by-step wiring procedures required to safely install a 240-volt electric baseboard heating circuit.
1. Load Calculations and Circuit Sizing
Before purchasing any materials, you must calculate the electrical load. The industry standard rule of thumb for residential heating in moderate-to-cold climates is 10 watts per square foot of floor space. According to the U.S. Department of Energy, electric resistance heaters convert nearly 100% of their energy to heat, making wattage calculations highly predictable.
Furthermore, the NEC classifies space heating as a continuous load (expected to run for 3 hours or more). Therefore, you must multiply your calculated amperage by 125% to determine the minimum circuit rating.
Sizing Chart: Room Area to Wire Gauge
| Room Size (Sq Ft) | Target Wattage | Amps at 240V | Continuous Load (125%) | Breaker Size | Wire Gauge (NM-B) |
|---|---|---|---|---|---|
| 100 sq ft | 1,000W | 4.2A | 5.2A | 15A Double-Pole | 14/2 with Ground |
| 150 sq ft | 1,500W | 6.3A | 7.8A | 15A Double-Pole | 14/2 with Ground |
| 250 sq ft | 2,500W | 10.4A | 13.0A | 20A Double-Pole | 12/2 with Ground |
| 400 sq ft | 4,000W | 16.7A | 20.8A | 30A Double-Pole | 10/2 with Ground |
Note: While a 150 sq ft room technically qualifies for a 15A circuit, most professional electricians in 2026 standardize on 20A double-pole breakers with 12/2 NM-B (Romex) cable for all baseboard circuits to accommodate future insulation degradation or colder winter extremes without requiring a rewire.
2. Essential Materials and Tools
To execute this project, you will need specific, UL-listed components. Avoid cheap, off-brand thermostats; line-voltage switching requires robust internal relays to prevent arcing.
- Heater: Cadet F2502W (240V, 1000W, 46-inch) or Marley QMark 2504NW.
- Thermostat: Honeywell CT410B (Double-Pole, Line Voltage) or Cadet B-Mech.
- Cable: 12/2 NM-B (Non-Metallic Sheathed Cable) with bare ground.
- Breaker: 20A Double-Pole (e.g., Square D HOM220 or Eaton BR220, matching your panel brand).
- Hardware: Red and black electrical tape (for wire re-identification), wire strippers, voltage sniffer, and a torque screwdriver.
3. The 'White Wire' 240V Re-Identification Rule
One of the most common code violations in DIY electric baseboard heat wiring involves the white wire inside standard 12/2 NM-B cable. In a standard 120V circuit, the white wire is the neutral. However, a 240V baseboard heater does not require a neutral; it requires two hot legs (120V each, 180 degrees out of phase) and a ground.
Under NEC Article 200.7(C), you are permitted to use the white wire as a hot conductor in a 240V cable assembly, provided you permanently re-identify it at both ends. Wrap the white wire tightly with black or red electrical tape, or mark it with permanent marker, at the breaker panel and at the thermostat/heater junction box. This signals to future electricians that the wire is carrying live voltage.
4. Step-by-Step Wiring Procedure
Step 1: Mount the Heater and Thermostat
Mount the baseboard heater directly to the wall studs using the pre-punched mounting slots. Ensure the bottom of the heater is at least 3/4-inch above the finished floor to allow for proper air intake and carpet clearance. Mount the line-voltage thermostat on an interior wall, at least 5 feet above the floor, away from direct sunlight or drafty windows.
Step 2: Run the 12/2 NM-B Cable
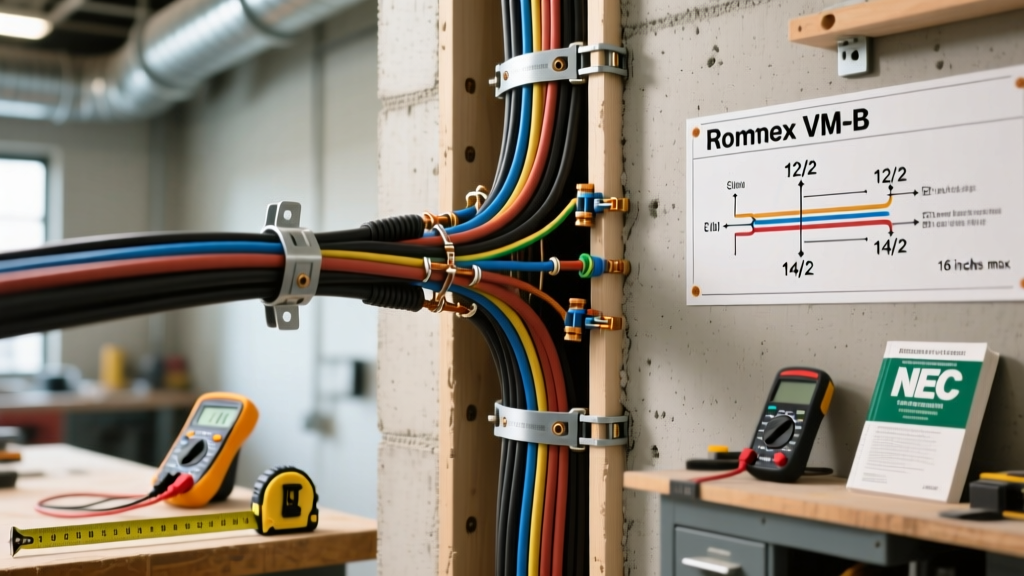
Run the 12/2 cable from the main electrical panel to the thermostat location, and then a second run of 12/2 cable from the thermostat to the baseboard heater. Leave at least 8 inches of slack inside each junction box. Secure the cable to the studs with cable staples every 4.5 feet and within 8 inches of every box.
Step 3: Wire the Double-Pole Thermostat
A double-pole thermostat (like the Honeywell CT410B) has four lead wires. This design breaks both hot legs when the dial is turned to 'Off', ensuring the heater is completely dead for safe cleaning or maintenance.
- Line Side (Power from Panel): Connect the black wire from the panel to the thermostat's L1 lead. Connect the re-identified (taped) white wire from the panel to the L2 lead.
- Load Side (Power to Heater): Connect the thermostat's T1 lead to the black wire heading to the heater. Connect the T2 lead to the taped white wire heading to the heater.
- Ground: Splice all bare copper ground wires together with a wire nut and attach a pigtail to the metal thermostat junction box (if metal) or the green ground screw on the thermostat mounting plate.
Step 4: Connect the Baseboard Heater
Inside the heater's built-in junction box, connect the black wire from the thermostat to one of the heater element wires. Connect the taped white wire to the other heater element wire (baseboard elements are non-polarized, so either hot wire can go to either element lead). Secure the ground wire to the heater chassis ground screw.
5. NEC Clearances and Code Compliance
Passing your local electrical inspection requires strict adherence to safety clearances outlined by the ESFI and NEC Article 424. Failure to observe these will result in a failed inspection and potential fire hazards:
- Receptacle Placement: NEC 210.52 strictly prohibits placing standard wall receptacles directly above a baseboard heater. The rising hot air can melt cords plugged into outlets above the unit. Furthermore, do not install receptacles where a draped cord would rest against the heater's front grill.
- Window Clearance: Maintain at least 12 inches of clearance below any operable window to prevent condensation drip from entering the electrical junction box.
- Combustible Materials: Maintain a minimum 6-inch clearance from the sides of the heater to any combustible trim, curtains, or furniture.
6. Troubleshooting Common Installation Failures
If your newly installed system fails to operate correctly, consult this diagnostic matrix before calling an electrician:
| Symptom | Probable Cause | Solution |
|---|---|---|
| Breaker trips immediately upon resetting. | Dead short; hot wire touching ground or neutral. | Check junction boxes for pinched wires or stray copper strands touching the metal box. |
| Heater works, but thermostat clicks constantly. | Thermostat is placed in a draft path or directly above a heat source. | Relocate thermostat to an interior wall away from the baseboard's direct convection plume. |
| Breaker trips after 2-3 hours of use. | Continuous load violation; breaker is undersized. | Verify the 125% rule. A 1500W heater on a 15A breaker is borderline; upgrade to a 20A breaker and 12 AWG wire. |
| Heater only gets lukewarm. | Wired to 120V instead of 240V. | Verify the breaker is double-pole and spanning two distinct bus bars, not a tandem breaker on a single leg. |
Final Thoughts on 2026 Energy Costs
While the upfront material cost for electric baseboard heat wiring is exceptionally low (typically $250 to $350 per room including wire, breaker, and heater), remember that electric resistance heating is the most expensive way to heat a home per BTU. To maximize efficiency in 2026, pair your new baseboard circuit with heavy cellular shades and ensure your room's insulation meets the latest IECC R-value standards. By following these exact wiring protocols, you guarantee a safe, code-compliant, and silent heating system that will last for decades.