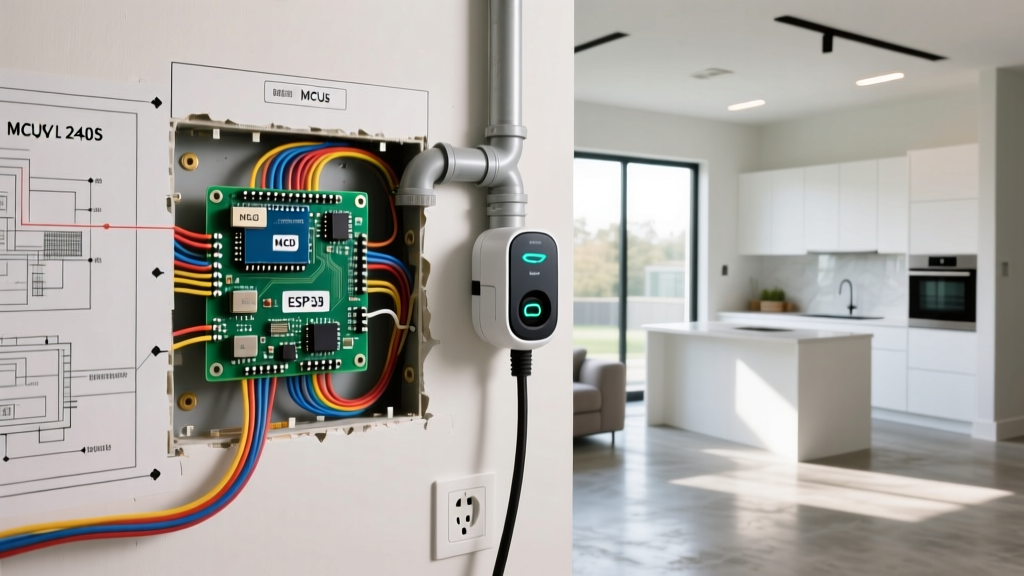

Integrating electric vehicle wiring into a home renovation is one of the most strategic upgrades a modern homeowner can make. When your walls are already open for a kitchen remodel, garage expansion, or whole-home renovation, running heavy-gauge 240-volt circuits is exponentially cheaper and less disruptive than retrofitting later. However, EV charging places a massive, sustained demand on your electrical system. Planning this infrastructure requires a deep understanding of load calculations, National Electrical Code (NEC) mandates, and future-proofing techniques.
Why Integrate EV Wiring During Your Renovation?
Retrofitting a Level 2 EV charger into a finished home often requires cutting into drywall, fishing wires through insulated exterior walls, and potentially trenching concrete. By addressing electric vehicle wiring during the rough-in phase of a renovation, you gain direct access to stud bays and joist cavities. This allows for clean, code-compliant conduit runs and the installation of dedicated subpanels without the added labor costs of demolition and drywall repair. Furthermore, the U.S. Department of Energy notes that home charging accounts for over 80% of all EV charging sessions, making a robust home charging infrastructure a critical component of modern property value.
Assessing Your Electrical Panel Capacity
Before pulling any wire, you must evaluate your home's main electrical service. A standard Level 2 EV charger draws between 32 amps and 48 amps continuously. When combined with modern electric appliances (like heat pump HVAC systems, induction ranges, and electric tankless water heaters), a standard 100-amp or even 150-amp main panel will quickly max out.
Load Calculations and the 200-Amp Standard
Under NEC Article 220, an electrician must perform a formal load calculation to determine if your current service can handle the EV charger. In 2026, a 200-amp main service is considered the bare minimum for an all-electric home with an EV. If your renovation includes adding square footage or upgrading to electric appliances, you will likely need to upgrade to a 200-amp or 400-amp service.
For homes with heavy electrical demands, upgrading to a 400-amp service (often achieved via two 200-amp meter mains) costs between $3,500 and $5,500. Alternatively, smart electrical panels like the SPAN.IO system can dynamically manage loads, shedding power to non-essential circuits (like the electric water heater or dryer) while the EV is charging, potentially saving you from a costly utility service upgrade.
Sizing the Circuit and Selecting the Right Wire Gauge
One of the most common mistakes DIYers and general contractors make is undersizing the circuit for electric vehicle wiring. According to NEC Article 625, EV chargers are classified as continuous loads because they operate for three hours or more. The NEC mandates that continuous loads must be derated to 80% of the breaker's total capacity (or conversely, the breaker must be sized at 125% of the continuous load).
Therefore, if you install a popular 48-amp charger like the Tesla Gen 3 Wall Connector or the ChargePoint Home Flex, you cannot use a 50-amp breaker. You must use a 60-amp breaker (48 amps x 1.25 = 60 amps). For the wiring, you must use 4 AWG copper wire, as 6 AWG copper is only rated for up to 55 amps in the 75°C termination column of NEC Table 310.16.
| EVSE Max Output | Required Breaker Size (125% Rule) | Minimum Copper Wire Gauge (THHN/THWN-2) | Common Charger Models |
|---|---|---|---|
| 32 Amps | 40 Amps | 8 AWG | Emporia Vue, Lectron 32A |
| 40 Amps | 50 Amps | 6 AWG | Grizzl-E Smart, JuiceBox 40 |
| 48 Amps | 60 Amps | 4 AWG | Tesla Wall Connector, ChargePoint Home Flex |
| 80 Amps | 100 Amps | 3 AWG (or parallel runs) | ChargePoint Pro (Commercial/Multi-family) |
The Hardwired vs. Receptacle Debate: Navigating GFCI Rules
When planning your electric vehicle wiring, you must decide between hardwiring the EV Supply Equipment (EVSE) or installing a NEMA 14-50 receptacle. While a receptacle offers portability, recent NEC updates have made hardwiring the vastly superior choice for residential renovations.
Recent NEC cycles introduced a requirement (NEC 625.54) that all receptacles rated at 50 amps or less, supplying EV charging, must have Ground-Fault Circuit Interrupter (GFCI) protection. Because most high-quality EVSEs already have internal GFCI protection, placing a GFCI breaker on the main panel creates a "double GFCI" scenario. This frequently leads to nuisance tripping, where minor electrical noise causes the breaker to shut off your charging session in the middle of the night.
Expert Insight: Hardwired EVSEs are explicitly exempt from the NEC GFCI breaker requirement. By hardwiring your charger during your renovation, you save roughly $120 to $150 on the cost of a specialty GFCI breaker, eliminate the risk of nuisance tripping, and create a cleaner, more reliable installation.
Routing Conduit and Future-Proofing Open Walls
Do not run non-metallic (NM-B / Romex) cable for outdoor or garage EV circuits if it will be exposed to potential physical damage. Instead, plan for a dedicated conduit system. During your renovation, install 1-inch Electrical Metallic Tubing (EMT) or Schedule 80 PVC conduit from the panel to the charging location.
Even if you only plan to pull 4 AWG wire for a 60-amp circuit today, installing 1-inch conduit allows you to easily pull thicker 1/0 AWG aluminum wire in the future to support a 100-amp circuit or a dual-charger setup without tearing open your finished walls. Use sweeping 90-degree bends rather than sharp elbows to make future wire pulling frictionless. According to data from the Alternative Fuels Data Center, EV battery capacities are continually growing, meaning faster, higher-amperage home charging will become a standard requirement in the coming decade.
Cost Breakdown: Renovation Integration vs. Post-Retrofit
Integrating electric vehicle wiring while the walls are open yields significant financial advantages. Below is a comparative cost matrix for a standard 60-amp, 4 AWG hardwired circuit running 50 feet from the main panel to a garage.
- During Renovation (Open Walls): $800 - $1,400. (Includes wire, conduit, breaker, and labor. No drywall patching or painting required).
- Post-Retrofit (Finished Walls): $1,800 - $3,200. (Includes drywall cutting, fishing wire through insulated cavities, patching, mudding, sanding, and repainting to match existing textures).
- Panel Upgrade Adder: If a 200-amp service upgrade is required, add $2,500 - $4,000 to either scenario, though doing it during a major renovation allows the utility and electrician to coordinate more efficiently.
Navigating Local Permits and Utility Rebates
Never skip the permitting phase for EV wiring. Local Authority Having Jurisdiction (AHJ) inspectors will verify that your load calculations match the National Fire Protection Association (NFPA) standards and that your grounding electrode system is properly bonded. Furthermore, many local municipalities and utility companies offer rebates ranging from $250 to $1,000 for installing Level 2 charging infrastructure, but these programs strictly require a finalized electrical permit and inspection sign-off to qualify.
Final Expert Recommendations
Treat your electric vehicle wiring not as an afterthought, but as a primary appliance circuit akin to an HVAC system. Map out the exact location of the charger relative to the vehicle's charge port (to avoid stretching cables across walkways), oversize your conduit for future upgrades, and always opt for a hardwired connection to bypass GFCI nuisance tripping. By executing these steps during your renovation's rough-in phase, you secure a high-performance, code-compliant charging hub that will serve your home for decades.