
The Ultimate Home Project Guide to Outdoor BBQ Electrical Wiring
Building a custom outdoor kitchen is one of the highest-ROI home improvement projects you can undertake in 2026, but the backbone of any functional BBQ island is its electrical infrastructure. Unlike a standard patio receptacle, outdoor BBQ electrical wiring must withstand extreme temperature fluctuations, high humidity, masonry settling, and heavy simultaneous appliance loads. A poorly planned circuit layout will result in nuisance tripping, voltage drop, and severe shock hazards.
This guide bypasses generic advice and dives deep into the exact load calculations, National Electrical Code (NEC) mandates, trenching depths, and weatherproofing techniques required to wire a professional-grade outdoor BBQ island safely.
Appliance Load Calculation & Circuit Planning
Before digging a single trench, you must map out your appliance matrix. Most DIYers make the mistake of daisy-chaining a built-in fridge, a rotisserie motor, and task lighting onto a single 20-amp GFCI circuit. When the fridge compressor kicks on while the grill lights are running, the inrush current will trip the breaker instantly.
| Appliance / Load Type | Typical Voltage / Amperage | Circuit Requirement (2026 NEC) | Wire Gauge & Breaker |
|---|---|---|---|
| Built-in Outdoor Fridge (e.g., True TUC-27) | 120V / 15A (Running) / 25A (LRA) | Dedicated 20A Circuit | 12 AWG THWN-2 / 20A HACR |
| Gas Grill Rotisserie & Halogen Lights | 120V / 5A - 10A | Shared 20A GFCI Receptacle | 12 AWG THWN-2 / 20A GFCI |
| Fully Electric Built-In Grill (e.g., Fire Magic) | 240V / 30A - 50A | Dedicated 240V Circuit | 10 AWG (30A) or 6 AWG (50A) |
| Ice Maker / Beverage Dispenser | 120V / 10A | Dedicated 15A or 20A Circuit | 12 AWG THWN-2 / 20A |
| Low-Voltage LED Task Lighting Transformer | 120V / 3A | Lighting Circuit (Non-GFCI if hardwired) | 14 AWG THWN-2 / 15A |
Pro Tip: Always use HACR (Heating, Air Conditioning, and Refrigeration) rated breakers for outdoor compressors. Standard thermal-magnetic breakers can fail to handle the specific magnetic inrush curves of modern inverter-driven outdoor fridge compressors.
Critical NEC Code Requirements for Outdoor Kitchens
The National Fire Protection Association (NFPA) updates the NEC on a three-year cycle, and the 2023/2026 codes have strict mandates for outdoor cooking areas. Ignoring these will result in a failed municipal inspection and potential insurance claim denials.
1. GFCI Protection and Weather-Resistant (WR) Mandates
Under NEC Article 210.8(A)(3), all 125-volt through 250-volt, single-phase, 15- and 20-ampere receptacles installed outdoors must have ground-fault circuit-interrupter (GFCI) protection. However, standard indoor GFCIs will fail rapidly in an outdoor BBQ island due to condensation.
- The Fix: You must install Weather-Resistant (WR) and Tamper-Resistant (TR) GFCI receptacles, such as the Leviton GFTR2-W. These feature UV-stabilized thermoplastic and nickel-plated brass contacts to resist corrosion from BBQ smoke and humidity.
- In-Use Covers: NEC 406.9(B)(1) requires an "in-use" weatherproof cover (like the TayMac ML500) for any receptacle where a plug will be left inserted, such as for a slow cooker or electric smoker.
2. Equipotential Bonding (The Most Missed Code)
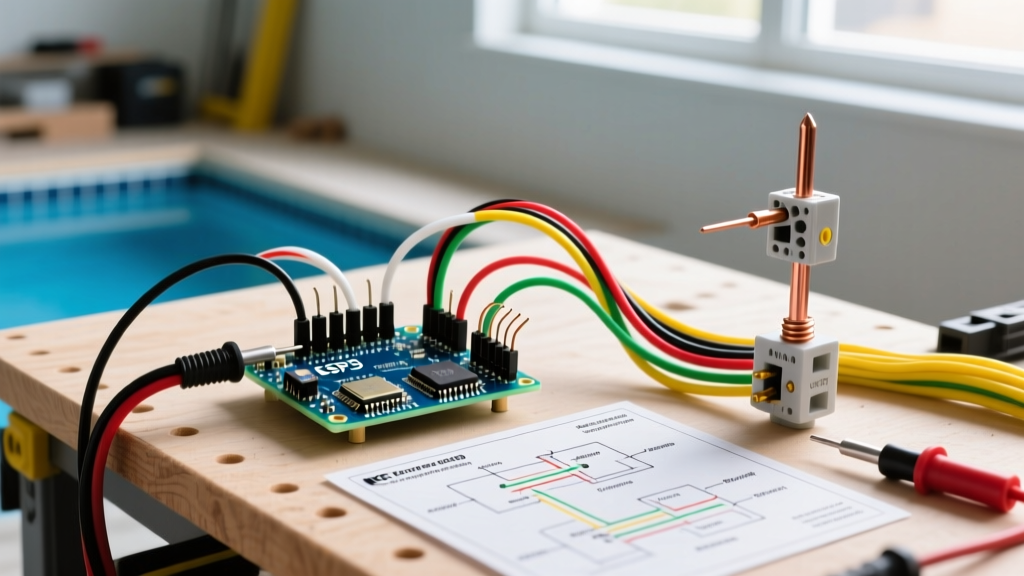
If your BBQ island features a steel structural frame, a granite countertop with wire mesh, or is located within 3 feet of a swimming pool, NEC Article 680.26 requires equipotential bonding. You must tie all metallic parts (gas lines, water pipes, steel frames) together using a continuous 8 AWG solid copper wire connected to the main panel's grounding electrode system. This prevents lethal voltage gradients if a fault occurs while a user is touching the grill and a grounded surface.
Trenching, Conduit, and Wire Routing Strategy
Running power from your main subpanel to the BBQ island requires strict adherence to burial depths and physical protection standards.
Underground Routing Depths
According to NEC Table 300.5, your burial depth depends on the wiring method:
- 3/4" PVC Conduit (Schedule 40): Minimum 18 inches of cover. This is the preferred method as it allows for future wire pulling without digging.
- UF-B Cable (Direct Burial): Minimum 24 inches of cover. Not recommended for BBQ islands due to the difficulty of replacing damaged cables under concrete or paver patios.
- GFCI Protected Rigid Metal Conduit (RMC): Minimum 6 inches of cover (rarely used in residential masonry islands).
The Transition to the Island (Physical Damage Zone)
Where the conduit exits the ground and enters the masonry or wood framing of the BBQ island, it is subject to "physical damage" from weed whackers, kicks, and patio furniture. You must transition from Schedule 40 PVC to Schedule 80 PVC or Rigid Metal Conduit (RMC) for the first 8 feet above grade, or encase it entirely within the masonry block work.
Voltage Drop Warning: If your BBQ island is more than 100 feet from the subpanel, a standard 12 AWG wire on a 20A circuit will experience a voltage drop exceeding the 3% limit recommended by NEC 210.19(A)(1). This will cause outdoor fridge compressors to overheat and burn out. Always upsize to 10 AWG THWN-2 for runs exceeding 80 feet.
Island Rough-In and Box Selection
Do not use standard blue plastic "old work" boxes inside an outdoor masonry BBQ island. Masonry retains moisture, and temperature swings will cause condensation to pool inside the box, leading to short circuits.
Recommended Rough-In Materials
- Cast Aluminum Weatherproof Boxes: Use deep, cast aluminum boxes (e.g., Bell or TayMac) with integral conduit hubs. Mount them directly to the island's steel or wood backing, not the cement board.
- Conduit Fill Limits: When pulling THWN-2 wires through 3/4" conduit, keep the conduit fill below 40%. For a 3/4" PVC pipe, this means a maximum of four 12 AWG wires or three 10 AWG wires. Overfilling generates excessive heat and makes future upgrades impossible.
- Drip Loops: Any hardwired appliance (like an under-counter LED transformer or a hardwired electric grill) must have a "drip loop" in the flexible conduit or cable before it enters the appliance junction box. This ensures water running down the cable drips off the bottom of the loop rather than flowing into the electrical connections.
Smart Home Integration & Low Voltage Wiring
Modern outdoor kitchens in 2026 are heavily integrated with smart home ecosystems. When planning your high-voltage outdoor BBQ electrical wiring, always pull a separate 3/4" conduit dedicated to low-voltage and data lines.
- Wi-Fi Meat Probes & Cameras: Run Cat6A outdoor-rated cable to the island ceiling or soffit for high-definition security cameras and Wi-Fi mesh nodes to support Bluetooth/Wi-Fi meat probes (like the MEATER Plus) which often struggle with the signal-blocking mass of a stone BBQ island.
- Outdoor Audio: Pull 14 AWG CL2-rated speaker wire to marine-grade soffit speakers. If you are installing an outdoor Sonos Amp, ensure you have a dedicated 120V/15A non-GFCI receptacle inside a ventilated, weather-sealed cabinet space to prevent the amp from thermal-throttling in the summer heat.
Common Failure Modes & Troubleshooting
Even with perfect planning, outdoor electrical systems face unique environmental stressors. Here is how to troubleshoot the most common BBQ island electrical failures:
| Failure Mode | Root Cause | Expert Solution |
|---|---|---|
| GFCI trips randomly during heavy rain or morning dew. | Moisture ingress in standard receptacles or shared neutral on Multi-Wire Branch Circuits (MWBC). | Upgrade to WR/TR GFCIs (Leviton GFTR2). Apply dielectric grease to wire nuts. Ensure in-use covers have intact gaskets. |
| Outdoor fridge compressor hums but won't start. | Voltage drop due to undersized wire over a long trench run. | Measure voltage at the receptacle under load. If below 114V, pull new 10 AWG or 8 AWG THWN-2 wires through the conduit. |
| LED task lighting flickers when the rotisserie turns on. | Inductive load interference from the rotisserie motor on a shared lighting circuit. | Separate the LED transformer onto its own dedicated 15A circuit, or install an inline EMI/RFI noise filter on the lighting feed. |
2026 Material Cost Breakdown
Budgeting accurately is critical for a home project. Based on early 2026 national averages for electrical materials, here is what you can expect to spend on the electrical rough-in and finish for a standard 4-appliance BBQ island (excluding the main panel upgrade and labor):
- 3/4" PVC Conduit, Fittings, and Cement (50 ft run): $85 - $120
- 12 AWG THWN-2 Wire (4 colors, 200 ft each): $160 - $210
- Weatherproof Cast Aluminum Boxes & In-Use Covers (x3): $135 - $180
- WR/TR GFCI Receptacles (x3): $90 - $120
- 20A HACR Breakers & 2-Pole 30A Breaker: $65 - $95
- Miscellaneous (Wire nuts, silicone, conduit straps, 8 AWG bonding wire): $75 - $100
Total DIY Material Cost: $610 - $825. Hiring a licensed electrician to trench, pull, and terminate this setup typically adds $1,200 to $2,500 in labor, depending on local rates and hardscape restoration (cutting concrete/pavers).
Final Safety and Inspection Tips
Before backfilling your trench or mortaring your BBQ island blocks, you must call your local Authority Having Jurisdiction (AHJ) for a rough-in inspection. The inspector will verify your trench depth, conduit glue joints, and wire stapling. Once the masonry is laid, hiding a code violation becomes a $5,000 demolition mistake. For comprehensive safety checklists, always consult the Electrical Safety Foundation International (ESFI) and review the U.S. Consumer Product Safety Commission (CPSC) guidelines on outdoor electrical hazards.
By treating your outdoor BBQ electrical wiring with the same rigor as an indoor kitchen remodel—prioritizing dedicated circuits, weather-resistant components, and strict NEC adherence—you will build an outdoor cooking space that is as safe and reliable as it is beautiful.