
The Shift to High-Performance Cooking: Why Wiring Matters in 2026
When planning a kitchen renovation, the aesthetic choices often overshadow the critical infrastructure hidden behind the drywall. However, as homeowners increasingly upgrade to high-end induction ranges and dual-fuel models, understanding modern electric stove wiring requirements is no longer optional. According to the U.S. Department of Energy, induction cooktops now account for a massive surge in kitchen remodels due to their 84% energy transfer efficiency. But this performance comes with a heavy electrical demand.
Older homes typically feature 30-amp or 40-amp circuits wired for legacy coil-element ranges. Plugging a modern 50-amp induction range into an undersized circuit will result in tripped breakers, melted receptacles, or even electrical fires. This guide breaks down the exact specifications, National Electrical Code (NEC) mandates, and rough-in strategies you need to execute a flawless kitchen rewiring project.
Circuit Sizing: Breaker Amperage and Wire Gauge Matrix
The foundation of any range circuit is matching the breaker size to the correct wire gauge. The NEC strictly prohibits oversizing a breaker for a given wire thickness, as this defeats the thermal protection mechanism. Below is the definitive matrix for 240-volt kitchen appliance circuits based on current appliance standards.
| Appliance Type | Typical Amperage Draw | Required Breaker | Minimum Copper Wire Gauge | Recommended Cable Type |
|---|---|---|---|---|
| Standard Freestanding Electric Range | 30A - 40A | 40-Amp (2-Pole) | 8 AWG | 8/3 NM-B (Romex) with Ground |
| High-End Induction Range (e.g., Bosch Benchmark) | 40A - 50A | 50-Amp (2-Pole) | 6 AWG | 6/3 NM-B or 6 AWG THHN in Conduit |
| 36-inch Drop-in Induction Cooktop | 40A - 50A | 50-Amp (2-Pole) | 6 AWG | 6/3 NM-B (Hardwired via Junction Box) |
| Dual-Fuel Range (Gas Top, Electric Oven) | 30A - 40A | 40-Amp (2-Pole) | 8 AWG | 8/3 NM-B with Ground |
Pro-Tip for Renovators: Even if your current appliance manual specifies a 40-amp breaker and 8 AWG wire, always run 6 AWG wire and install a 50-amp receptacle during a remodel. The material cost difference is roughly $1.50 per foot, but it future-proofs your kitchen for inevitable appliance upgrades without requiring a second rough-in.
Receptacle vs. Hardwiring: Choosing the Right Termination
Electric stove wiring requirements diverge based on whether you are installing a freestanding range or a built-in cooktop/wall oven combo.
The NEMA 14-50R Receptacle (Freestanding Ranges)
Freestanding ranges require a plug. The universal standard is the NEMA 14-50R receptacle, which accepts a 4-prong plug. This setup utilizes two 120V hot legs (for 240V heating elements), a neutral wire (for 120V oven lights, clocks, and convection fans), and a dedicated equipment grounding conductor.
- Placement: Install the receptacle approximately 32 to 36 inches above the finished floor.
- Offset Strategy: Never center the receptacle directly behind the stove. Most modern ranges feature an anti-tip bracket mounted to the floor or wall in the center-rear. Offset the receptacle 6 to 8 inches to the left or right to prevent the plug from interfering with the bracket and pushing the stove away from the wall.
- Orientation: While not strictly mandated by the NEC, many electricians install the 14-50R with the ground pin facing up. This prevents a dropped metal object (like a knife or ladle) from shorting across the hot prongs if the plug is partially pulled out.
Hardwiring via Junction Box (Cooktops and Wall Ovens)
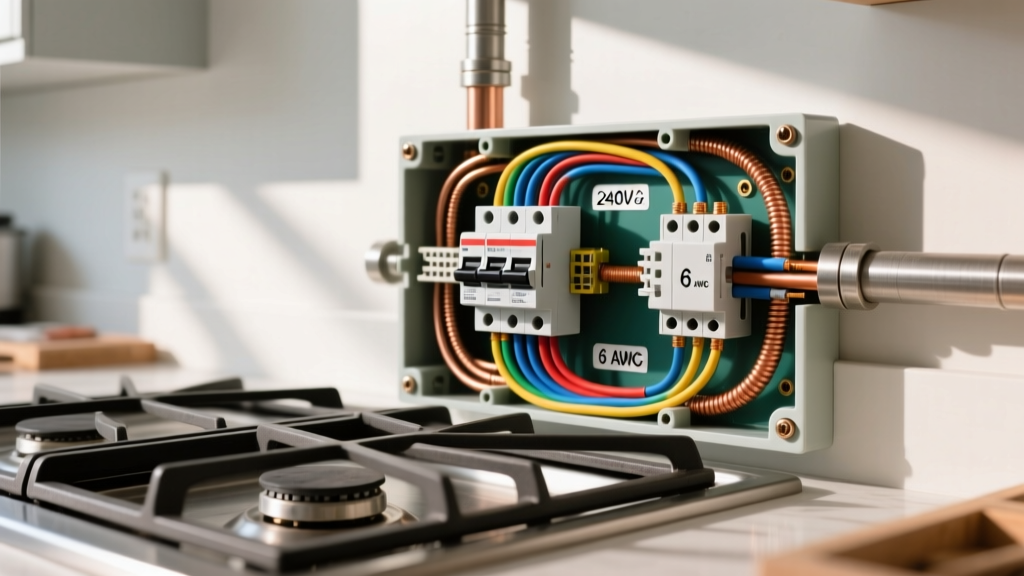
Built-in appliances do not use receptacles. Instead, their flexible metal conduit (whip) must be hardwired into a dedicated, accessible junction box. Use a 4-inch square metal deep box, securely mounted to a stud or joist. Ensure you use appropriate wire nuts (e.g., Ideal 341 or 342) or Wago lever connectors rated for the specific wire gauge and temperature.
NEC Code Compliance and the GFCI Mandate
Renovations must comply with the latest adopted version of the National Electrical Code. The National Fire Protection Association (NFPA) updates the NEC every three years, and local jurisdictions typically adopt these updates on a staggered schedule. Two major code sections impact stove wiring in modern remodels:
1. GFCI Protection for Kitchen Receptacles
Recent NEC cycles have expanded Ground Fault Circuit Interrupter (GFCI) requirements. Under NEC Article 210.8(D), GFCI protection is required for 125-volt through 250-volt receptacles supplied by single-phase branch circuits rated 150 volts or less to ground, in areas including kitchens. Because a standard 240V residential circuit is 120V to ground, your NEMA 14-50R receptacle likely requires GFCI protection depending on your local inspector's adoption cycle.
You cannot use a standard GFCI receptacle for a 14-50R. Instead, you must install a 2-pole 50-amp GFCI circuit breaker in your main electrical panel. Be prepared for the cost: while a standard 50A breaker costs around $25, a 50A GFCI breaker from reputable brands like Square D or Eaton typically ranges from $160 to $220.
2. Demand Factors and Panel Capacity (Article 220.55)
Before pulling a permit, verify your main service panel has the capacity for a new 50-amp circuit. NEC Article 220.55 provides demand factors for household electric ranges, allowing you to calculate the actual load rather than the nameplate maximum. However, for a standard single range, most electricians will calculate a baseline load of 8kW to 12kW. If your home has a 100-amp main service and you are adding dual HVAC units, an EV charger, and a 50A range, you will likely need a panel upgrade to 200 amps, which costs between $1,800 and $2,500.
2026 Renovation Cost Breakdown: Materials and Labor
Budgeting accurately requires an understanding of current market rates. Below is an estimated cost breakdown for running a new 50-amp, 6 AWG dedicated circuit from a main panel located approximately 50 feet from the kitchen.
| Line Item | Specification | Estimated Cost (USD) |
|---|---|---|
| Wire / Cable | 50 ft of 6/3 NM-B with Ground | $225 - $275 |
| Circuit Breaker | 50-Amp 2-Pole GFCI (Square D / Eaton) | $160 - $220 |
| Receptacle & Cover | NEMA 14-50R Receptacle + Heavy Duty Cover | $25 - $40 |
| Junction Boxes & Fittings | Strain relief, wire nuts, mounting hardware | $30 - $50 |
| Electrician Labor | 6-8 hours @ $95 - $145/hr | $570 - $1,160 |
| Permit & Inspection | Local municipal electrical permit | $75 - $150 |
| Total Estimated Project Cost | $1,085 - $1,895 |
Step-by-Step Rough-In Execution
If you are acting as your own general contractor or performing the rough-in yourself before the drywall goes up, follow this precise sequence to avoid rework:
- Map the Route: Identify the path from the main panel to the kitchen. Avoid running NM-B cable through thermal insulation without derating considerations, and maintain a 1.25-inch clearance from the face of all studs to prevent drywall screws from piercing the wire.
- Drill and Fish: Drill 7/8-inch holes through the center of the studs. If crossing joists, use running boards or staple the cable to the side of the joist at least 1.25 inches from the edge.
- Install the Old Work Box: For the NEMA 14-50R, use a deep single-gang or double-gang old-work box rated for the physical weight of the heavy 6 AWG cable and the industrial plug.
- Terminate at the Panel (Last): Do not connect the wires to the breaker until the kitchen side is completely terminated, tested for continuity, and the drywall is finished. Leave the breaker in the OFF position.
Critical Edge Cases and Common Renovation Mistakes
Even experienced DIYers make critical errors when dealing with 240V appliance circuits. Avoid these specific failure modes:
- Voltage Drop on Long Runs: If your main panel is in the basement and the kitchen is on the second floor at the far end of the house, your wire run may exceed 100 feet. A 50-amp load over 100 feet of 6 AWG wire will experience a voltage drop approaching 3%. To maintain optimal performance for sensitive induction inverters, upsize to 4 AWG copper for any run exceeding 90 feet.
- The Aluminum Wire Trap: To save money, some contractors use 4 AWG Aluminum SER (Service Entrance Cable) instead of 6 AWG Copper. While legal if terminated correctly, aluminum requires anti-oxidant paste (like Noalox) and must be torqued to exact manufacturer specifications using a calibrated torque screwdriver. If your receptacle is not rated CO/ALR, you must use copper pigtails.
- Sharing the Neutral: The neutral wire on a 14-50R circuit must be dedicated solely to that appliance. Never attempt to tap the range neutral to power a nearby 120V kitchen outlet. This creates an unbalanced load that can overheat the neutral conductor.
- Removing the Grounding Strap: If you are reusing an older range that came with a 3-prong cord, the appliance will have a copper bonding strap connecting the neutral terminal to the chassis ground. When upgrading to a 4-prong NEMA 14-50 cord, you must remove this bonding strap. Failing to do so will energize the neutral wire with return current, creating a severe shock hazard on the stove chassis.
Frequently Asked Questions
Can I use a 50-amp breaker with 8 AWG wire?
No. This is a direct violation of NEC Article 240.4. A 50-amp breaker requires a minimum of 6 AWG copper wire. Using 8 AWG wire on a 50-amp breaker means the wire will melt and catch fire before the breaker trips during a sustained overload.
Do I need a neutral wire for an induction cooktop?
Most modern 36-inch induction cooktops require a neutral wire to power the digital touch controls, Wi-Fi modules, and ventilation interlocks. Always check the specific installation manual for your model, but running a 4-wire setup (Hot, Hot, Neutral, Ground) is the safest baseline for any 2026 kitchen remodel.
Does an electric stove need to be on an AFCI breaker?
Generally, no. While Arc Fault Circuit Interrupter (AFCI) protection is required for most 120V kitchen branch circuits, 240V dedicated appliance circuits (like ranges and ovens) are typically exempt from AFCI requirements under standard NEC interpretations, though they may require GFCI protection as noted above. Always verify with your local electrical inspector.