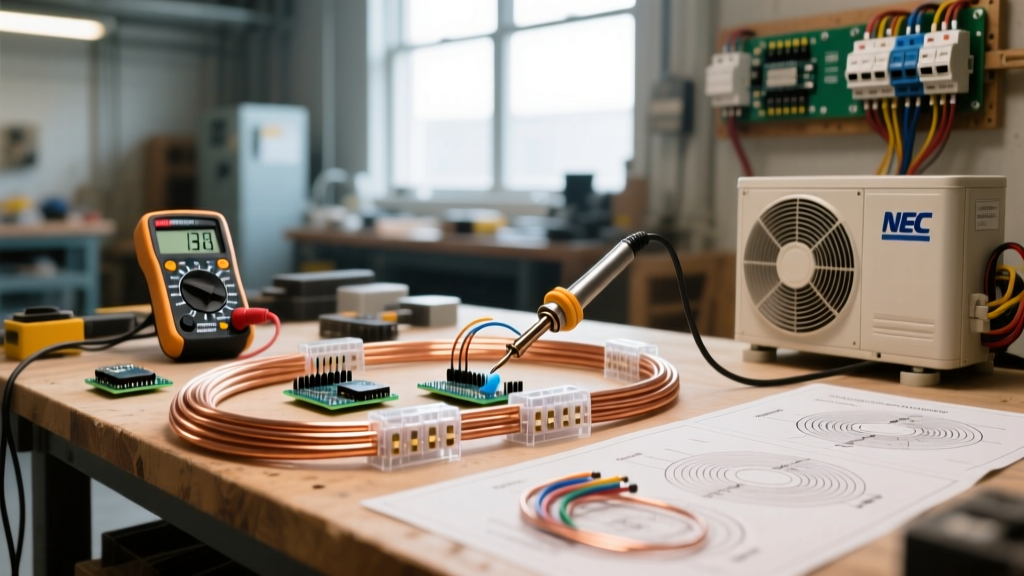

The Shift to Electrification: Understanding the Heat Pump Boom
As homeowners aggressively transition away from fossil fuels, cold-climate heat pumps have become the cornerstone of residential HVAC electrification in 2026. Models like the Mitsubishi Hyper-Heat M-Series and Daikin Aurora offer incredible efficiency, but they demand rigorous electrical infrastructure. Unlike swapping a standard 120V receptacle, heat pump electrical wiring involves high-amperage 240V circuits, low-voltage communicating data lines, and strict adherence to the National Electrical Code (NEC). This leaves many advanced DIYers asking a critical question: Can I wire my own heat pump, or is this strictly a job for a licensed electrician?
In this comprehensive analysis, we break down the technical anatomy of heat pump circuits, evaluate the real-world costs of DIY versus professional installation, and examine the hidden liability traps that could void your equipment warranty. According to the U.S. Department of Energy, proper installation is the single largest determinant of a heat pump's long-term efficiency and lifespan.
The Anatomy of Heat Pump Electrical Wiring
To evaluate the DIY feasibility, you must first understand the three distinct electrical circuits required for a standard split-system heat pump. This is not a single-wire run; it is a multi-node electrical network.
1. The Outdoor Condenser Circuit (208/230V)
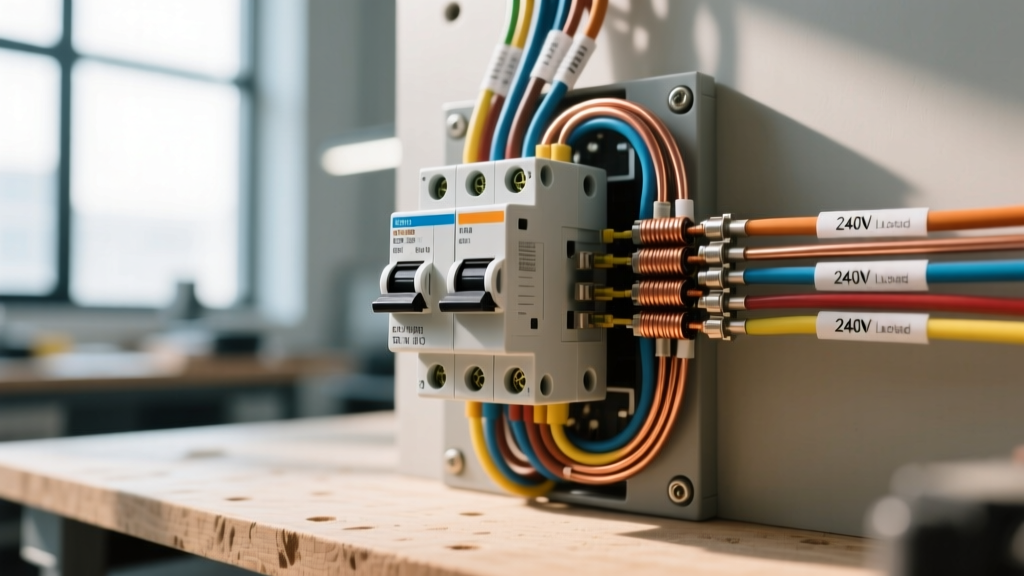
The outdoor compressor requires a dedicated 240V, single-phase circuit. Depending on the tonnage and inverter technology, this typically requires a 30A to 60A double-pole breaker.
- Wire Gauge: 10 AWG copper for 30A circuits; 8 AWG for 40A/45A; 6 AWG for 60A circuits.
- Conduit & Whip: Indoor runs utilize Romex (NM-B) or THHN in EMT conduit. The exterior connection requires a Liquid-Tight Flexible Metal Conduit (LFMC) 'whip' to absorb compressor vibration.
- Disconnect: A fused or non-fused 60A pull-out disconnect box must be mounted within sight of the unit.
2. The Indoor Air Handler Circuit (120V or 240V)
While the blower motor may only require 120V, the auxiliary electric heat strips (often 5kW to 15kW) demand massive 240V circuits. A 10kW heat strip, for example, pulls over 41 amps, necessitating a dedicated 50A or 60A double-pole breaker and 6 AWG copper wire. Miscalculating this load is a common DIY failure point that leads to tripped breakers in the dead of winter.
3. The Low-Voltage Control & Communicating Circuit
Modern inverter heat pumps do not use standard 24V AC thermostat wiring. They utilize high-speed DC communicating data lines. Running standard 18 AWG 4-conductor unshielded thermostat wire next to a 240V whip will induce electromagnetic interference (EMI), causing the inverter board to throw communication fault codes (e.g., Mitsubishi U-Series error codes like E3 or E5). Proper installation requires 18 AWG 2-conductor shielded cable, with the drain wire grounded exclusively at the indoor control board.
2026 NEC Code Compliance & Permitting Realities
Electrical inspectors are cracking down on HVAC installations. Under NEC Article 440 (Air-Conditioning and Refrigerating Equipment), specific working clearances and disconnect rules apply. Furthermore, recent NEC updates have expanded GFCI and AFCI requirements for outdoor outlets and specific HVAC circuits.
Inspector Red Flags: Failing to maintain the required 30-inch wide and 36-inch deep working clearance in front of the electrical panel, or mounting the outdoor disconnect box on the same panel as the refrigerant lines (violating the 'within sight' rule if obstructed), will result in an immediate failed inspection.
Pulling a permit for a 240V HVAC circuit requires submitting a load calculation (NEC Article 220). If your home's existing 100A or 150A service cannot handle the added 40A continuous load of the heat pump plus existing appliances, the inspector will mandate a costly panel upgrade to 200A before signing off on the heat pump wiring. The Electrical Safety Foundation International (ESFI) strongly advises against bypassing permits, as unpermitted high-voltage work is a leading cause of residential electrical fires.
Financial Breakdown: DIY vs. Professional Wiring (2026 Pricing)
Is the sweat equity worth the risk? Below is a realistic cost comparison for wiring a standard 3-ton split-system heat pump in a single-family home with an accessible attic and crawlspace.
| Cost Category | DIY Approach | Licensed Electrician |
|---|---|---|
| Materials (Wire, LFMC, Disconnect, Breakers) | $180 - $350 | $250 - $450 (Includes contractor markup) |
| Permit & Inspection Fees | $75 - $150 | $75 - $150 (Usually passed to homeowner) |
| Labor (Running wire, terminating, testing) | $0 (12-16 hours of your time) | $600 - $1,400 ($125-$175/hr rate) |
| Load Calculation & Panel Assessment | $0 (If done correctly by DIYer) | $150 - $300 |
| Total Estimated Cost | $255 - $500 | $1,075 - $2,300 |
While the DIY route saves roughly $800 to $1,800 in upfront labor, this calculation entirely ignores the potential cost of voided equipment warranties and failed inspections, which we detail below.
The DIY Reality: Where Enthusiasts Succeed and Fail
For the seasoned DIYer who has previously installed subpanels, 240V EV chargers, or electric ranges, running the physical wire is well within your capabilities. Fishing 6 AWG NM-B through a finished wall or pulling THHN through EMT conduit requires patience, not a master electrician's license.
Where DIYers Succeed:
- Running the rough-in wire: Pulling the 240V lines from the main panel to the interior junction box or air handler location.
- Low-voltage routing: Drilling fire-blocks and fishing the shielded communicating thermostat wire through interior walls.
- Upgrading the panel bus: Installing a new double-pole breaker in an existing, code-compliant load center (e.g., Square D Homeline or QO).
Where DIYers Fail (Fatal Flaws):
- Improper Torque Specifications: Modern NEC codes require the use of a calibrated torque screwdriver for terminal connections. Under-torqued lugs on the disconnect box cause high-resistance connections, leading to arcing, melted wire insulation, and eventual contactor burnout.
- Reversed Polarity on Inverters: Swapping Line 1 and Line 2 on a standard resistive heater doesn't matter. Swapping them or miswiring the DC data lines on a variable-speed inverter heat pump can instantly fry the $1,200 outdoor control board upon startup.
- Voltage Drop Miscalculations: Running 100 feet of 10 AWG wire on a 30A circuit results in a voltage drop exceeding the recommended 3%. This forces the compressor to draw higher amperage to compensate, triggering internal thermal overloads on 90-degree summer days.
The Hidden Cost: Manufacturer Warranties and Liability
This is the most critical factor in the DIY vs. Professional debate. Premium heat pump manufacturers explicitly state in their installation manuals that the equipment must be installed by a licensed, certified HVAC and electrical contractor to qualify for the full parts and compressor warranty.
If your $4,000 Mitsubishi or Bosch heat pump suffers a catastrophic inverter failure in year three, the manufacturer's field technician will pull the permit history. If the electrical work was pulled under a homeowner's DIY permit, or if no permit exists, the warranty claim will be denied. You will be left holding a $2,500 bill for a replacement control board and refrigerant recharge. Furthermore, if an electrical fire originates from your DIY heat pump disconnect, your homeowner's insurance provider may deny the claim citing unlicensed high-voltage modifications.
Decision Matrix: Should You DIY Your Heat Pump Wiring?
Use this framework to determine the safest and most financially sound path for your specific situation.
Choose the DIY Route ONLY if:
- You are only performing the 'rough-in' (running wire through walls/attics) and having a licensed electrician perform the final panel terminations, torque-checking, and sign-off.
- You are wiring a localized, non-communicating 120V mini-split interior head (where local codes permit homeowner electrical work on plug-in or low-amperage dedicated circuits).
- You possess a calibrated torque screwdriver, a digital multimeter, and a deep understanding of NEC Article 440.
Hire a Licensed Professional if:
- You are installing a whole-home, high-voltage communicating split system and want to protect the 10-to-12-year manufacturer warranty.
- Your main electrical panel requires a service upgrade or a heavy-up to accommodate the new continuous loads.
- You are uncomfortable working inside a live 200A main panel with exposed bus bars.
Final Thoughts on HVAC Electrification
Heat pump electrical wiring is a high-stakes intersection of heavy amperage and delicate microprocessor logic. While the physical act of pulling copper wire is a manageable DIY task for experienced home renovators, the terminations, load calculations, and code compliance carry immense financial and safety liabilities. As the ENERGY STAR program frequently highlights, the efficiency of your new heat pump is entirely dependent on the precision of its installation. For the vast majority of homeowners, hiring a licensed professional for the final electrical hookups is not just a code requirement—it is an essential insurance policy for your home's most expensive electrification asset.