
The 240V Reality Check: Understanding the Load
When homeowners ask about wiring for electric water heater units, they are often underestimating the sheer electrical demand of the appliance. Unlike a standard 120V receptacle that powers a lamp or a television, a modern 40-gallon to 50-gallon electric water heater (such as the popular Rheem Performance or Bradford White Defender series) operates on a dedicated 240-volt circuit. This means you are dealing with high-amperage, double-pole power that can cause fatal arc flashes or severe electrical fires if terminated incorrectly.
As we navigate the electrical landscape in 2026, the line between DIY home improvement and licensed electrical work has become heavily regulated. While replacing a light fixture is a standard weekend project, running a new 240V dedicated circuit from your main service panel to your water heater requires a deep understanding of load calculations, wire bending radius, and termination torque. This analysis breaks down the technical, financial, and safety differences between tackling this project yourself versus hiring a licensed electrician.
NEC Code Requirements for Modern Installations
The National Electrical Code (NEC) governs all permanent appliance wiring in the United States. Under NEC Article 422 (Branch Circuits for Appliances), an electric water heater must be treated as a continuous or non-continuous load depending on the specific authority having jurisdiction (AHJ), but the standard safety protocol universally demands a dedicated circuit. You cannot share this circuit with your bathroom outlets, lighting, or HVAC equipment.
The Math Behind the Breaker and Wire Sizing
Let us look at the exact mathematics for a standard 4,500-watt heating element operating at 240 volts. Using Ohm's Law (Current = Power / Voltage), we divide 4,500W by 240V, which equals 18.75 Amps.
- Breaker Sizing: NEC Article 210.20 requires the overcurrent protection device to be rated at 125% of the continuous load. 18.75A x 1.25 = 23.43A. Since 23.43A is not a standard breaker size, you must round up to the next standard size, which is a 30-Amp double-pole breaker (e.g., Square D QO230 or Siemens Q230).
- Wire Sizing: To safely carry 30 Amps without exceeding the thermal limits of the insulation, you must use 10 AWG copper wire. For residential indoor runs, this typically means 10/2 NM-B (Romex) with a bare copper ground.
Using 12 AWG or 14 AWG wire on a 30A breaker is a catastrophic code violation that will melt the wire insulation long before the breaker trips, resulting in an in-wall fire.
The DIY Route: Costs, Tools, and Execution
For the advanced DIYer who has previously installed sub-panels or 240V EV chargers, wiring an electric water heater is a straightforward, albeit high-stakes, endeavor. The primary advantage is cost savings on labor, but it requires a significant investment in specialized tools to ensure the work is done to code.
Required Tools and Materials
You cannot safely execute this job with a basic $15 hardware store toolkit. You will need:
- 10/2 NM-B Cable: Approximately $1.50 to $2.20 per foot in 2026. A 50-foot roll costs around $85.
- 30A Double-Pole Breaker: $12 to $18, depending on your panel brand.
- Torque Screwdriver: The NEC now strictly mandates that terminations be torqued to the manufacturer's specifications. A calibrated tool like the Klein Tools 691 (approx. $45) is required to tighten the lugs to exactly 25-30 inch-pounds.
- Non-Contact Voltage Tester: A reliable model like the Fluke 2AC ($35) to verify the panel bus bars are dead before working near them.
- Wire Strippers and Cable Ripper: To strip 10 AWG without nicking the copper, which creates a hot spot and weakens the conductor.
Common DIY Failure Modes
When DIYers fail at water heater wiring, it is rarely because they connected the wrong colored wires. The failures are usually mechanical and invisible until a fire starts:
- Under-torqued Lugs: If the wire is not tightened to the exact inch-pound specification, thermal expansion and contraction will loosen the connection over time, leading to arcing and melted breaker terminals.
- Nicked Conductors: Using a standard utility knife to strip the outer NM-B jacket often slices into the 10 AWG copper. This reduces the cross-sectional area of the wire, creating a localized bottleneck that generates immense heat.
- Violating Box Fill Capacities: Stuffing excess 10 AWG wire into a water heater junction box that is too small violates NEC Article 314, leading to crushed insulation and short circuits.
The Professional Route: Liability, Permits, and Precision
Hiring a licensed electrical contractor shifts the liability entirely off your shoulders. According to the Electrical Safety Foundation International (ESFI), electrical distribution and lighting equipment are leading causes of home structure fires. A professional electrician brings more than just labor; they bring code compliance, permitting, and warranty protection.
When a professional wires your water heater, they pull a local electrical permit. This triggers an inspection by your city or county's Authority Having Jurisdiction (AHJ). The inspector verifies that the breaker sizing, wire gauge, grounding electrode system, and physical routing of the cable meet all local amendments to the NEC. Furthermore, if your new water heater fails due to an electrical surge or improper voltage delivery, the manufacturer's warranty is only valid if the installation was performed by a licensed professional. A DIY electrical fault will void a $1,200 water heater warranty instantly.
Cost and Risk Comparison Matrix
The following table outlines the realistic differences between the two approaches for a standard 40-gallon, 4,500W electric water heater installation requiring 50 feet of new circuit run.
| Factor | DIY Installation | Professional Electrician |
|---|---|---|
| Material Costs | $110 - $140 | $110 - $140 (Passed to consumer) |
| Labor Costs | $0 (Your time) | $250 - $450 (depending on region) |
| Permit & Inspection | $50 - $150 (Homeowner permit) | Included in labor / pulled by pro |
| Total Estimated Cost | $160 - $290 | $400 - $700 |
| Warranty Impact | Voided if electrical fault occurs | Fully protected and documented |
| Time to Complete | 4 - 8 hours (including tool buying) | 1.5 - 3 hours |
| Arc Flash Risk | High (if inexperienced at panels) | Minimal (proper PPE and hot-work protocols) |
Inside the Junction Box: Technical Execution
To truly understand the complexity of wiring for electric water heater setups, you must look at the physical termination process. The Department of Energy notes that proper water heating infrastructure is vital for home efficiency and safety, and that starts at the connection points.
Panel Termination
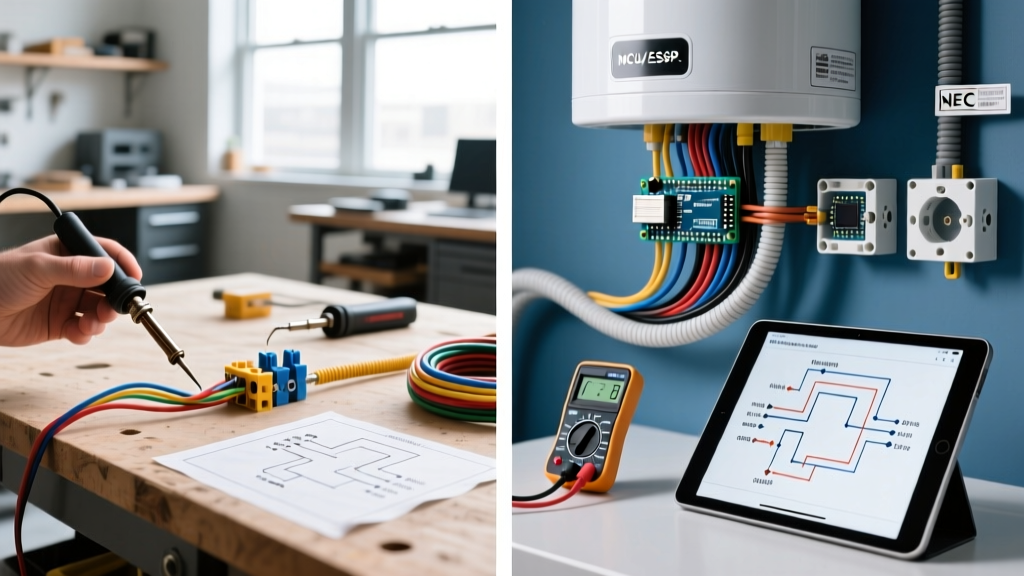
At the main service panel, the electrician routes the 10/2 NM-B through a 3/4-inch knockout, securing it with an anti-short bushing (redhead) and a proper NM cable clamp. The bare copper ground is landed on the equipment grounding bus bar. The black and white wires (with the white wire re-identified with black electrical tape or heat shrink to indicate it is a hot leg, per NEC 200.7) are landed on the two poles of the 30A breaker. The torque screwdriver is set to the breaker manufacturer's exact specification (usually 25 in-lbs for 10 AWG) to ensure a gas-tight connection.
Appliance Termination
At the water heater, the cable enters the built-in junction box. Here, the bare ground wire must be bonded to the green grounding screw on the box and pigtailed to the water heater's chassis ground. The two hot legs connect to the two hot leads coming from the thermostat/element assembly using properly sized wire nuts (typically yellow or red Ideal wire nuts, twisted tight and wrapped with 3M Super 33+ electrical tape for vibration resistance). There is no neutral wire required for a standard 240V resistive water heater.
Expert Warning: Never assume the water heater junction box is large enough to accommodate the incoming 10/2 cable and the internal whip. If the box fill calculation exceeds the cubic inch capacity of the stamped metal box, you must install an exterior extension ring to prevent crushing the wire insulation against the sharp metal edges.
Final Verdict: Should You DIY or Hire a Pro?
If you are simply replacing an existing water heater and the 240V circuit, breaker, and 10 AWG wiring are already in place, verified, and up to code, reconnecting the wires at the junction box is a manageable DIY task for someone with basic electrical knowledge.
However, if you are running a brand new circuit from the panel, upgrading from a gas to an electric model, or dealing with an older home that utilizes obsolete Federal Pacific or Zinsco panels, do not DIY this project. The cost of a professional electrician ($400-$700) is a fraction of the cost of an electrical fire or a voided appliance warranty. When dealing with 240V continuous loads, precision, code compliance, and proper torque are not optional—they are the difference between a safe home and a catastrophic failure.