
The Hidden Complexities of Under-Sink Power
Upgrading your kitchen sink setup often leads to a critical junction: how to safely power the new grinding unit. When evaluating garbage disposal installation electrical wiring, homeowners frequently underestimate the specific code requirements and load calculations involved. Unlike swapping a light fixture, under-sink environments combine moisture, vibrating motors, and high-draw heating elements (if a dishwasher is present) into a single, cramped junction box area.
This comprehensive analysis breaks down the DIY approach versus hiring a licensed electrician, examining 2026 material costs, National Electrical Code (NEC) mandates, and the real-world failure modes that lead to tripped breakers or fire hazards.
Core NEC Requirements for Disposals and Dishwashers
Before pulling any wire, you must understand the governing codes. The NEC is updated every three years, and local jurisdictions adopt these standards to ensure safety. Two specific articles dictate how this wiring must be handled:
NEC Article 210.8(A)(7): Requires Ground-Fault Circuit Interrupter (GFCI) protection for all 125-volt, single-phase, 15- and 20-ampere receptacles installed under sinks.
NEC Article 210.23: Dictates that fastened-in-place appliances (like a disposal) cannot exceed 50% of the branch circuit rating if the circuit also supplies lighting or other portable appliances.
In practical terms, this means you cannot simply plug a disposal and a dishwasher into a standard 15-amp kitchen small-appliance circuit. You need a dedicated 20-amp circuit, or a properly configured split-wired duplex receptacle fed by 12-gauge wire.
DIY vs. Professional: A Head-to-Head Cost and Risk Matrix
Is this a weekend DIY project, or does it require a licensed professional? The table below compares the two routes based on current 2026 market rates and risk profiles.
| Factor | DIY Installation | Professional Electrician |
|---|---|---|
| Estimated Cost | $45 - $85 (Materials only) | $250 - $450 (Labor + Parts) |
| Time Investment | 3 - 5 Hours | 1 - 2 Hours |
| Code Compliance | Variable (High risk of error) | Guaranteed (Permitted & Inspected) |
| Warranty Impact | May void appliance warranty | Preserves manufacturer warranty |
| Best For | Replacing existing, code-compliant setups | New circuits, older homes, adding GFCI |
Breaking Down the DIY Route: What It Actually Takes
If your kitchen already has a dedicated 20-amp circuit terminating in an under-sink junction box or receptacle, the DIY route is highly feasible. The most common modern setup uses a cord-and-plug configuration rather than hardwiring, allowing for easier disposal replacement in the future.
The Split-Receptacle Technique
If you are wiring both a dishwasher and a disposal on a single 20-amp circuit, you must use a split-wired duplex receptacle. Here is the exact procedure:
- Select the Right Hardware: Purchase a 20-Amp Tamper-Resistant GFCI receptacle (e.g., Leviton 20A GFCI, approx. $28) or a standard 20A duplex receptacle if GFCI protection is handled at the breaker panel via a Dual-Function AFCI/GFCI breaker (e.g., Eaton BR220DF, approx. $58).
- Break the Hot Tab: Using needle-nose pliers, snap off the brass connecting tab on the hot (black/brass screw) side of the duplex receptacle. Leave the silver (neutral) tab intact.
- Wire the Feed: Connect the unswitched hot wire (from the dishwasher run) to the bottom brass terminal. Connect the switched hot wire (from the wall switch controlling the disposal) to the top brass terminal.
- Neutral and Ground: Connect the shared neutral to the silver terminal and the bare copper ground to the green grounding screw.
Pro Tip: Always use 12/2 NM-B (Romex) cable for 20-amp circuits. In 2026, a 250-foot roll of Southwire 12/2 NM-B costs roughly $115, or about $0.46 per foot.
The Professional Advantage: Navigating Edge Cases
While the DIY route works for straightforward swaps, hiring an electrician becomes mandatory when dealing with legacy wiring or complex panel upgrades. According to the U.S. Consumer Product Safety Commission (CPSC), electrical wiring is a leading cause of residential fires, and improper under-sink splices are a frequent culprit.
When to Call a Pro:
- Upgrading from 15A to 20A: If your current under-sink wiring is 14-gauge (15-amp), an electrician must pull new 12-gauge wire back to the panel and install a 20-amp breaker. Mixing 14-gauge wire with a 20-amp breaker is a severe fire hazard.
- Adding a Wall Switch: If your home currently relies on plugging the disposal directly into an always-hot receptacle (requiring you to reach under the sink to turn it on), an electrician will need to fish a new switch loop through the drywall to install an air switch or a standard 15-amp toggle switch.
- Aluminum Wiring: Homes built in the 1970s may have aluminum branch circuit wiring. Connecting copper appliance pigtails to aluminum wire without proper CO/ALR connectors or Alumiconn lugs can lead to galvanic corrosion and arcing.
Real-World Failure Modes: Where DIY Wiring Goes Wrong
Even experienced DIYers make specific, repeatable mistakes when handling garbage disposal installation electrical wiring. Avoid these critical failure points:
1. Forgetting the Knockout Plug
When wiring a disposal via a Romex cable directly into the unit's bottom junction box, you must punch out the metal knockout hole. However, if you are using a cord-and-plug method, the knockout must remain sealed. Failing to insert a plastic knockout plug into the open hole exposes the internal wire nuts to moisture and debris, leading to short circuits.
2. Missing Strain Relief Connectors
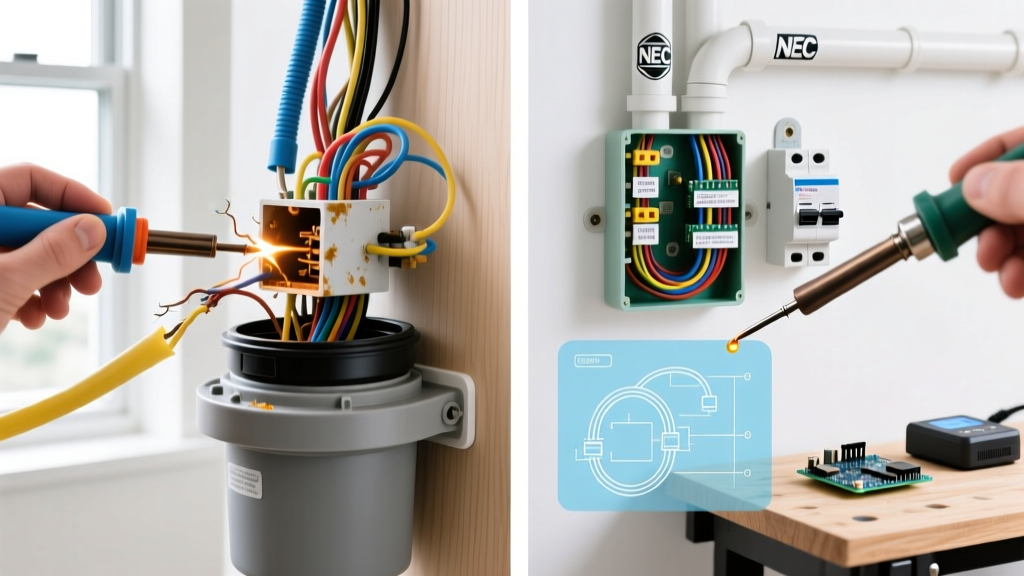
The NEC requires that NM-B cable entering a metal appliance junction box be secured with a proper Romex connector (strain relief). Pushing raw cable through the sharp metal knockout allows the vibration of the 3/4 HP motor to slowly slice through the cable's PVC jacket, eventually causing the hot wire to short against the metal disposal housing.
3. Ignoring GFCI Nuisance Tripping
Garbage disposals have high inrush currents when starting. Older GFCI receptacles often interpret this inrush as a ground fault, causing nuisance tripping. The National Fire Protection Association (NFPA) outlines in the NEC that modern GFCI devices are designed to handle these loads, but DIYers using cheap, outdated, or counterfeit receptacles from unverified online marketplaces will experience constant tripping. Always buy UL-listed GFCIs from authorized electrical suppliers.
Final Verdict: Which Path Should You Take?
If you are simply replacing an existing disposal and the under-sink receptacle is already grounded, GFCI-protected, and on a 20-amp circuit, the DIY route is safe, cost-effective, and takes less than an hour. Simply unplug the old unit, detach the drain flange, and swap the hardware.
However, if you are finishing a kitchen remodel, adding a disposal to a home that never had one, or dealing with ungrounded 2-prong outlets, the complexity of running new 12/2 NM-B cable, installing AFCI/GFCI breakers, and ensuring NEC compliance firmly pushes this into professional territory. Spending $350 on a licensed electrician today prevents thousands in potential water and fire damage tomorrow.