
The Hidden Hazards of Assuming Wire Colors
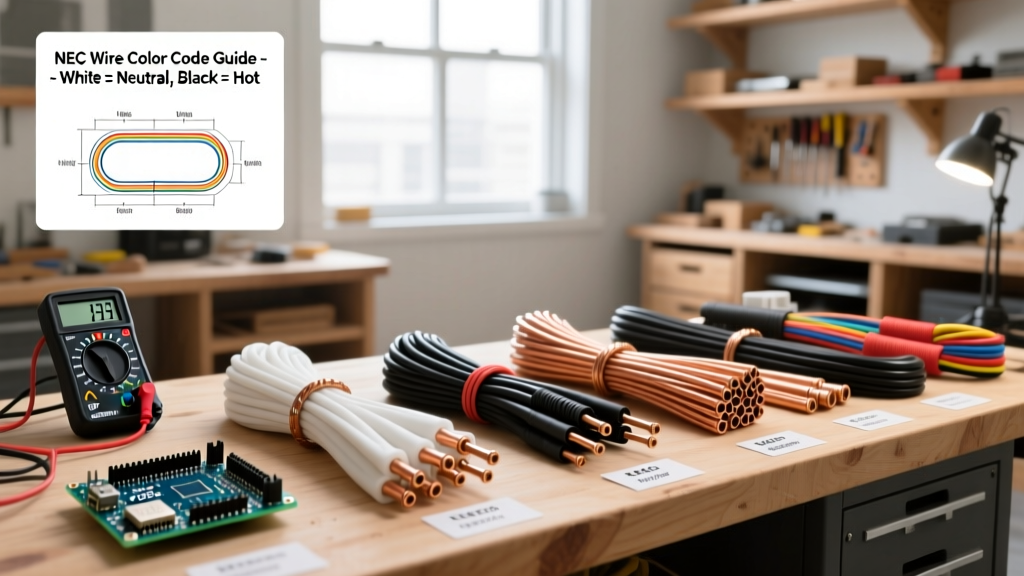
When mapping out a home remodel, decoding electrical wiring white black conductor rules is the difference between a safe upgrade and a catastrophic failure. In standard US residential construction, the assumption is simple: black is hot, white is neutral, and bare copper is ground. However, any seasoned electrician will tell you that opening up walls in a home built before 2011 often reveals a completely different reality. Previous DIYers, evolving National Electrical Code (NEC) standards, and specific appliance requirements frequently turn the standard color code on its head.
As you plan your 2026 renovation, understanding the nuances of conductor identification, re-identification requirements, and legacy wiring anomalies is critical. According to the National Fire Protection Association (NFPA), improper handling of grounded and ungrounded conductors remains a leading cause of residential electrical fires during unpermitted remodels. This guide will break down exactly how to handle white and black wires across various renovation scenarios.
The Baseline: Standard 120V NM-B Cable Configurations
In modern 120-volt circuits utilizing non-metallic sheathed cable (commonly known as Romex or NM-B), the standard electrical wiring white black configuration is strictly defined by NEC Article 200 and 210.
- Black Conductor: The ungrounded (hot) wire carrying 120V from the breaker to the device.
- White Conductor: The grounded (neutral) wire providing the return path to the panel.
- Bare/Green Conductor: The equipment grounding conductor (EGC) for fault current.
In new construction or full gut-remodels using 12/2 or 14/2 NM-B cable (costing approximately $0.65 to $0.85 per foot in 2026), this color coding is absolute. However, renovations rarely involve blank slates.
CRITICAL SAFETY WARNING: Never trust wire colors in an existing structure without verification. The U.S. Consumer Product Safety Commission (CPSC) warns that thousands of shocks occur annually when homeowners assume a white wire is dead. Always use a reliable voltage tester before making contact.
The Renovation Trap: Switch Loops and Re-Identification
The most common scenario where the electrical wiring white black standard is violated is in lighting switch loops.
Pre-2011 NEC Switch Loops (The Old Way)
In homes wired prior to the 2011 NEC update, power was often routed to the light fixture first, with a single 2-wire cable dropping down to the wall switch. Because standard 2-wire cable only contains one black and one white wire, electricians used the white wire as the constant hot feeding the switch, and the black wire as the switched hot returning to the fixture.
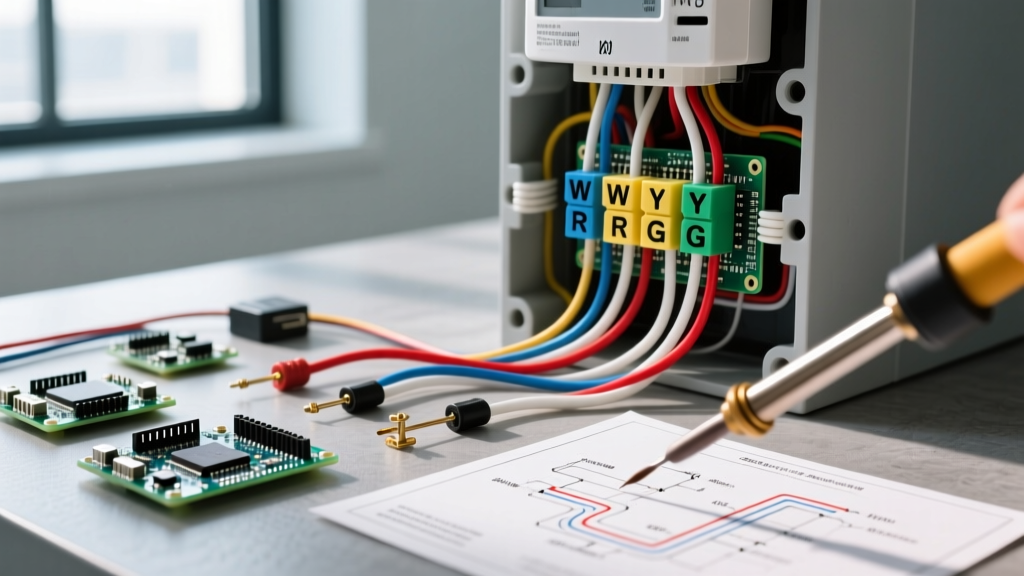
NEC 200.7(C)(2) Requirement: When a white wire is used as an ungrounded (hot) conductor in a switch loop, it must be permanently re-identified with black or red tape, paint, or heat-shrink tubing at both terminations. In older renovations, you will frequently find this tape has fallen off, degraded, or was never applied by a careless installer.
Post-2011 NEC Switch Loops (The Smart Home Era)
The 2011 NEC introduced Article 404.2(A), requiring a neutral conductor at almost all switch boxes to accommodate smart switches, timers, and occupancy sensors. This changed the topology. Power now typically routes to the switch box first, and a 3-wire cable (14/3 or 12/3) runs to the fixture, or standard 14/2 runs to the light with the white acting strictly as the neutral. If you are upgrading an old switch loop to accommodate modern Lutron Caséta or Leviton Decora smart switches, you will likely need to pull new 3-wire cable or use a neutral-free smart switch module (like the Lutron PD-5S-DV) that utilizes a proprietary bypass.
240-Volt Appliances and Multi-Wire Branch Circuits (MWBC)
Another major exception to the electrical wiring white black rule occurs in 240-volt and shared-neutral circuits.
240V Baseboard Heaters and Water Heaters
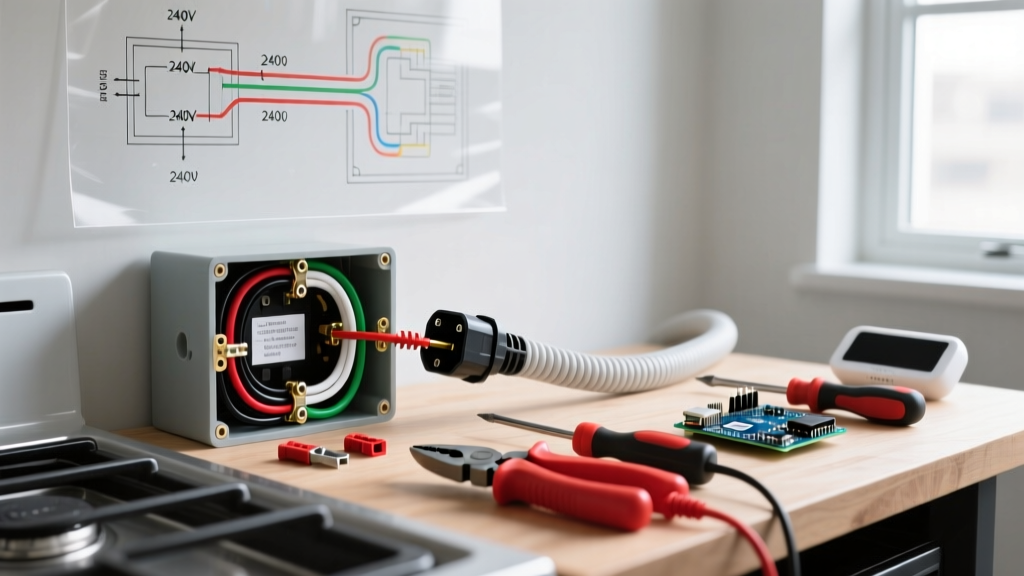
Many 240-volt appliances, such as Cadet baseboard heaters or older electric water heaters, are wired using 12/2 or 10/2 NM-B cable. In this setup, the circuit utilizes two poles of the breaker panel. Both the black and the white wires are hot (120V each, 240V total). There is no neutral. NEC 200.7(C)(3) mandates that the white wire must be re-identified (usually with red or black tape) to indicate it is a current-carrying hot conductor. Failing to recognize this during a bathroom or basement remodel can result in a lethal shock.
Multi-Wire Branch Circuits (MWBC)
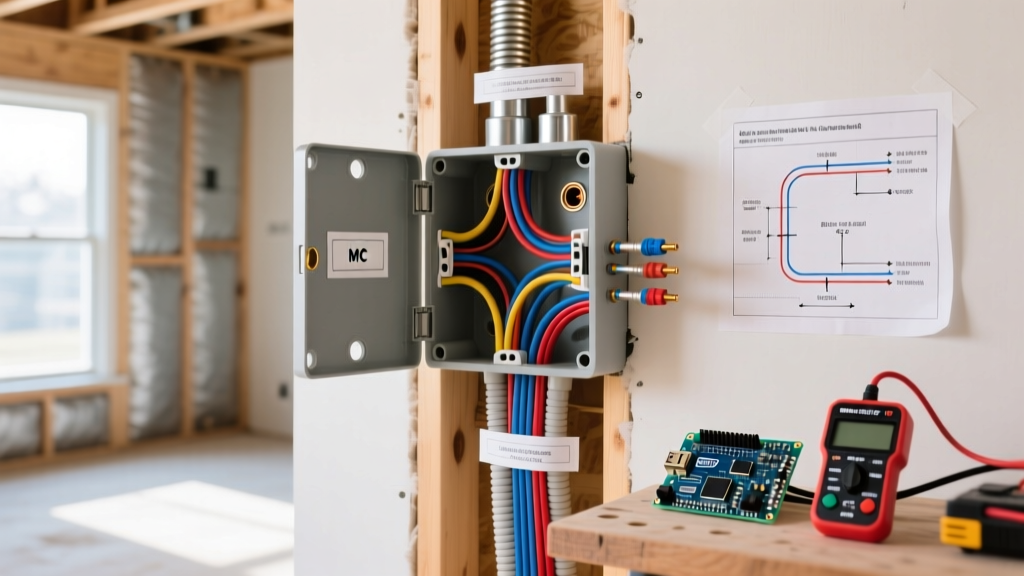
Common in kitchens and garages, an MWBC shares a single white neutral wire between two hot wires (one black, one red) on opposing phases. If you are renovating a kitchen and plan to split an MWBC onto two separate single-pole breakers or GFCI receptacles, you must understand that the white neutral carries the unbalanced load. Disconnecting or miswiring the white wire on an active MWBC can instantly fry 120V electronics or cause a neutral overload fire.
Renovation Planning Matrix: Conductor Identification Guide
Use this decision matrix when evaluating existing wiring during the demolition and rough-in phases of your remodel.
| Scenario / Location | Cable Type | White Wire Function | Black Wire Function | Required Re-Identification? |
|---|---|---|---|---|
| Standard 120V Receptacle | 12/2 or 14/2 NM-B | Neutral (Grounded) | Hot (Ungrounded) | No |
| Pre-2011 Lighting Switch Loop | 12/2 or 14/2 NM-B | Constant Hot Feed | Switched Hot Return | Yes (Black/Red tape on White) |
| 240V Baseboard Heater | 12/2 NM-B | Hot (Leg 2) | Hot (Leg 1) | Yes (Red/Black tape on White) |
| Kitchen MWBC (Split Receptacle) | 12/3 NM-B | Shared Neutral | Hot (Leg 1) | No (Red wire is Leg 2) |
| Smart Switch (Post-2011 Code) | 14/3 NM-B | Neutral | Constant Hot | No (Red is Switched Hot) |
Dealing with Legacy Wiring: Faded, Painted, and Cloth-Insulated
If your renovation involves a home built between 1930 and 1970, you will likely encounter cloth-insulated wiring or early thermoplastic (THW) where the electrical wiring white black colors have severely degraded. White wires often turn brown or gray due to heat and nicotine, while black wires can fade to a dull gray.
Furthermore, layers of latex paint from previous owners frequently bridge the gap between the wire insulation and the device yoke, creating hidden short-circuit risks when you swap out old outlets for modern tamper-resistant (TR) models.
Essential Diagnostic Tools for 2026
Do not rely on cheap $10 non-contact voltage testers (NCVT) for renovation planning. They are prone to phantom voltage readings in dense wall cavities. Invest in professional-grade diagnostic tools:
- Fluke T6-1000 FieldSense ($280 - $320): This is the gold standard for renovation electricians. It measures AC voltage and current through the insulation without requiring metal-to-metal contact, allowing you to safely identify which wire in a bundle is actually hot before stripping the insulation.
- Klein Tools NCVT-3 ($35 - $45): A reliable dual-range non-contact tester for quick initial sweeps of open wall cavities during demo.
- Ideal Industries Reflex Wire Stripper ($40): Features a built-in voltage sensor to confirm a wire is dead the exact moment you go to strip it.
Step-by-Step Verification Protocol for Demo Day
Before your crew starts swinging sledgehammers or cutting into drywall with oscillating multi-tools, implement this strict verification protocol to prevent severing live conductors or misidentifying neutrals.
- Panel Mapping: Turn off the target breaker and use a socket tester to verify power loss at the receptacles. Tag the breaker panel with a temporary label indicating "Renovation Circuit - Do Not Energize."
- Open the Boxes: Remove the cover plates and unscrew the devices (switches/outlets) from the junction boxes. Pull them out gently to expose the wire nuts.
- Trace the Switch Loops: If you are in a lighting circuit, identify the cable entering from the ceiling vs. the wall. Use your Fluke T6 to verify which conductor is carrying the line voltage.
- Check for Backstabbed Connections: Older renovations frequently used the push-in "backstab" terminals on cheap receptacles. These connections loosen over time and cause arcing. Plan to cut these back and pigtail the wires using modern side-wire or screw-terminal connections.
- Re-Identify Immediately: If you find a white wire being used as a hot (in a switch loop or 240V circuit) that lacks tape, wrap it with high-quality 3M Super 33+ vinyl electrical tape or apply black heat-shrink tubing immediately before closing the wall back up.
Frequently Asked Questions (FAQ)
Can I just swap the black and white wires if they are reversed in a fixture?
No. If you discover a reversed polarity situation (hot on the neutral terminal, neutral on the hot terminal), you must trace the circuit back to the source. Simply swapping them at the fixture might fix the immediate device, but it indicates a deeper miswire in a junction box or switch loop that could energize the threaded shell of a light bulb socket, posing a severe shock hazard.
What if my renovation uncovers aluminum wiring instead of copper?
If you open a wall and find silver-colored conductors instead of copper, stop immediately. Aluminum branch wiring (common from 1965-1973) requires specialized CO/ALR rated devices and specific termination techniques, such as the Alumiconn lug connectors or COPALUM crimping. Standard copper-rated devices will eventually cause aluminum wires to oxidize, expand, and catch fire.
Does the NEC require me to bring old switch loops up to modern code?
Generally, the NEC is not retroactive. If you are simply replacing a switch or fixture, you can leave the old switch loop intact (provided the white wire is properly re-identified). However, if your renovation involves adding a new circuit, extending an existing circuit, or doing a full gut-remodel down to the studs, the local Authority Having Jurisdiction (AHJ) will likely require you to bring the wiring up to the current 2023/2026 NEC standards, which means pulling new 3-wire cable to provide a neutral at the switch.