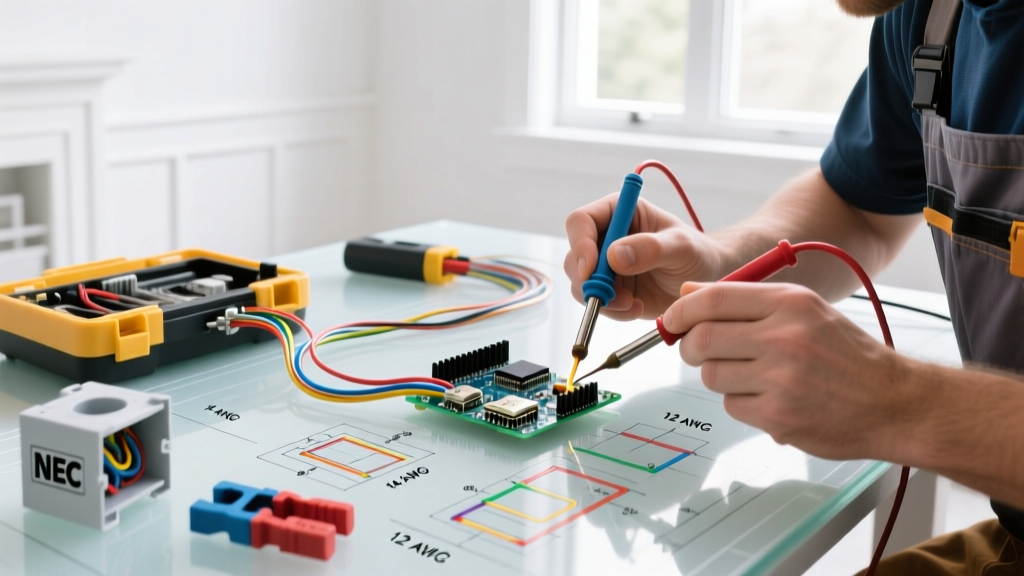

The Modern Standard for Electric Home Wiring
Undertaking an electric home wiring project is one of the most rewarding upgrades a homeowner can tackle, but it demands strict adherence to safety protocols and modern electrical codes. Whether you are finishing a basement, adding a dedicated workshop circuit, or upgrading outdated 15-amp lighting loops, the margin for error is zero. According to the National Fire Protection Association (NFPA), electrical failures or malfunctions are a leading cause of home structure fires, making code-compliant installation non-negotiable.
This guide moves beyond generic advice, providing exact specifications, tool requirements, and failure-mode analysis for DIYers tackling 120-volt branch circuit upgrades in 2026. We will focus on installing a modern 20-amp receptacle circuit, integrating the latest Arc-Fault (AFCI) and Ground-Fault (GFCI) protection mandated by recent NEC cycles.
Decoding Wire Types and Ampacity
Choosing the correct cable is the foundation of any safe electric home wiring project. For interior, dry-location residential branch circuits, Non-Metallic Sheathed Cable (NM-B), commonly referred to by the brand name Romex, is the industry standard. For wet locations or conduit runs, individual THHN/THWN-2 conductors are required.
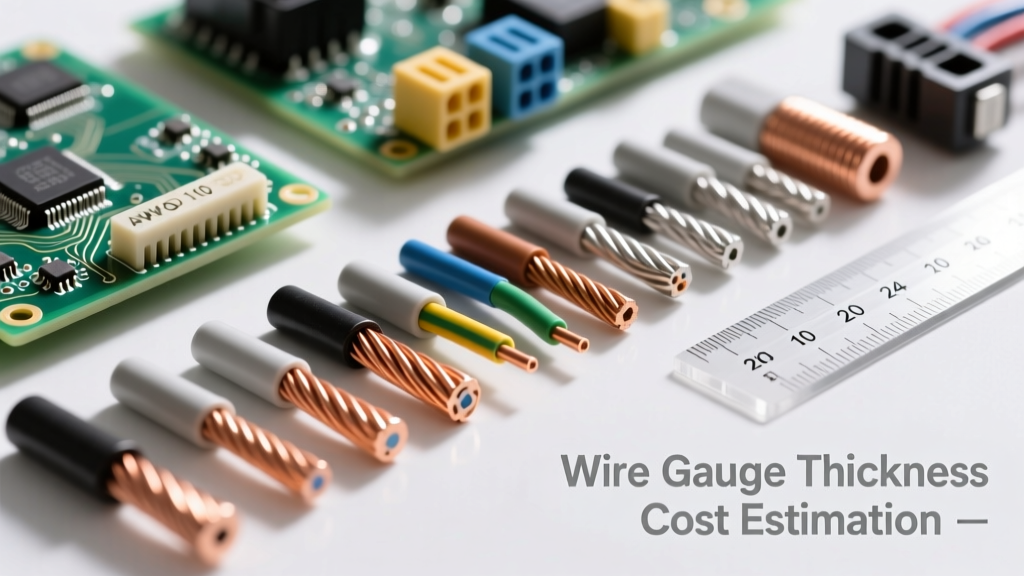
Wire Gauge Sizing and Cost Matrix
The National Electrical Code (NEC) strictly governs ampacity based on wire gauge and insulation temperature rating. While THHN wire is rated for 90°C, standard residential breakers and receptacles are typically rated for 60°C or 75°C terminations. Therefore, you must size your overcurrent protection based on the 60°C column for 14 and 12 AWG wire.
| Wire Type | Gauge (AWG) | Max Breaker Size | Primary Use Case | Avg. Cost per Ft (2026) |
|---|---|---|---|---|
| NM-B (Romex) | 14 AWG | 15 Amps | General lighting, bedroom receptacles | $0.55 - $0.65 |
| NM-B (Romex) | 12 AWG | 20 Amps | Kitchen, bathroom, garage, workshop | $0.85 - $1.05 |
| NM-B (Romex) | 10 AWG | 30 Amps | Electric dryers, RV hookups, heavy HVAC | $1.45 - $1.75 |
| THHN (Stranded) | 12 AWG | 20 Amps* | Interior conduit runs, metal boxes | $0.30 - $0.40 |
*Note: THHN ampacity is higher in the 90°C column, but termination limits restrict the breaker size to 20A for 12 AWG in standard residential panels.
Professional-Grade Tooling Requirements
Consumer-grade tools often lead to damaged conductors and poor terminations. To execute a safe electric home wiring installation, invest in the following professional tools:
- Wire Strippers: Klein Tools 11055 (10-18 AWG). The precision shear prevents nicking the copper, which creates a weak point that can snap under thermal expansion.
- Digital Multimeter: Fluke 117 True-RMS. Essential for verifying a dead circuit and testing continuity. Non-contact voltage testers (NCVT) are for initial screening only; never rely on them as proof of de-energization.
- Torque Screwdriver: CDI 401SM or Klein Tools QPV120. Modern NEC Article 110.14(D) mandates that terminations be torqued to the manufacturer's specifications.
- Cable Ripper: Romex 48211. Safely slits the outer PVC jacket without scoring the inner paper or wire insulation.
Step-by-Step: Installing a 20A Workshop Circuit
Below is a precise workflow for running a new 12/2 NM-B circuit from your main panel to a dedicated workshop receptacle.
Phase 1: Panel Preparation and Breaker Selection
- De-energize the Panel: Turn off the main service disconnect. Use your Fluke 117 to verify zero voltage at the main lugs. Remember, the utility side of the main breaker remains live and lethal.
- Select the Breaker: Install a 20A Dual-Function (CAFCI/GFCI) breaker, such as the Square D HOM120DF or Eaton BR120DF. Recent NEC adoptions require both arc-fault and ground-fault protection for almost all 120V, 15A and 20A living space circuits.
- Connect the Pigtail: Secure the breaker's coiled white neutral pigtail to the panel's neutral bus bar. Torque the terminal screw to the manufacturer's spec (typically 12-15 in-lbs).
Phase 2: Routing and Box Fill Calculations
Run the Southwire 12/2 NM-B cable from the panel to the first outlet box. Secure the cable with approved staples within 8 inches of the box and every 4.5 feet thereafter.
Critical Code Check (NEC Article 314): Box fill calculations prevent overcrowding, which causes heat buildup. For 12 AWG wire, each current-carrying conductor counts as 2.25 cubic inches. A standard duplex receptacle counts as two conductors (4.5 cu in). If you are pulling two 12/2 cables into a box to daisy-chain, you need a minimum 18 cubic inch "deep" electrical box to remain code-compliant.
Phase 3: Terminations and Torque
- Strip the Jacket: Use the cable ripper to remove exactly 3/4 inch of insulation from the individual black and white wires.
- Form the J-Hook: Use needle-nose pliers to form a smooth J-hook on the exposed copper. The hook should wrap clockwise around the terminal screw so that tightening the screw pulls the wire tighter, rather than pushing it out.
- Avoid Backstabbing: Never use the push-in "backstab" holes on the rear of receptacles. These rely on a small internal spring that can loosen over time due to thermal cycling, leading to high-resistance arcing.
- Apply Torque: Use your calibrated torque screwdriver to tighten the terminal screws to the receptacle's listed specification (usually 12-14 in-lbs).
Common DIY Failure Modes and Edge Cases
Even experienced DIYers make subtle mistakes in electric home wiring that do not immediately trip a breaker but create severe fire hazards over time.
1. The Shared Neutral Trap (MWBC)
If you are wiring a Multi-Wire Branch Circuit (MWBC) to save cable by sharing a single neutral wire between two hot legs, the two hot breakers must be on opposite phases (240V between them) and secured with an approved handle tie. If they are on the same phase, the shared neutral will carry the sum of both currents, potentially returning 40 amps on a 12 AWG wire rated for 20 amps, resulting in a melted neutral and fire.
2. Over-Tightening and Cold Flow
Copper is a relatively soft metal. Over-tightening terminal screws crushes the wire, reducing its cross-sectional area and increasing resistance. Furthermore, copper experiences "cold flow" over time; if not torqued to exact specifications, the connection can loosen as the house experiences seasonal temperature shifts.
3. Grounding to Plastic Boxes
When using non-metallic (plastic) electrical boxes, the equipment grounding conductor (bare copper) must be connected directly to the receptacle's green grounding screw. You cannot rely on the device's mounting yoke to bond the ground, as plastic boxes do not provide a continuous grounding path back to the panel.
Knowing Your Limits: When to Call a Pro
While adding a branch circuit is a manageable DIY project, certain aspects of electric home wiring should always be left to licensed master electricians. The U.S. Consumer Product Safety Commission (CPSC) strongly advises professional intervention for main panel upgrades, service entrance cable replacements, and any work involving 240V heavy appliances if you lack specific training.
Furthermore, if your home was built before 1985, you may encounter aluminum branch wiring or knob-and-tube systems. These require specialized connectors (like COPALUM or Alumiconn) and specific insurance-mandated remediation protocols that fall outside standard DIY scope.
Final Verification and Energizing
Before closing up your drywall or snapping on the faceplates, perform a final continuity and insulation resistance check. Ensure all ground wires are bonded, all neutrals are isolated on the neutral bus (never double-lug two neutrals under a single screw unless the panel is explicitly listed for it), and all hot connections are secure.
Once verified, re-energize the main panel, flip your new 20A AFCI/GFCI breaker to the ON position, and press the "TEST" button on the breaker to ensure the internal circuitry trips correctly. Reset the breaker, plug in a heavy load like a shop vacuum, and verify stable operation. For further reading on residential safety standards, consult the Electrical Safety Foundation International (ESFI) guidelines on home electrical audits.
By respecting the physics of electrical resistance and strictly following NEC guidelines, your electric home wiring project will provide decades of safe, reliable power.