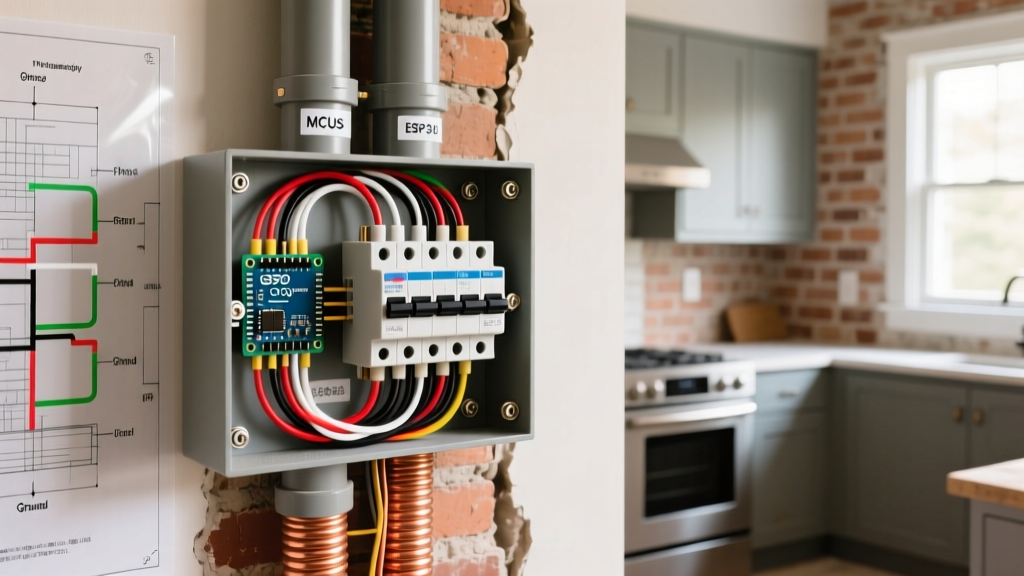

The 2026 Home Electrification Shift: Planning for Electric Heat
As homeowners increasingly move away from fossil fuels during major renovations, electric furnace wiring has become a critical focal point in residential remodels. Whether you are swapping an aging oil boiler for a modern electric resistance furnace (like the Goodman MBR series) or installing a high-capacity air handler with emergency heat strips, the electrical infrastructure requires meticulous planning. According to the U.S. Department of Energy, whole-home electrification is accelerating, but many renovation projects stall when homeowners realize their existing 200-amp electrical panels cannot support the massive continuous loads generated by electric heating.
This guide provides a deep-dive into the technical, structural, and code-compliant steps required to integrate electric furnace wiring into your home renovation, ensuring your system is safe, efficient, and ready for inspection.
Assessing Panel Capacity and NEC Article 220 Load Calculations
Before purchasing equipment or opening walls, you must perform an NEC Article 220 load calculation. Electric furnaces are notorious power consumers. A standard 2,000-square-foot home in a cold climate zone may require a 15kW to 20kW electric furnace to maintain temperature during peak winter drops.
The Math Behind the Heat
- 15kW Furnace: 15,000 Watts / 240 Volts = 62.5 Amps.
- 20kW Furnace: 20,000 Watts / 240 Volts = 83.3 Amps.
Because heating is considered a continuous load (running for 3 hours or more), the National Electrical Code (NEC) requires the branch circuit to be sized at 125% of the total amperage. Therefore, an 83.3A furnace demands a circuit capacity of at least 104 Amps. If your home currently has a 200A main service panel, adding a 100A+ continuous heating load will likely max out your panel, necessitating a service upgrade to 320A or 400A—a common renovation necessity in 2026.
The Multi-Circuit Reality: Branch Circuit Splits
One of the most common misconceptions among DIY renovators is that an electric furnace requires a single, massive 100-amp breaker. In reality, manufacturers design residential electric furnaces to utilize multiple branch circuits. This prevents the need for prohibitively expensive, ultra-thick single-run cables and allows the load to be balanced across the panel's bus bars.
Renovation Insight: Always pull the wiring diagram from the specific furnace model's spec sheet before rough-in. A 20kW Winchester furnace, for example, typically splits its heating elements into three or four separate 30A or 40A circuits, plus a dedicated 15A or 20A circuit for the blower motor and control board.
Wire Sizing Matrix for Common Furnace Configurations
The following table outlines standard copper wire sizing based on the 75°C column of NEC Table 310.16, assuming standard THHN/THWN-2 conductors in conduit or properly rated SER cable.
| Furnace kW Rating | Circuit Split Strategy | Breaker Size (Per Circuit) | Min. Copper Wire Gauge | Recommended Cable Type |
|---|---|---|---|---|
| 10 kW | Two 20A + One 15A | 20 Amp | 12 AWG | 12/2 NM-B or THHN |
| 15 kW | Two 40A + One 15A | 40 Amp | 8 AWG | 8/3 NM-B or THHN |
| 20 kW | Three 40A + One 20A | 40 Amp | 8 AWG | 8/3 NM-B or THHN |
| 20 kW (Alt) | Two 60A + One 20A | 60 Amp | 6 AWG | 6/3 SER or THHN |
Note: Always verify the terminal temperature ratings on the furnace contactors. If rated for 60°C, you must size the wire using the 60°C column (e.g., upgrading 8 AWG to 6 AWG for a 40A breaker), per NEC 110.14(C).
Rough-In Strategies: Routing Cable During a Remodel
Running heavy-gauge wire for electric furnace wiring through finished spaces requires strategic renovation planning. Unlike standard 15A lighting circuits, 6 AWG and 8 AWG cables are incredibly stiff and difficult to fish through existing walls.
Conduit vs. NM-B Cable in Renovations
For unfinished basements or utility rooms where the furnace is located, running individual THHN conductors inside 3/4-inch EMT (Electrical Metallic Tubing) or PVC conduit is highly recommended. It provides superior physical protection and makes future upgrades significantly easier.
If you must route the circuits through finished walls to reach a sub-panel or an attic-mounted air handler, use SER (Service Entrance Round) cable or heavy-gauge NM-B. However, be aware of the ampacity derating rules. If you are bundling more than three current-carrying conductors in a single bored hole or running them through insulated wall cavities packed with cellulose, you may need to upsize your wire to compensate for heat dissipation issues.
Low-Voltage Control and Thermostat Integration
High-voltage wiring is only half the battle. The control circuit dictates how the furnace stages its heat and communicates with modern smart thermostats (like the Ecobee SmartThermostat or Nest Learning Thermostat).
- Wire Selection: Use 18/8 or 18/5 solid-core thermostat wire. In 2026, running 18/8 is the standard best practice even if you only need 5 wires today, providing spare conductors for future humidifiers, UV lights, or advanced heat-pump staging.
- The 'W' and 'E' Terminals: For a straight electric furnace, the heat call connects to the 'W' or 'W1' terminal. If the furnace serves as emergency backup heat for a dual-fuel or heat-pump system, it must be wired to the 'E' or 'Aux' terminal to ensure it only engages when the heat pump fails or defrosts.
- Transformers: Ensure the furnace's internal 24V transformer has adequate VA (Volt-Amp) rating. If you are adding smart relays or Wi-Fi modules, a standard 40VA transformer may overheat; upgrading to a 75VA transformer during the rough-in phase costs less than $25 and prevents future control board failures.
2026 Renovation Budgeting: Cost Breakdown
Integrating electric furnace wiring into a whole-home remodel requires a dedicated budget. Below is a realistic cost matrix based on 2026 national averages for licensed electrical contractors.
| Renovation Electrical Task | Estimated Material Cost | Estimated Labor Cost | Total Range |
|---|---|---|---|
| Main Panel Upgrade (200A to 400A) | $1,200 - $1,800 | $2,500 - $4,000 | $3,700 - $5,800 |
| Running Three 40A Circuits (up to 50ft) | $250 - $400 | $600 - $900 | $850 - $1,300 |
| Install 100A Disconnect Switch | $45 - $80 | $150 - $250 | $195 - $330 |
| Low-Voltage Thermostat Wiring | $30 - $50 | $150 - $250 | $180 - $300 |
| Permits & Municipal Inspections | $150 - $300 | N/A | $150 - $300 |
Common Pitfalls and Failure Modes to Avoid
When managing a renovation, electrical shortcuts can lead to catastrophic failures or failed municipal inspections. Watch out for these specific edge cases:
- Voltage Drop on Long Runs: If your furnace is in the attic and the panel is in the basement (a run exceeding 100 feet), a 6 AWG wire on a 60A circuit will suffer from severe voltage drop. This causes the heating elements to underperform and the blower motor to draw excessive amperage, eventually tripping the breaker. Always calculate voltage drop and upsize to 4 AWG for runs over 80 feet.
- Missing the Disconnecting Means: NEC 424.19 strictly requires a disconnecting means within sight of the furnace. Many renovators forget to install a heavy-duty 60A or 100A pull-out disconnect box adjacent to the unit, relying solely on the panel breaker. This is an automatic inspection failure.
- Neutral and Ground Bonding: If your furnace requires a 4-wire feed (two hots, a neutral for 120V control circuits, and a ground), ensure the neutral and ground are strictly separated at the furnace junction box. Bonding them together downstream of the main panel creates a dangerous parallel neutral path.
Finalizing Your Renovation Plan
Proper electric furnace wiring is not an afterthought; it is a foundational element of a modern, electrified home remodel. By accurately calculating your continuous loads, planning for multi-circuit breaker configurations, and routing appropriate gauge copper wire before the drywall goes up, you ensure a safe, code-compliant, and highly efficient heating system. Always partner with a licensed electrical contractor and consult the latest Department of Energy guidelines on heating systems to maximize your renovation's performance and safety.


