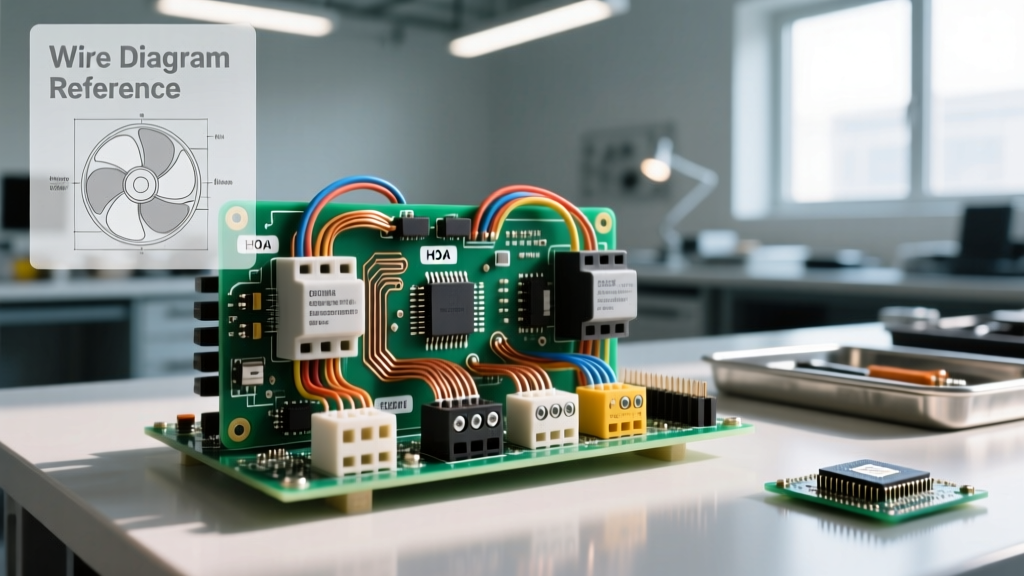

Commercial Ventilation and the Wiring Electric Fan Relay Diagram
In commercial and industrial facilities, managing heavy-duty ventilation requires more than a simple wall switch. Exhaust fans, make-up air units, and agricultural ventilators often utilize single-phase or three-phase motors ranging from 1/2 HP to 10 HP. These motors draw massive Locked Rotor Amps (LRA) during startup, which will instantly destroy the delicate dry contacts of a Building Automation System (BAS), smart thermostat, or occupancy sensor. This is where mastering the wiring electric fan relay diagram becomes critical for commercial electricians and HVAC technicians.
By utilizing a Definite Purpose Contactor (DPC) or a motor starter, you electrically isolate the high-amperage motor load from the low-voltage control circuit. In this 2026 commercial wiring guide, we break down the exact schematics, component specifications, and National Electrical Code (NEC) requirements for wiring a commercial electric fan relay system, complete with Hand-Off-Auto (HOA) integration.
The Physics of Commercial Fan Loads: LRA vs. FLA
Before pulling wire, you must understand the electrical characteristics of commercial fan motors. A standard 3 HP, 240V single-phase exhaust fan (such as a Dayton belt-drive or Greenheck centrifugal model) has a Full Load Amp (FLA) rating of approximately 18A. However, the LRA—the current drawn at the exact moment the motor starts before back-EMF builds—can spike to 108A or higher (typically 6x the FLA).
If you wire a BAS relay directly to this load, the inrush current will arc across the relay's internal contacts, welding them together and causing a catastrophic failure. A 40A-rated Definite Purpose Contactor is specifically engineered with heavy-duty silver-alloy contacts and arc chutes to absorb this inrush energy safely.
2026 Commercial Component Matrix & Cost Guide
Below is a bill of materials (BOM) for a standard 240V single-phase commercial fan relay installation. Pricing reflects early 2026 electrical supply averages.
| Component | Model Example | Specifications | Est. Cost (2026) |
|---|---|---|---|
| Definite Purpose Contactor | Eaton C25DNF240 | 40A, 240VAC, 24VAC Coil | $48.00 |
| HOA Selector Switch | IDEC TW2S-11SA | 22mm, 3-Position, Maintained | $65.00 |
| Control Transformer | Hubbell HBL5262 | 100VA, 240V Primary / 24VAC Sec. | $58.00 |
| Thermal Overload Relay | Eaton C20RF | Adjustable 12A - 20A | $34.00 |
| Motor Disconnect | Siemens GF221N | 30A, 240V, Fused, NEMA 1 | $115.00 |
Control Transformer Sizing: The Hidden Failure Point
A common mistake in commercial wiring is undersizing the 24VAC control transformer. When a contactor coil is energized, it experiences an inrush VA (Volt-Ampere) spike that is significantly higher than its sealed (holding) VA.
- Contactor Coil Inrush: ~55 VA
- Contactor Coil Sealed: ~12 VA
- BAS Dry Contact / Indicator Lights: ~10 VA
While the sealed load is only 22 VA, the transformer must be sized to handle the 65 VA inrush without dropping below 85% of the nominal 24VAC output. If voltage sags below 20.4VAC during startup, the contactor will 'chatter' (rapidly open and close), destroying the coil and the contacts. Always use a minimum 100VA control transformer for commercial fan relay circuits to ensure voltage stability.
Step-by-Step: Executing the Wiring Electric Fan Relay Diagram
Follow this sequence to wire the power and control circuits safely. Ensure all work complies with NFPA 70 (NEC) standards and that the main breaker is locked out and tagged out (LOTO) per OSHA electrical safety guidelines.
Phase 1: High-Voltage Power Circuit (Line & Load)
- Disconnect to Contactor: Run 10 AWG THHN copper wire from the load side of the 30A fused disconnect to the L1 and L2 line terminals on the contactor.
- Contactor to Overload: Route 10 AWG wire from T1 and T2 (load terminals) through the thermal overload relay's sensing blocks.
- Overload to Motor: Run the final 10 AWG conductors from the overload relay to the motor's peckerhead (junction box). Connect to the appropriate voltage taps (e.g., T1, T2, T3 for 240V single-phase).
- Torque Specifications: Use a calibrated torque screwdriver. Eaton C25 series terminals require 14 in-lbs of torque. Loose connections cause resistance heating and phase loss.
Phase 2: Low-Voltage Control Circuit (24VAC)
The control circuit dictates when the contactor pulls in. We use a 24VAC secondary from the control transformer.
- Transformer Primary: Wire 480V or 240V (depending on facility power) to the H1 and H2 terminals on the transformer. Use 14 AWG wire with a 2A inline fuse on the hot leg.
- Transformer Secondary: Wire X1 (24VAC Hot) to the common terminal of your HOA switch. Wire X2 (24VAC Neutral) directly to the A2 terminal on the contactor coil.
- Grounding: Bond the transformer secondary X2 terminal to the equipment grounding conductor (EGC) to establish a stable reference ground for the BAS.
Phase 3: Hand-Off-Auto (HOA) Logic Integration
Commercial facilities require manual overrides for maintenance and emergency smoke evacuation. The HOA switch is wired in the 24VAC control path as follows:
- HAND (Manual): Routes 24VAC directly from X1 to the A1 coil terminal, bypassing all automation. The fan runs continuously.
- OFF: Breaks the 24VAC circuit. The coil de-energizes, and the fan stops.
- AUTO: Routes 24VAC through a series of dry contacts (e.g., BAS relay, fire alarm smoke detector normally-closed loop, or commercial thermostat). If the BAS calls for exhaust, the dry contact closes, completing the circuit to A1.
NEC Article 430 Compliance Requirements
When wiring commercial motors, NEC Article 430 dictates strict rules that go beyond standard branch circuit wiring:
NEC 430.102(A) & (B): An individual disconnecting means must be provided for the motor controller (the contactor) and the motor itself. Furthermore, the disconnect must be 'within sight' from the controller and motor location. In large commercial warehouses, this often requires installing a local fused disconnect switch within 50 feet of the exhaust fan, even if the main breaker panel is hundreds of feet away.
Additionally, NEC 430.32 requires running overload protection sized between 115% and 125% of the motor's nameplate FLA. If your motor FLA is 18A, your thermal overload relay must be set to trip at 21.6A (18 x 1.20). This protects the motor windings from burning up during a mechanical jam or blocked damper scenario.
Troubleshooting Edge Cases & Failure Modes
Even with a perfect wiring electric fan relay diagram execution, commercial environments introduce variables that cause system faults. Use this diagnostic matrix to troubleshoot field issues.
| Symptom | Root Cause Analysis | Diagnostic Fix |
|---|---|---|
| Contactor 'Chatter' (Loud buzzing, rapid cycling) | Voltage drop on the 24VAC control circuit. Coil is receiving less than 85% of rated voltage due to undersized control wire or overloaded transformer. | Measure AC voltage directly across A1 and A2 while the BAS is calling. If below 20.4VAC, upgrade control wire to 12 AWG or install a larger VA transformer. |
| Contacts Welded (Fan won't turn off in 'OFF' position) | Switching the contactor under heavy load without arc suppression, or the motor LRA exceeded the contactor's HP rating. | Replace the contactor. Verify the contactor's HP rating matches or exceeds the motor nameplate. Ensure the disconnect switch is used to kill power before servicing. |
| Coil Burnout (Melted plastic casing on A1/A2) | Sustained overvoltage on the control circuit (e.g., 27VAC instead of 24VAC) or poor ventilation inside the control enclosure. | Check transformer tap settings. Ensure the NEMA 1 or NEMA 3R control panel has adequate louver ventilation to dissipate coil heat. |
| Thermal Overload Trips Randomly | Ambient temperature inside the electrical panel exceeds the overload's compensation rating, or loose power lugs causing localized heating. | Use an ambient-compensated overload relay. Torque-check all line/load lugs with a calibrated inch-pound screwdriver. |
Final Commissioning and BAS Verification
Once the wiring is complete, do not simply throw the disconnect. Commissioning a commercial fan relay circuit requires a systematic verification process. First, test the HOA switch in 'HAND' with the motor disconnected to verify coil pull-in and voltage at T1/T2. Next, reconnect the motor and test the thermal overload by injecting a simulated fault current or using the trip-test lever. Finally, place the system in 'AUTO' and verify that the BAS dry contact closure successfully energizes the A1 terminal. By adhering to these rigorous standards, you ensure a reliable, code-compliant ventilation system that will operate flawlessly for decades.