
The Stakes of High-Voltage Outdoor HVAC Connections
Wiring an outdoor HVAC unit is not a standard receptacle installation. When dealing with ac condenser electrical wiring, you are managing a 240-volt, high-amperage circuit exposed to extreme weather, UV radiation, and constant mechanical vibration. A poorly executed connection doesn't just trip a breaker; it causes arc faults, melts contactor blocks, and creates severe fire hazards. According to the National Fire Protection Association (NFPA 70), improper outdoor electrical terminations are a leading cause of residential HVAC fires.
This guide details the exact safety best practices, National Electrical Code (NEC) requirements, and field-tested techniques for executing flawless, code-compliant ac condenser electrical wiring in 2026.
Decoding the Data Plate: MCA vs. MOCP
Before pulling a single foot of wire, you must read the manufacturer's data plate located on the condenser's service panel. Amateurs often guess wire and breaker sizes based on the unit's tonnage. Professionals use two critical metrics:
- Minimum Circuit Ampacity (MCA): This dictates your wire size. It accounts for 125% of the compressor's rated load amperage (RLA) plus the condenser fan motor amperage.
- Maximum Overcurrent Protection (MOCP): This dictates your breaker size. It is engineered to handle the locked-rotor amperage (LRA) startup spike without nuisance tripping.
Rule of Thumb: If the MCA is 18A and the MOCP is 30A, you must use 10 AWG wire (rated for 30A at 75°C) protected by a 30A HACR-rated breaker. Never upsize the breaker beyond the MOCP, even if the wire can handle it.
Wire Sizing and Conductor Selection Matrix
For ac condenser electrical wiring, THHN/THWN-2 conductors pulled through PVC conduit are the industry gold standard. While UF-B (Underground Feeder) cable is legally permitted for direct burial, conduit offers superior physical protection and allows for future wire upgrades. Below is the standard sizing matrix for residential split-system condensers:
| Unit Tonnage | Typical MCA | MOCP (Breaker) | Copper Wire Gauge (THHN) | Conduit Size (Min) |
|---|---|---|---|---|
| 1.5 - 2.0 Ton | 12A - 15A | 20A | 12 AWG | 1/2 inch |
| 2.5 - 3.0 Ton | 16A - 20A | 25A - 30A | 10 AWG | 1/2 inch |
| 3.5 - 4.0 Ton | 22A - 28A | 35A - 40A | 8 AWG | 3/4 inch |
| 5.0 Ton | 30A - 38A | 45A - 50A | 6 AWG | 3/4 inch |
Note: Always verify local amendments. Some jurisdictions require 8 AWG as the absolute minimum for any 240V outdoor HVAC circuit to mitigate voltage drop over long runs.
The Disconnect Box: Placement and Safety Lockouts
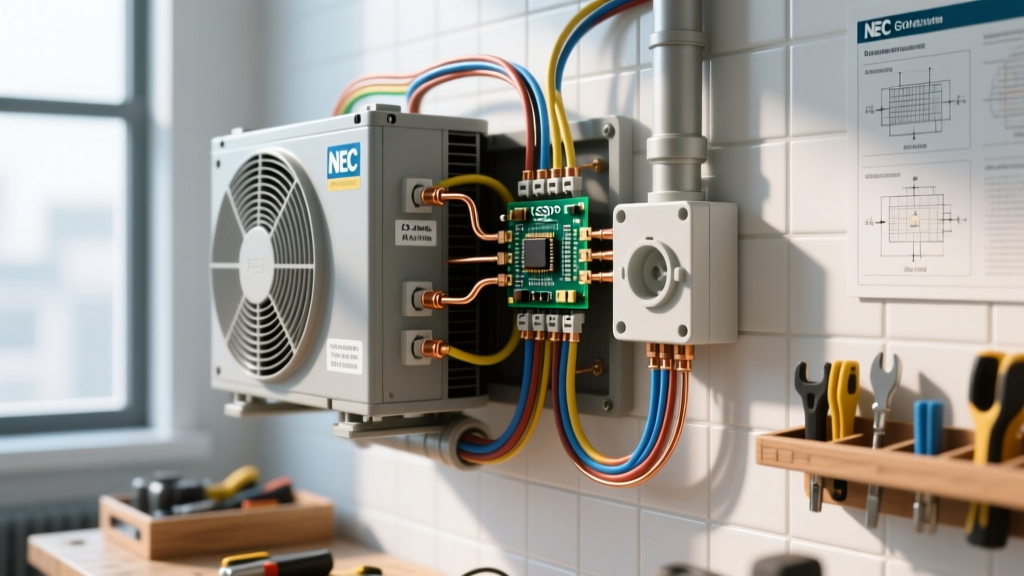
NEC Article 440.14 mandates that a disconnecting means must be located within sight and readily accessible from the condenser. 'Within sight' is strictly defined as visible and not more than 50 feet away.
Specifying the Right Disconnect Enclosure
Do not use standard indoor breaker boxes. You must install a NEMA 3R rated (rainproof) pull-out disconnect or an HACR-rated outdoor breaker enclosure. A standard pull-out disconnect with a 60A rating (like the Square D QO260TR) costs roughly $35 to $55 and provides a physical air gap when the pull-out block is removed, ensuring absolute safety during servicing.
CRITICAL SAFETY WARNING: Aluminum vs. Copper Terminations
If your home's main feeder uses aluminum wire, never connect it directly to the condenser's copper lugs. Aluminum oxidizes and expands/contracts at a different rate than copper, leading to 'wire creep' and catastrophic arcing. Always use an Al/Cu rated connector or pigtail the aluminum to copper using a Polaris-style insulated multi-tap connector filled with antioxidant paste (e.g., Noalox).
Step-by-Step Safe Wiring Procedure
Follow this exact sequence to ensure mechanical integrity and code compliance. For comprehensive lockout procedures, always refer to the OSHA Control of Hazardous Energy (Lockout/Tagout) guidelines.
- Verify Power is Dead: Turn off the main panel breaker AND pull the disconnect block. Test all three lines (L1, L2, and Ground) with a CAT III or CAT IV non-contact voltage tester and a digital multimeter.
- Secure the Liquid-Tight Whip: NEC 440.14(B) limits flexible metallic conduit (liquid-tight whips) to a maximum of 6 feet. This prevents the whip from acting as a swinging pendulum during compressor startup, which fatigues the internal conductors. Use proper liquid-tight connectors with locking rings—never just shove the whip into a knock-out hole.
- Strip and Seat the Wires: Strip exactly 3/4 inch of insulation. Ensure no bare copper is exposed outside the lug, and no insulation is trapped inside the lug. The wire must sit flush at the bottom of the terminal barrel.
- Torque to Specification: This is where 80% of DIYers fail. Use a calibrated torque screwdriver (such as the Klein Tools 69065). Most HVAC contactors and disconnect lugs require 35 to 45 inch-pounds of torque. Under-torquing causes micro-arcing and heat buildup; over-torquing strips the lug threads or crushes the copper strands.
- Weatherproof the Entries: Pack the bottom conduit hubs of the disconnect box with duct seal (not silicone). Duct seal prevents water wicking up the conduit into the box, blocks insect nests, and remains pliable if you ever need to pull new wires.
Common Failure Modes and Edge Cases
Even with correct wire sizing, environmental factors can compromise ac condenser electrical wiring. Watch for these specific failure modes:
- UV Degradation on Whips: Standard metallic whips will degrade under direct, relentless sun exposure over 5-7 years. If the unit is in an unshaded area, specify a UV-resistant non-metallic liquid-tight conduit (like Carflex Type LFNC-B) or wrap the whip in UV-protective spiral wrap.
- Schedule 40 vs. Schedule 80 PVC: If your rigid PVC conduit is installed outdoors and is subject to physical damage (e.g., near a walkway, driveway, or where a lawnmower might strike it), NEC 352.12 requires Schedule 80 PVC. Schedule 40 is only permitted where not subject to physical damage.
- Contactor Pitting: If you find the contactor points heavily pitted or welded together, it is rarely the contactor's fault. It is almost always caused by low voltage at the coil (due to undersized control wire) or high resistance on the main power lugs due to improper torque.
Frequently Asked Questions (FAQ)
Can I use a standard 2-pole breaker for an AC condenser?
While standard thermal-magnetic breakers may physically fit, the NEC requires breakers used for HVAC equipment to be HACR rated (Heating, Air Conditioning, and Refrigeration). HACR breakers are specifically designed to handle the unique, high-inrush startup currents of compressor motors without nuisance tripping. Most modern breakers from major manufacturers (Square D, Eaton, Siemens) are dual-listed as HACR, but you must verify the marking on the breaker label.
Do I need to run a separate ground wire if I use metal conduit?
While rigid metal conduit (RMC) or intermediate metal conduit (IMC) can legally serve as an equipment grounding conductor under NEC Article 250, best practice for outdoor ac condenser electrical wiring is to always pull a dedicated insulated copper equipment grounding conductor (EGC). Vibration and outdoor corrosion can compromise the grounding path across metal conduit couplings over time. A dedicated wire guarantees a reliable fault-current path.
How much does a professional condenser wiring upgrade cost?
If you are upgrading an old, unsafe installation (e.g., replacing buried UF-B cable with PVC conduit and a new disconnect), expect to pay between $450 and $850 in 2026. This includes the cost of a 60A pull-out disconnect ($45), 50 feet of 10 AWG THHN wire ($60), Schedule 80 PVC fittings, liquid-tight whips, and 3-4 hours of licensed electrician labor.
For further efficiency and installation guidelines, consult the U.S. Department of Energy HVAC Guidelines. Proper ac condenser electrical wiring is the backbone of a safe, efficient, and long-lasting cooling system. Never cut corners on torque, enclosure ratings, or overcurrent protection.