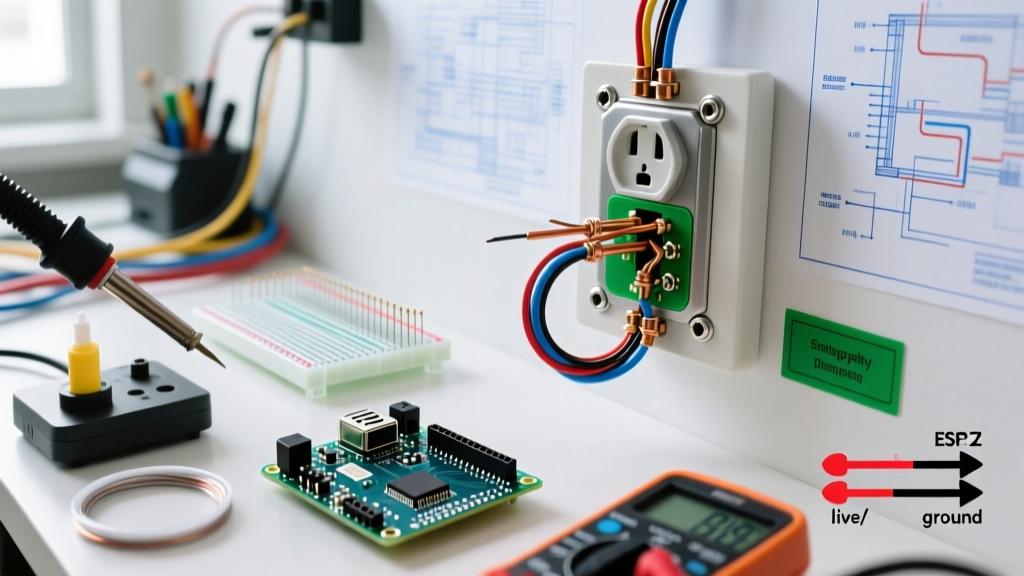

The Core Dilemma: Ungrounded 2-Prong Outlets in Older Homes
Millions of homes built before the mid-1960s feature ungrounded, 2-prong receptacles. As modern electronics, surge protectors, and appliances require 3-prong plugs, homeowners frequently search for how to ground electrical outlets to protect their devices and satisfy home insurance requirements. However, the path to a grounded outlet is fraught with code violations, safety hazards, and misunderstood electrical principles.
The fundamental purpose of an Equipment Grounding Conductor (EGC) is to provide a low-impedance fault path back to the main service panel. If a hot wire touches the metal chassis of a microwave, the ground wire allows enough current to flow instantly to trip the breaker. Without it, the chassis remains energized, waiting for a human to complete the circuit to the earth. This guide provides a rigorous DIY vs. professional analysis of upgrading ungrounded circuits, evaluating 2026 market costs, National Electrical Code (NEC) compliance, and real-world failure modes.
The NEC Code Reality: Article 406.4(D)
Before picking up a screwdriver, you must understand what the National Fire Protection Association (NFPA) permits. Under NEC Article 406.4(D), when replacing a 2-prong receptacle in an older home where no grounding means exists in the box, you have three legal options:
- Option 1: Replace it with another 2-prong receptacle (rarely desired by homeowners).
- Option 2: Replace it with a GFCI (Ground Fault Circuit Interrupter) receptacle and label it with the included "No Equipment Ground" sticker.
- Option 3: Pull a new ground wire back to the panel, or replace the entire circuit with modern NM-B (Romex) cable containing a ground.
Crucially, installing a standard 3-prong outlet on an ungrounded circuit without GFCI protection is a direct code violation and a severe shock hazard.
The DIY Approach: GFCI Protection (The Code-Compliant Workaround)
For the capable DIYer, replacing an ungrounded 2-prong outlet with a GFCI receptacle is the most common, cost-effective, and code-compliant method. A GFCI does not create a ground. Instead, it monitors the current differential between the hot and neutral wires. If it detects an imbalance as small as 4 to 6 milliamps (indicating current is leaking through a person), it trips in milliseconds, preventing lethal shock.
Step-by-Step DIY GFCI Installation
- De-energize the Circuit: Turn off the breaker and verify with a non-contact voltage tester and a multimeter.
- Identify Line vs. Load: Modern GFCIs (like the Leviton 16252-W 15A Tamper-Resistant GFCI, retailing around $18.50 in 2026) require correct line/load wiring. The "Line" terminals connect to the incoming power from the panel. The "Load" terminals protect downstream outlets.
- Connect and Mount: Attach the bare copper or black (hot) and white (neutral) wires to the Line terminals. Cap the bare ground wire in the back of the box if one happens to be present but unconnected to the panel.
- Apply the Sticker: You must apply the "No Equipment Ground" sticker to the faceplate. This is a mandatory NEC requirement to inform users that surge protectors will not function properly on this circuit.
DIY Pros and Cons
- Pros: Highly cost-effective ($20-$30 per outlet in materials); provides excellent human shock protection; fully NEC compliant when labeled; can be completed in 20 minutes per outlet.
- Cons: Does not protect sensitive electronics from power surges; surge suppressors plugged into these outlets cannot divert transient voltage to the earth, rendering their protective circuitry useless.
The Professional Approach: Pulling New Ground Wires or Rewiring
If you require true equipment grounding—essential for home offices, expensive AV equipment, or kitchens—hiring a licensed electrician to establish a physical ground is the only solution. According to the U.S. Department of Energy, ensuring proper grounding and circuit capacity is vital for modern electrical loads.
Method A: Fishing a Bare Ground Wire
In some homes, electricians can fish a bare 12 AWG copper ground wire through the walls from the receptacle back to the main panel's ground bar, or to a grounded metal conduit system. This avoids tearing open drywall but is highly dependent on the home's framing and fire-blocking.
Method B: Full Circuit Rewire (The Gold Standard)
The most reliable method is pulling new 12/2 NM-B cable (which includes a hot, neutral, and bare ground) from the panel to the outlet. In 2026, professional electricians charge between $125 and $165 per hour. Rewiring a single outlet on a difficult run can cost $250 to $450, while rewiring an entire 1,500 sq. ft. home typically ranges from $8,000 to $15,000, factoring in drywall cutting, patching, and panel upgrades.
Professional Pros and Cons
- Pros: Provides a true low-impedance fault path; enables surge protectors to function correctly; increases home resale value; eliminates the nuisance of GFCI tripping on appliances with high inrush currents (like refrigerators).
- Cons: High labor costs; invasive (often requires drywall repair and repainting); requires a licensed professional to pull permits and pass municipal inspections.
DIY vs Professional: Cost, Risk, and Code Compliance Matrix
| Factor | DIY GFCI Workaround | Professional Rewire |
|---|---|---|
| Average Cost per Outlet | $20 - $35 (Materials only) | $150 - $450 (Labor + Materials) |
| Human Shock Protection | Excellent (via GFCI trip) | Excellent (via Breaker trip) |
| Surge Protector Functionality | None (No earth path) | Full Functionality |
| NEC Compliance | Compliant (if labeled) | Compliant (Gold Standard) |
| Resale Value Impact | Neutral to Positive | Highly Positive |
| Drywall Damage Risk | None | Moderate to High |
Edge Cases and Dangerous Failure Modes
When investigating how to ground electrical outlets, you will inevitably encounter dangerous, non-compliant workarounds left behind by previous owners. The most notorious is the "Bootleg Ground."
The Bootleg Ground Hazard
A bootleg ground involves installing a standard 3-prong receptacle and placing a small jumper wire between the neutral (silver) screw and the ground (green) screw. This tricks basic 3-light receptacle testers into showing a "Correct" wiring status. However, it is incredibly dangerous. If the neutral wire upstream becomes loose or disconnected, the metal faceplate screw and any plugged-in appliance chassis will become energized at 120V, posing a lethal shock hazard. The U.S. Consumer Product Safety Commission (CPSC) frequently warns against improper wiring modifications that bypass safety mechanisms.
How to Test for False Grounds
Standard $10 plug-in testers cannot detect bootleg grounds. To verify a true ground, professionals use advanced circuit analyzers like the Klein Tools RT250 or the Amprobe INSP-3. These devices measure the actual impedance of the ground path and can detect if the ground is falsely tied to the neutral. If you are buying an older home, insist on a specialized electrical inspection that includes impedance testing on 3-prong outlets.
Final Verdict: Which Path Should You Take?
If your primary goal is human safety and code compliance in living rooms, bedrooms, and hallways, the DIY GFCI workaround is the smartest, most economical choice. It legally allows you to use 3-prong plugs while providing superior shock protection compared to a standard grounded outlet.
However, if you are wiring a home office, an entertainment center with expensive AV gear, or a kitchen where surge protection and appliance reliability are paramount, you must invest in the professional rewire. True equipment grounding cannot be faked, and relying on a GFCI to protect a $3,000 gaming PC from a lightning-induced transient surge will result in destroyed hardware. Evaluate your specific room-by-room needs, respect the NEC guidelines, and never compromise on the integrity of your home's electrical fault paths.