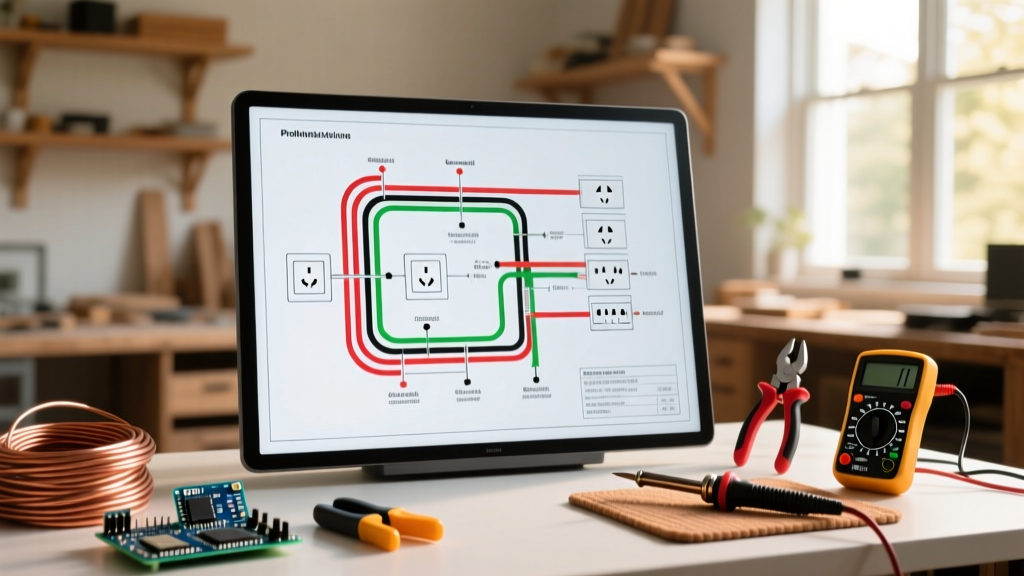

Understanding the Electrical Architecture of Sun Tracker Pontoons
Whether you are outfitting a Sun Tracker Party Barge 22, a Bass Buggy 18, or a Fishin' Barge, interpreting the wiring diagram for Sun Tracker pontoon models is critical for safe upgrades and accurate troubleshooting. Unlike standard automotive systems, marine electrical environments demand strict adherence to corrosion resistance, vibration tolerance, and voltage drop management. Sun Tracker, manufactured by White River Marine Group, typically integrates a centralized helm switch panel with a stern-mounted battery bank and a forward-routed harness for navigation lights and bow trolling motors.
When owners attempt to add accessories like LED underwater lighting, upgraded Garmin or Lowrance sonar units, or a high-thrust Minn Kota trolling motor, relying on guesswork leads to voltage starvation and fire hazards. This guide decodes the factory wire gauge requirements, standard marine color codes, and the practical steps to safely modify your pontoon's 12V DC system in 2026.
CRITICAL SAFETY WARNING: All marine DC electrical installations on vessels under 65 feet must comply with ABYC E-11 Standards and U.S. Coast Guard Boating Safety regulations. Never use standard automotive SAE wire on a pontoon; it lacks the tinned coating and Type III fine stranding required to resist galvanic corrosion and constant vibration.
Decoding the Wiring Diagram for Sun Tracker Pontoon Harnesses
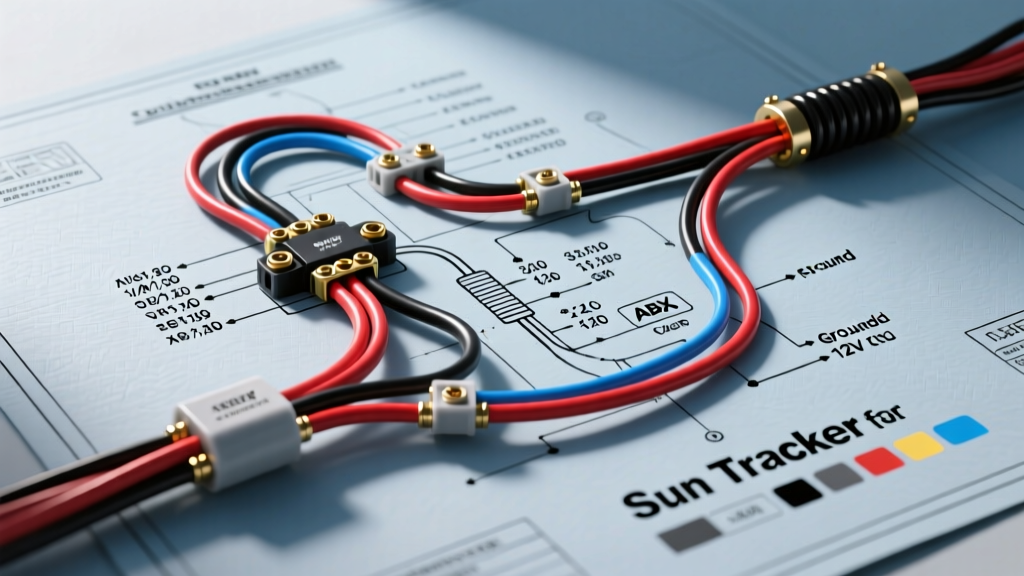
Factory wiring diagrams for Sun Tracker pontoons are generally split into three distinct sub-systems:
- The Main Battery Feed & Distribution: Heavy-gauge cables running from the stern battery switch to the main helm fuse block.
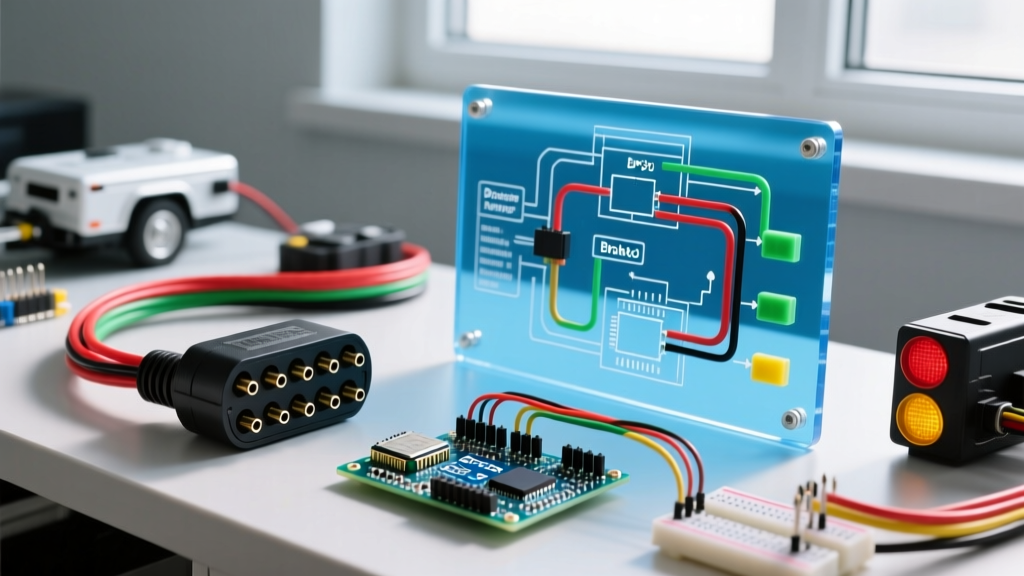
- The Engine Integration Harness: Usually a 14-pin or 8-pin Amp/Deutsch connector linking the Mercury or Force outboard to the boat's tachometer, speedometer, and ignition switch.
- The Accessory & Navigation Harness: Lighter-gauge wires routed through the starboard pontoon log or under the deck cross-members to the bow.
Wire Gauge Selection: ABYC Ampacity vs. Voltage Drop
The most common mistake DIY pontoon owners make is sizing wire based solely on ampacity (the maximum current a wire can carry before melting). In marine applications, voltage drop is the governing factor. According to ABYC standards, critical electronics (navigation lights, sonar, VHF radios) must not experience more than a 3% voltage drop, while non-critical loads (bilge pumps, livewells) can tolerate up to 10%.
Below is a reference matrix for selecting the correct marine-grade tinned copper wire (such as Ancor or Pacer) for a standard 12V DC Sun Tracker system, assuming a 3% maximum voltage drop.
| Load (Amps) | 10 ft Round Trip | 20 ft Round Trip | 30 ft Round Trip (Bow to Stern) | Typical Pontoon Application |
|---|---|---|---|---|
| 5A | 16 AWG | 12 AWG | 10 AWG | LED Nav Lights, Horn |
| 10A | 12 AWG | 10 AWG | 8 AWG | Livewell Pump, Stereo Memory |
| 20A | 10 AWG | 8 AWG | 6 AWG | 12V Accessory Socket, Chartplotter |
| 40A | 6 AWG | 4 AWG | 2 AWG | Main Helm Feed, Windlass |
| 60A+ | 4 AWG | 2 AWG | 1/0 AWG | Trolling Motor, Inverter |
Pro Tip: If you are running a 36V trolling motor system on a 24-foot Party Barge, the round-trip distance from the stern battery bank to the bow receptacle often exceeds 45 feet. You must use 2 AWG or 1/0 AWG marine wire to prevent the trolling motor from starving under heavy load in high winds.
Standard Sun Tracker & Mercury Marine Color Codes
While automotive wiring uses a chaotic mix of colors, marine wiring relies on a standardized color code to ensure safety and simplify troubleshooting. Sun Tracker utilizes standard ABYC color codes for the boat harness, which seamlessly integrates with Mercury Marine outboard color codes at the main bulkhead connector.
| Wire Color | Function / Circuit | Notes for Sun Tracker Models |
|---|---|---|
| Red | Unswitched 12V Positive (Battery) | Main feed from the battery switch to the Blue Sea fuse block. |
| Black or Yellow w/ Black Stripe | DC Ground / Negative Return | Must terminate at a dedicated negative busbar, never to the aluminum hull. |
| Yellow | Ignition / Starter Solenoid | Carries 12V only when the key is in the 'Start' or 'Run' position. |
| Blue | Navigation / Anchor Lights | Usually routed through the starboard gunnel or pontoon log to the bow. |
| White | Instrument Ground or AC Neutral | On DC gauges, white is often the ground return. On shore-power AC, it is Neutral. |
| Gray | Tachometer Signal | Connects to the Mercury outboard alternator rectifier. |
| Purple | Instrument Feed (Switched 12V) | Powers the backlighting and logic on helm gauges. |
| Brown | Bilge Pump / Blower | Often wired directly to the battery with an inline fuse, bypassing the main switch. |
Step-by-Step: Upgrading the Main Helm Distribution
Many older Sun Tracker models (pre-2018) utilized basic inline automotive fuse holders or rudimentary terminal blocks. Upgrading to a modern, waterproof marine distribution block is one of the most impactful reliability improvements you can make.
Materials Required
- Blue Sea Systems 5025 ST Blade Fuse Block (Approx. $45 - $60)
- Blue Sea Systems 250A BusBar (For negative returns, Approx. $35)
- Ancor Marine Grade 4 AWG Wire (Red and Black, Approx. $2.50/ft)
- 3M MDT Adhesive-Lined Heat Shrink (3:1 shrink ratio)
- Fluke 117 True-RMS Multimeter (For voltage drop testing)
Installation Procedure
- Isolate the Power: Turn the main stern battery disconnect switch to OFF. Disconnect the negative terminal on the battery bank to ensure zero potential across the system.
- Remove the Helm Panel: Unscrew the Sun Tracker switch panel. Document the existing wire routing with photographs before disconnecting any spade terminals.
- Mount the Busbars: Install the Blue Sea negative busbar and ST Blade fuse block behind the helm. Ensure they are mounted on a non-conductive, dry surface. Never mount electrical components directly to the aluminum pontoon structure to avoid galvanic corrosion.
- Run the Main Feed: Pull new 4 AWG Ancor tinned copper wire from the main battery switch to the new fuse block. Use adhesive-lined heat shrink on all ring terminals to create a waterproof seal.
- Migrate the Accessories: Move all red (positive) accessory wires to the fused terminals on the ST Blade block, sizing the ATO fuses according to the accessory manufacturer's specs (usually 3A to 10A for LED lights and sonar).
- Consolidate Grounds: Move all black ground wires to the negative busbar. Run a single, heavy-gauge (4 AWG) ground wire from the busbar back to the main battery negative.
Common Electrical Failure Modes in Sun Tracker Pontoons
Even with a perfect wiring diagram for your Sun Tracker pontoon, environmental factors can degrade the system. Watch for these specific failure modes:
1. Galvanic Corrosion at the Engine Harness
Where the boat's copper wiring meets the Mercury outboard's harness, dissimilar metals and saltwater exposure create a galvanic cell. If the dielectric grease inside the main 14-pin connector dries out, green copper sulfate crust forms, leading to intermittent tachometer signals or complete starter failure. Fix: Annually disconnect the main harness, clean with electrical contact cleaner, and pack with Marine Dielectric Grease.
2. Chafing at the Rub Rail and Cross-Members
On models where the navigation harness is routed through the aluminum cross-members under the deck, vibration from the outboard and wave impacts can wear through the wire insulation. This causes dead shorts that blow nav-light fuses repeatedly. Fix: Use split-loom corrugated tubing and secure the harness with UV-resistant zip ties, ensuring at least a 1-inch clearance from sharp aluminum edges.
3. Voltage Drop at the Bow Trolling Motor
If your Minn Kota or Garmin Force trolling motor loses power or triggers low-voltage alarms when you hit max thrust, the factory wiring is likely undersized for the distance. Fix: Bypass the factory bow harness entirely and run dedicated 2 AWG marine wire directly from the stern battery bank to a bow-mounted quick-disconnect breaker (e.g., Blue Sea 40A-100A resettable breaker).
Frequently Asked Questions (FAQ)
Can I use standard automotive wire from a local auto parts store for my pontoon?
No. Automotive SAE wire uses bare copper and thicker, stiffer insulation. In a marine environment, bare copper wicks moisture through capillary action, turning the wire black and brittle within a single season. Always use Type III marine-grade tinned copper wire, which costs roughly $0.75 to $1.50 more per foot but lasts decades.
Where can I find the exact factory schematic for my specific Sun Tracker model year?
White River Marine Group does not publish full schematics publicly. You must contact your local authorized Sun Tracker dealer with your specific Hull Identification Number (HIN). They can pull the exact as-built wiring diagram from the manufacturer's portal, which is crucial for identifying proprietary harness wraps and custom switch panel pinouts.
Do I need a fuse or a breaker for my main battery feed?
ABYC requires overcurrent protection within 7 inches of the battery positive terminal. For main feeds exceeding 50A, a marine-rated resettable circuit breaker (like the Blue Sea Systems Magnetic Circuit Breaker) is preferred over a Class T fuse, as it allows for easy resetting and serves as a secondary emergency disconnect.