
Mastering the Wiring Diagram for Reverse Lights: A Diagnostic Approach
When your vehicle's backup lamps fail to illuminate, it is more than a minor inconvenience; it is a critical safety hazard and a violation of federal motor vehicle safety standards. According to the National Highway Traffic Safety Administration (NHTSA), Federal Motor Vehicle Safety Standard (FMVSS) 108 strictly mandates the operational requirements for all automotive lighting, including reverse lamps. When a system fails, guessing and randomly replacing bulbs is a waste of time and money. Instead, professional technicians rely on a factory wiring diagram for reverse lights to systematically isolate the fault.
In this comprehensive guide, we will break down how to read and apply a reverse light schematic to diagnose open circuits, high-resistance grounds, and faulty neutral safety switches. Whether you are driving a late-model vehicle with complex CANbus networks or a classic car with a simple analog circuit, the diagnostic methodology remains rooted in electrical fundamentals.
Anatomy of a Standard Reverse Light Circuit
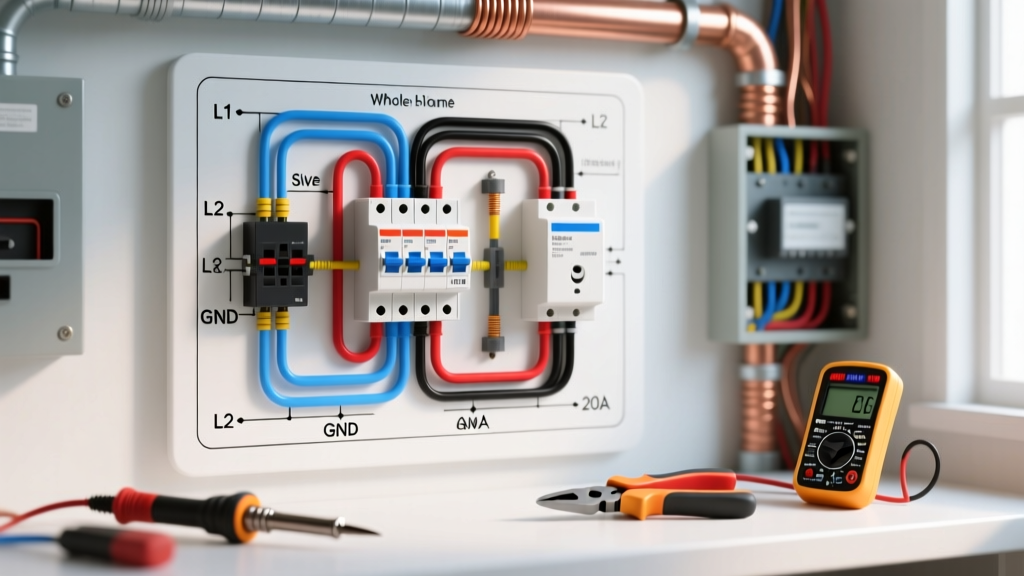
Before grabbing a multimeter, you must understand the path of current flow. A standard backup light circuit consists of five primary nodes, which you will see mapped out on your schematic:
- Power Source & Fuse: Typically a 10A or 15A fuse (Mini or ATO style) connected to a switched 12V ignition or direct battery feed, depending on the OEM design.
- Control Switch: On automatic transmissions, this is the Neutral Safety Switch (NSS) or Transmission Range Sensor (TRS) located on the gearbox housing. On manual transmissions, it is a simple mechanical plunger switch threaded into the transmission casing.
- Wiring Harness & Splices: The physical copper pathways (usually 18 AWG or 16 AWG wire) routing from the front firewall to the rear trunk or tailgate.
- Load (The Bulbs):strong> Standard halogen bulbs (e.g., 921 or 7443) or modern LED arrays.
- Ground (GND): The return path to the chassis, usually designated on diagrams with a ground symbol and a specific node number (e.g., G204).
Expert Safety Callout: Always disconnect the negative battery terminal before probing exposed wire harnesses or performing continuity tests to prevent shorting the 12V feed to ground, which can instantly blow the fuse or damage the Body Control Module (BCM).
Step-by-Step Troubleshooting Using the Diagram
With your vehicle's specific wiring diagram for reverse lights in hand, follow this sequential diagnostic path to isolate the failure point.
Step 1: Verify the Fuse with a Multimeter
Visual inspections of fuses are notoriously unreliable. A hairline fracture in the fusible link might look intact to the naked eye but fail under load. Set your digital multimeter (DMM) to the continuity or resistance (Ohms) setting. Place one probe on each of the two test tabs on top of the fuse. A reading of 0.0 to 0.5 ohms confirms the fuse is good. If it reads 'OL' (Open Loop), replace it. Note: If the new fuse blows immediately upon shifting into reverse, you have a dead short to ground downstream of the fuse block.
Step 2: Isolate the Neutral Safety Switch (NSS)
The NSS is a frequent failure point due to its exposure to road debris, water, and transmission heat. Locate the NSS connector on your diagram.
- Automatic Transmissions: Unplug the sensor connector. Using a fused jumper wire, bridge the two terminals corresponding to the reverse light circuit (the diagram will show the specific pinout, often Pin 3 and Pin 4). Turn the ignition to the 'ON' position (engine off). If the reverse lights illuminate, the wiring is intact, and the NSS is defective.
- Manual Transmissions: Unplug the 2-pin switch on the gearbox. Bridge the two harness pins with a jumper wire. If the lights turn on, the mechanical plunger switch has failed or the reverse gear detent is not depressing the switch fully.
Step 3: Inspect the Trunk Hinge Flex Zone
If the fuse and switch test perfectly, consult the wiring diagram to trace the harness routing. In sedans, hatchbacks, and SUVs, the wiring harness must pass through a rubber loom between the body and the trunk lid or tailgate. This 'flex zone' is subjected to thousands of articulation cycles. It is incredibly common for the 18 AWG reverse light wire to suffer from copper fatigue, resulting in an internal break while the outer insulation remains perfectly intact. Back-probe the connector at the tail light assembly with the ignition ON and vehicle in REVERSE. If you read 0V here, but have 12V at the NSS output, the break is in the harness, likely at the hinge.
Step 4: Perform a Ground Voltage Drop Test
According to diagnostic standards outlined by the Society of Automotive Engineers (SAE), a healthy automotive ground circuit should exhibit minimal voltage drop. Corroded ground bolts are the leading cause of dim or flickering reverse lights. To test this, set your DMM to DC Volts. Place the red probe on the negative terminal of the battery and the black probe on the metal casing of the reverse light bulb socket (or the ground wire pin). With the lights energized, a reading higher than 0.1V indicates high resistance in the ground path. Clean the chassis ground point with a wire brush and apply dielectric grease to resolve the issue.
Diagnostic Matrix: Multimeter Readings & Fault Isolation
Use this reference table to quickly match your multimeter readings to the corresponding electrical fault when testing at the tail light socket connector.
| Test Point | Expected Reading (Key ON, Reverse) | Actual Reading | Probable Fault |
|---|---|---|---|
| Socket Power Pin to Chassis Ground | 12.2V - 12.6V | 0.0V | Blown fuse, bad NSS, or open power wire |
| Socket Power Pin to Battery Negative | 12.2V - 12.6V | 12.4V (but bulb is dim) | High resistance ground at the tail light assembly |
| Socket Ground Pin to Battery Positive | 12.2V - 12.6V | 0.0V | Completely severed ground wire (Open Circuit) |
| Voltage Drop across Ground Wire | < 0.1V DC | 2.5V DC | Severe corrosion at the chassis ground bolt (G-Node) |
Modern Complications: LED Upgrades and CANbus Errors
As of 2026, a massive number of DIYers are upgrading their halogen 921 bulbs to high-output 6000K LED reverse light kits for better backup camera visibility. However, modern vehicles utilize the Body Control Module (BCM) to monitor circuit health. The BCM sends a Pulse Width Modulation (PWM) signal or a low-voltage micro-current through the wiring diagram for reverse lights to check for bulb continuity.
Because LEDs draw significantly less current (often 0.2A compared to the 1.5A of a halogen bulb), the BCM interprets the low draw as a 'burnt out bulb' and triggers a dashboard warning, or worse, cuts power to the circuit entirely. The Fix: You must install a CANbus decoder or a 50-Watt, 6-Ohm load resistor in parallel with the LED bulb. This simulates the electrical load of the original halogen filament, tricking the BCM into recognizing the circuit as healthy. Always mount load resistors to bare metal, as they generate significant heat during operation.
Tapping the Circuit for an Aftermarket Backup Camera
The reverse light circuit is universally used as the 12V trigger wire for aftermarket backup camera monitors. When tapping into the wiring diagram for reverse lights to power a camera relay, never splice directly into the fragile 18 AWG bulb wire using 'scotch locks'. These pierce the insulation, allowing moisture ingress and eventual green copper corrosion. Instead, use a Posi-Tap connector or solder the connection and seal it with adhesive-lined marine-grade heat shrink tubing to ensure a watertight, reliable connection.
Expert Tips for Reading Factory Wiring Schematics
Factory service manuals use standardized symbols that can confuse beginners. When analyzing your schematic, keep these rules in mind:
- Wire Color Codes: Wires are labeled with abbreviations. 'BK/WT' means a Black wire with a White tracer stripe. The primary color is always listed first.
- Connector Pinouts: A diagram showing 'C204 Pin 5' refers to Connector 204, Pin 5. You must look at the connector's mating face (pin side), not the wire side, to count pins accurately.
- Splice Nodes: A solid black dot where two wires intersect on the diagram indicates a physical splice pack in the vehicle's harness. If both left and right reverse lights are dead, but the fuse and NSS are good, locating this physical splice node under the dash or rear seat is critical, as it is a common point for water intrusion and failure.
For more detailed guidance on properly testing these circuits, referencing high-quality diagnostic tool guides, such as those provided by Fluke on multimeter best practices, is highly recommended to ensure your readings are accurate. By combining a methodical approach with a thorough understanding of your vehicle's wiring diagram for reverse lights, you can diagnose and repair backup lamp failures with professional precision.