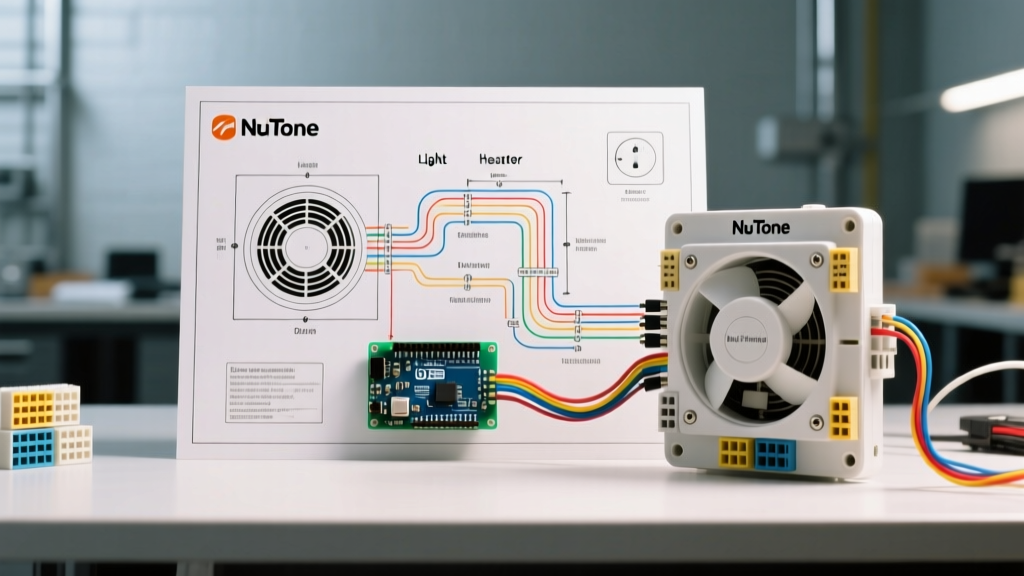

Decoding the Wiring Diagram for Irrigation System Motors
Designing and installing a reliable water delivery network requires more than just laying PVC pipe and setting sprinkler heads. At the heart of every pressurized zone is the pump motor, and understanding the wiring diagram for irrigation system setups is critical for preventing catastrophic motor burnout, voltage drop, and controller misfires. Whether you are wiring a 1.5 HP shallow well jet pump or a 5 HP submersible well pump for a large agricultural rotor zone, the electrical principles remain rooted in the National Electrical Code (NEC) Article 430 standards for motor circuits.
In this comprehensive motor wiring tutorial, we break down the exact circuit topology, wire gauge selection matrices, and step-by-step termination procedures required to safely integrate a pump motor with modern smart irrigation controllers like the Hunter Hydrawise or Rain Bird ESP-TM2.
The Anatomy of an Irrigation Pump Circuit
A standard irrigation pump circuit bridges high-voltage AC power (230V or 460V) with low-voltage control signals (24VAC). Before pulling any wire, you must understand the four primary nodes in the wiring diagram:
- The Disconnect & Breaker Panel: Provides overcurrent protection. A 2-pole breaker sized to the motor's Full Load Amps (FLA) multiplied by 1.25 is standard.
- The Pump Start Relay (PSR) / Contactor: A heavy-duty relay (e.g., Square D 8502 Type S Definite Purpose Contactor, ~$55) that uses a 24VAC signal from the irrigation controller to switch the 230VAC motor power.
- The Pressure Switch: (For well systems) Mechanically breaks the 230VAC circuit when the pressure tank reaches the cut-off PSI (typically 40/60 or 50/70 PSI).
- The Motor & Splice: The final termination point, requiring specialized waterproofing for submersible applications.
Expert Insight: Never wire the irrigation controller's 24VAC pump start wires directly to a pressure switch. The controller must trigger a Pump Start Relay (PSR), which then handles the high-voltage switching. Bypassing the PSR will instantly fry the controller's internal transformer and void the warranty.
Wire Sizing Matrix: HP, Voltage, and Distance
The most common point of failure in irrigation motor wiring is undersized conductors. Submersible motors are highly sensitive to voltage drop. According to NFPA NEC guidelines, motor branch circuits must be sized to handle 125% of the motor's full-load current rating, and voltage drop should not exceed 5% at full load.
Below is the definitive wire gauge selection table for single-phase, 230V submersible irrigation motors based on total cable run distance (from the breaker panel to the motor).
| Motor HP | Full Load Amps (Approx) | 0 - 200 ft Run | 200 - 400 ft Run | 400 - 600 ft Run |
|---|---|---|---|---|
| 1/2 HP | 5.8 A | 14 AWG Copper | 12 AWG Copper | 10 AWG Copper |
| 1 HP | 8.4 A | 12 AWG Copper | 10 AWG Copper | 8 AWG Copper |
| 2 HP | 13.2 A | 10 AWG Copper | 8 AWG Copper | 6 AWG Copper |
| 3 HP | 16.8 A | 8 AWG Copper | 6 AWG Copper | 4 AWG Copper |
| 5 HP | 24.0 A | 6 AWG Copper | 4 AWG Copper | 3 AWG Copper |
Note: Always use UF-B (Underground Feeder) or THWN in PVC conduit for underground runs. For the drop cable inside the well casing, use TWU or THWN-2 rated for continuous submersion.
Step-by-Step Motor Wiring Procedure
Step 1: Terminating the Pump Start Relay (PSR)
Mount your PSR inside a NEMA 3R weatherproof enclosure. Run 10/2 or 8/2 UF-B cable from your main breaker panel to the line side (L1, L2) of the contactor. Connect the 24VAC wires from your irrigation controller's "Pump" or "Master Valve" terminals to the contactor's coil terminals (usually marked A1 and A2). When the EPA WaterSense certified controller calls for water, it energizes the coil, pulling the high-voltage contacts closed.
Step 2: Integrating the Pressure Switch
For systems utilizing a pressure tank, the pressure switch must be wired in series with the contactor's load side or the control circuit, depending on your specific wiring diagram for irrigation system logic. In a standard setup, wire the 230VAC load from the PSR into the line terminals of a Square D Pumptrol FSG2 pressure switch. The load side of the pressure switch then feeds the wellhead.
Step 3: The Submersible Splice (The Make-or-Break Step)
If you are dropping a submersible motor (like a Franklin Electric 3HP 230V) into a well casing, standard wire nuts and electrical tape will fail within months due to osmosis and hydrostatic pressure. You must use a waterproof splice kit.
- Preparation: Strip exactly 3/4 inch of insulation from the 10 AWG drop cable and the motor pigtails. Do not nick the copper.
- Connection: Use copper crimp sleeves or heavy-duty set-screw connectors. Torque to the manufacturer's specification (usually 25 in-lbs).
- Waterproofing: Slide 3M Scotchcast resin-filled splice capsules or Franklin Electric adhesive-lined heat shrink tubing over the connections. If using heat shrink, apply heat from the center outward until the internal sealant purges slightly from the edges. This creates a 100% watertight dielectric barrier.
Critical Failure Modes and Edge Cases
Even with a perfect diagram, real-world conditions introduce variables that can destroy a $2,500 pump motor. Watch for these specific failure modes:
1. Phase Loss and Single-Phasing
If one leg of your 230V circuit drops (due to a tripped half-phase breaker or a corroded lug), a single-phase motor will continue to run but will draw massive amperage on the remaining leg, overheating the windings in minutes. Solution: Install a phase monitor relay (e.g., Schneider Electric Harmony RM35, ~$120) in the control circuit to cut power if voltage imbalance exceeds 5%.
2. Contactor Chatter
If the 24VAC signal from the irrigation controller is weak (often due to undersized 18 AWG control wires run over 150 feet), the PSR coil will buzz and chatter, arcing the high-voltage contacts and welding them shut. Solution: Upgrade controller wiring to 14 AWG for runs exceeding 80 feet, or install a 24VAC booster transformer at the pump head.
3. Dry Running
If the well recovery rate is slower than the pump's GPM output, the pump will run dry, destroying the impellers and thrust bearing. Solution: Wire a low-pressure cut-off switch (e.g., Square D Pumptrol with low-pressure cutoff) in series with the standard pressure switch. If pressure drops below 20 PSI for more than 10 seconds, the circuit breaks and requires a manual reset.
NEC Compliance and Grounding Standards
When executing your wiring diagram for irrigation system layout, adherence to the 2026 NEC updates is non-negotiable for safety and insurance compliance. Article 250 mandates that all non-current-carrying metal parts of the pump, including the well casing, drop pipe, and motor housing, must be bonded to an equipment grounding conductor (EGC).
Do not rely on the earth or the metal well casing as a ground path. Run a dedicated green or bare copper grounding wire (sized equal to or larger than the current-carrying conductors, typically 10 AWG for up to 3HP) all the way from the main panel's ground bus bar to the motor's grounding lug. Furthermore, outdoor agricultural and irrigation receptacles and equipment are increasingly subject to GFCI protection requirements under Article 210.8 to prevent lethal shock hazards in damp environments.
Frequently Asked Questions
Can I use a smart irrigation controller to manage a 3-phase pump?
Yes, but not directly. Smart controllers output 24VAC. You must use this 24VAC signal to trigger a 3-phase motor starter or a Variable Frequency Drive (VFD) specifically designed for irrigation. The VFD will then synthesize the 3-phase power to the motor, offering soft-start capabilities that drastically reduce mechanical stress on the pump shaft.
Why does my pump motor hum but not start?
A humming motor that fails to spin usually indicates a failed start capacitor (located in the control box above ground for 3-wire submersible motors) or a seized impeller. Test the start capacitor with a digital multimeter set to capacitance (µF). If the reading is more than 10% below the microfarad rating printed on the capacitor's label, replace it. For advanced controller troubleshooting, always verify the relay is actually passing 230V before condemning the motor.
Do I need a lightning arrestor on my irrigation pump circuit?
In regions with high lightning strike density (like Florida or the Midwest), absolutely. A surge from a nearby strike can travel through the groundwater or underground UF-B cable, instantly vaporizing the motor windings and the irrigation controller's logic board. Install a Type 2 Surge Protective Device (SPD) at the pump disconnect panel to clamp transient voltage spikes.