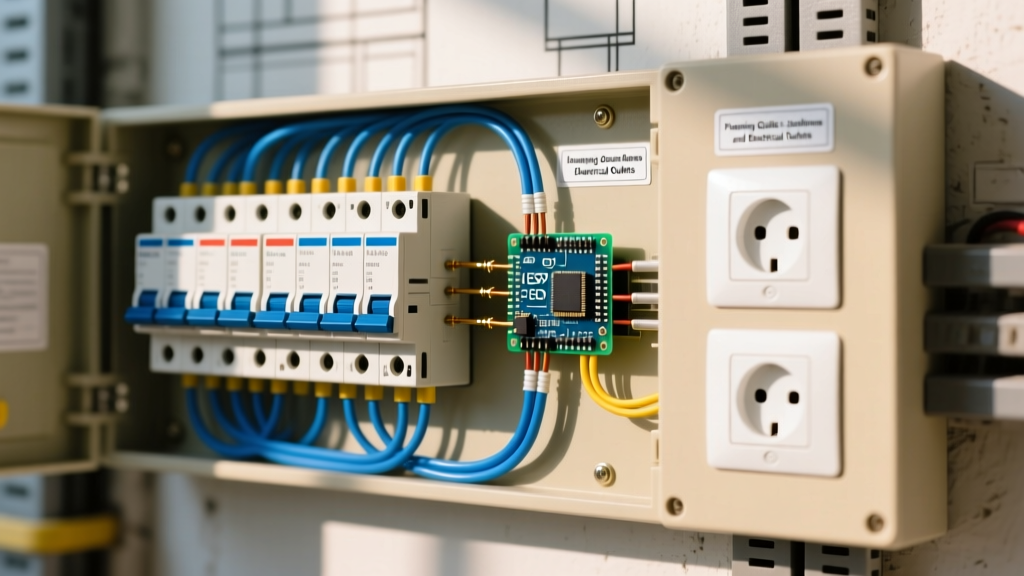

The Strategic Imperative of Electrical Identification
Planning the electrical layout of a new build, commercial facility, or major renovation extends far beyond calculating wire gauge, voltage drop, and breaker sizing. Properly labeling circuit breakers and electrical outlets during the installation planning phase is a critical safety and operational requirement. A poorly documented panel transforms routine maintenance into a hazardous guessing game, increasing arc flash risks and troubleshooting downtime. This installation planning guide provides electricians, contractors, and facility managers with a comprehensive framework for circuit mapping, material selection, and standardized naming conventions that comply with modern electrical codes.
The Code Mandate: NEC 408.4 and OSHA Requirements
Before selecting labelers or mapping software, it is essential to understand the regulatory baseline. The National Electrical Code (NEC) Article 408.4 strictly mandates that every switchboard, panelboard, and similar distribution point must be legibly marked to indicate the purpose of each circuit. The 2023 and upcoming 2026 NEC cycles emphasize that this marking must be of sufficient durability to withstand the environment involved.
For commercial and industrial installations, OSHA standard 1910.303(e) mirrors these requirements, demanding that electrical equipment be marked with identifying information that includes circuit identification. Relying on handwritten masking tape or generic markers is a direct code violation and a primary target for electrical inspectors. According to the National Fire Protection Association (NFPA), illegible or missing circuit identification is consistently cited as a top deficiency during commercial fire and safety audits.
Pre-Rough-In: Circuit Mapping and Tracing Tools
Effective labeling begins before the drywall goes up. During the rough-in and trim-out phases, verifying circuit continuity is paramount. While modern smart panels like the SPAN Smart Panel or Leviton Smart Load Center offer digital app-based circuit directories, physical NEC-compliant labeling remains mandatory for the physical breakers and downstream outlets.
Energized vs. De-Energized Tracing
- De-Energized Tracing (Rough-In Phase): Tools like the Fluke 2042 Advanced Wire Tracker (approx. $350-$400) are ideal for tracing unenergized wires through walls and conduits before the panel is terminated. This prevents cross-wiring errors before they are buried behind drywall.
- Energized Tracing (Trim-Out Phase): For identifying existing circuits or verifying newly terminated breakers, the Klein Tools ET45 Digital Circuit Breaker Finder (approx. $55-$65) injects a coded signal onto the hot wire, allowing the receiver to pinpoint the exact breaker at the panel. This eliminates the need for a two-person team using extension cords and radios.
Selecting Industrial-Grade Labeling Hardware
Consumer-grade label makers degrade rapidly in electrical environments due to heat, UV exposure, and plasticizer migration from wire insulation. For professional installations, you must utilize industrial thermal transfer printers that print on synthetic materials. According to Brady Corporation, industrial labels must resist temperatures up to 176°F (80°C) near busbars and transformers without adhesive failure.
Top Hardware Recommendations for 2026
- Brady BMP21-PLUS: A rugged, drop-tested handheld printer (approx. $180). It features an auto-cutter and specialized electrical cartridge chips that automatically format text for breaker boxes and wire wraps.
- Brother PT-E550W: A versatile, Wi-Fi-enabled industrial labeler (approx. $150). Its primary advantage is the ability to import CSV circuit directories directly from Excel via a smartphone app, drastically reducing manual data entry errors on large commercial panels.
Label Material Selection Matrix
Choosing the wrong label material is a common failure mode. Vinyl labels can suffer from plasticizer migration when applied directly to PVC wire insulation, causing the print to blur. Use the following matrix to select the correct material for your specific application:
| Material Type | Best Application | Temperature Range | Est. Cost per Cassette |
|---|---|---|---|
| Self-Laminating Vinyl (e.g., Brady B-427) | Wire wraps, cable jackets, conduit markers | -40°F to 176°F | $25 - $35 |
| Polyester (e.g., Brady B-430) | Panel directories, breaker faces, smooth surfaces | -40°F to 302°F | $30 - $45 |
| Polyimide (Kapton) | High-heat zones near transformers, busbars | Up to 500°F+ | $60 - $85 |
Developing a Scalable Naming Convention
Ambiguous labels like 'Kitchen' or 'Bedroom 2' are useless for troubleshooting specific faults. A professional installation plan must enforce a standardized, alphanumeric naming convention that scales across the entire facility. The most effective format follows the [ROOM]-[LOCATION]-[LOAD TYPE] structure.
Standardized Naming Examples
| Label Text | Translation | Circuit Type |
|---|---|---|
| KIT-S-CTR | Kitchen, South wall, Countertop receptacle | 20A GFCI Small Appliance |
| LR-NE-LTG | Living Room, Northeast corner, Lighting | 15A AFCI Lighting |
| MECH-HVAC-COMP | Mechanical Room, HVAC Compressor disconnect | 40A 240V Dedicated |
| EXT-N-GFCI | Exterior, North elevation, GFCI receptacle | 20A Weather-Resistant |
By implementing this matrix, a technician responding to a tripped breaker immediately knows not only the room but the exact physical location and load type, reducing diagnostic time by up to 40%.
Handling Multi-Wire Branch Circuits (MWBC)
One of the most dangerous edge cases in panel labeling involves Multi-Wire Branch Circuits. NEC Article 210.4(D) requires that all ungrounded conductors of an MWBC be provided with a means to simultaneously disconnect all ungrounded conductors. Furthermore, the grouping of these conductors must be clearly identified at the panel.
Pro-Tip: Never rely solely on the text directory for MWBCs. Physically group the breakers using approved handle ties (e.g., Siemens QTHT or Eaton CHFHT) and apply a high-visibility red warning label across both breakers reading: 'WARNING: MWBC - SHARED NEUTRAL. DISCONNECT BOTH.' This prevents a technician from turning off only one pole and assuming the shared neutral is de-energized, which can result in a lethal shock hazard.
Outlet-Specific Marking and Identification
While labeling circuit breakers and electrical outlets often focuses on the panel directory, the outlets themselves require physical identification in commercial and complex residential builds. The NEC and various local amendments require specific visual cues for specialized receptacles.
Color-Coding and Physical Markers
- Isolated Ground (IG) Receptacles: Must be orange in color or feature an orange triangle. In server rooms or medical facilities, use an orange faceplate to instantly differentiate IG circuits from standard equipment grounding circuits.
- Switched Half-Receptacles: In living rooms where one half of a duplex outlet is controlled by a wall switch, apply a small, durable red dot sticker (3M or Brady) to the top or bottom of the standard faceplate. This prevents users from plugging critical loads (like aquariums or routers) into the switched half.
- UPS / Emergency Power: Outlets fed by uninterruptible power supplies or standby generators should utilize red or black faceplates, accompanied by a permanent polyester label indicating the backup source and transfer switch panel.
Execution: The 4-Step Verification Workflow
To ensure your installation plan translates perfectly to the field, enforce this four-step workflow with your electrical crew before requesting the final rough-in inspection:
- Map and Trace: Use digital circuit tracers to verify every hot-to-neutral and hot-to-ground relationship. Document the findings in a digital spreadsheet.
- Print and Laminate: Generate the panel directory using an industrial thermal printer on polyester stock. For interior directories, use self-laminating cassettes to protect the text from moisture and physical abrasion.
- Apply and Align: Apply breaker labels uniformly on the left side of the breaker toggle. Apply the main directory to the inside of the panel door using a VHB (Very High Bond) adhesive backing, ensuring it does not obscure the wiring diagram or manufacturer data.
- Verify and Sign-Off: The lead electrician must perform a spot-check of 10% of the circuits using a receptacle tester and the breaker finder tool to verify the physical labels match the actual energized state of the outlets.
Final Thoughts on Long-Term Maintainability
A meticulously planned labeling system is an investment in the lifecycle of the building. As the Occupational Safety and Health Administration (OSHA) frequently highlights in electrical safety bulletins, proper identification is the first line of defense against arc flash incidents and accidental energization. By specifying industrial-grade materials, enforcing a logical naming convention, and physically marking specialized outlets, you ensure that your electrical installation remains safe, compliant, and easily serviceable for decades to come.