
The Reality of Imported Quad Wiring: Why Factory Diagrams Fail
When you unbox a TaoTao ATA110, Coolster 3050A, Kazuma Meerkat, or Apollo Commander, the included factory manual is rarely helpful for deep electrical work. In fact, relying blindly on the factory schematic is the leading cause of electrical shorts and melted harnesses in imported quads. As of 2026, manufacturing tolerances on these platforms have improved slightly, but harness color codes still frequently deviate from standard Japanese (Honda/Yamaha) or American conventions. Furthermore, factories often use leftover harness batches from 50cc or 150cc runs on their 110cc models, resulting in orphaned wires and mislabeled connectors.
If you are planning a custom build, restoring a barn-find, or replacing a melted harness, understanding the true four wheeler electric start chinese 110cc atv wiring diagram requires a methodical, installation-planning approach. This guide bypasses the generic factory fluff and provides an engineer-level planning framework for routing, component selection, and circuit protection.
Phase 1: Decoding the Generic 110cc Stator and Harness Colors
Chinese 110cc engines (typically clones of the Honda CG125 or GY6-50/110 architectures) utilize a magneto stator with distinct output coils. Before you plan your routing, you must map the stator pigtail to the main harness. Do not trust the printed manual; use a multimeter to verify continuity and AC voltage output while kicking the engine over.
| Wire Color (Typical Chinese) | Actual Function (110cc Stator) | Destination / Component | Multimeter Test (Engine Cranking) |
|---|---|---|---|
| Yellow | AC Lighting Output | Rectifier / Headlight Switch | 12V - 24V AC |
| White | DC Charging Coil | Rectifier AC Input Pin | 20V - 45V AC |
| Pink or Black/Red | Trigger / Pulse Coil | CDI Pin 3 (Trigger) | 0.5V - 2V AC Pulse |
| Blue/White or Green | Ignition Ground / Source | CDI Pin 5 (Ground) | Continuity to Engine Block |
| Black/White | Kill Switch Ground | CDI Pin 4 (Kill) | Grounds to kill (0 Ohms) |
Expert Insight: The Black/White kill wire on 95% of Chinese 110cc ATVs operates on a ground-to-kill logic. This is the exact opposite of many older Japanese dirt bikes that break the circuit to kill the engine. If you are wiring an aftermarket toggle switch for a kill switch, you must wire it to ground the Black/White CDI wire, not interrupt it.
Phase 2: Engineering the Electric Start Circuit
The electric start circuit on a 110cc four wheeler draws massive instantaneous current (often 80 to 120 amps at peak stall torque). The factory wiring on budget ATVs often routes the starter button trigger wire through cheap, low-amperage handlebar switches, leading to voltage drop, arcing, and melted plastic housings. When planning your install, you must design a high-amperage bypass using a dedicated solenoid.
Step-by-Step Solenoid Routing Plan
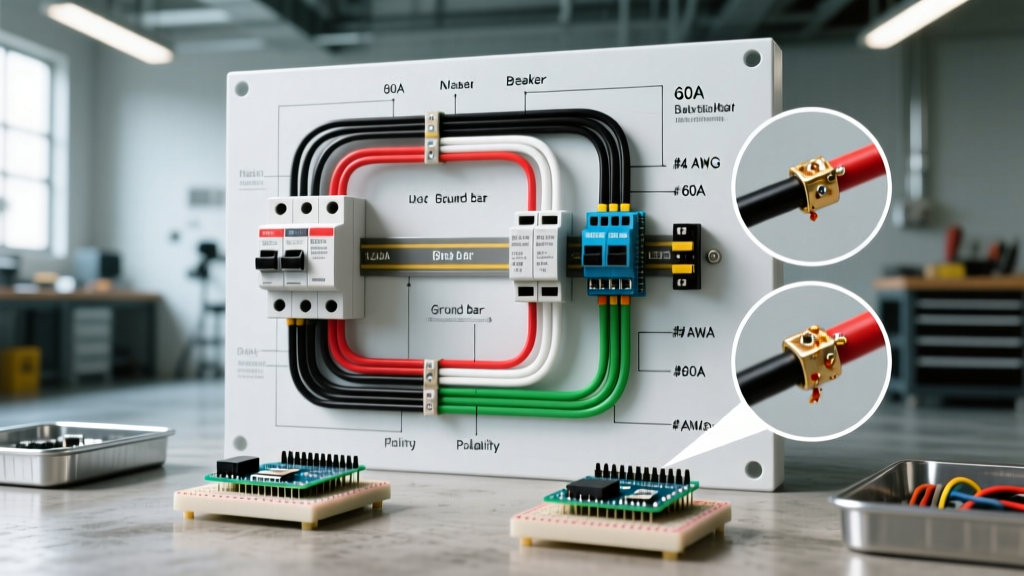
- The Main Battery Feed (10 AWG): Run a dedicated 10 AWG red wire directly from the positive battery terminal to the large 'B' (Battery) stud on the starter solenoid. Do not share this wire with the main harness fuse block. According to the Engineering Toolbox Wire Gauge Guide, 10 AWG copper is rated for up to 30A continuous, but for the micro-second surge of a starter motor, it provides the necessary low-resistance path to prevent voltage sag.
- The Starter Drop (14 AWG): Connect the large 'S' (Starter) stud on the solenoid to the starter motor terminal using 14 AWG or 12 AWG wire. Keep this run as short as physically possible to minimize resistance.
- The Trigger Circuit (18 AWG): The handlebar start button should only carry the low-amperage trigger signal. Route an 18 AWG wire from the ignition switch (12V+ 'ON' source) to the start button, and from the button to the small spade terminal on the solenoid.
- The Safety Interlock: Modern CPSC ATV Safety Guidelines heavily emphasize brake-interlock systems to prevent runaway quads. Plan your trigger circuit to pass through the rear brake light switch before reaching the starter solenoid. This ensures the ATV will only crank when the brakes are applied.
Phase 3: CDI Selection and Stator Integration
Before zip-tying a single wire, you must identify whether your 110cc stator is designed for an AC CDI or a DC CDI. Installing the wrong unit will instantly fry the internal capacitor and potentially damage the stator windings.
- 5-Pin AC CDI (JH70 Style): Powered directly by the stator's ignition source coil (usually a thick Black/Red wire). These do not require a battery to start the quad. If your stator lacks a dedicated high-voltage ignition winding, you cannot use an AC CDI.
- 6-Pin DC CDI (GY6-110 Style): Powered by the 12V DC battery system (Red wire). These are far more common on 2024-2026 models with electric start, as they provide a more consistent spark at low cranking RPMs. If you are using a DC CDI, ensure your 4-pin rectifier is properly grounded and converting the White stator wire to 14.2V DC to charge the battery.
Phase 4: Routing, Connectors, and Environmental Hardening
Chinese ATVs are notorious for lacking proper rubber grommets where the harness passes through the frame. Vibration from the single-cylinder 110cc engine will quickly chafe standard PVC wire insulation against the steel frame, causing a dead short.
The Weatherproofing Budget (2026 Pricing)
| Component / Material | Specification | Est. Cost | Application |
|---|---|---|---|
| Marine Heat Shrink | 3/16' Adhesive-lined (Wirefy/3M) | $18 - $25 | All solenoid and stator splices |
| Dielectric Grease | Silicone-based (Permatex) | $6 - $9 | CDI connector, Rectifier pins |
| Split Loom Tubing | 1/4' and 3/8' Nylon | $12 - $15 | Main harness frame routing |
| Replacement Solenoid | 12V 30A (Ford/Universal style) | $12 - $18 | Upgrading weak factory relay |
Critical Routing Rule: Never route the main harness or the CDI trigger wires within 3 inches of the 1.5-inch exhaust header. The ambient temperature near the header easily exceeds 300°F under load, which will melt standard PVC insulation and cause the pulse coil signal to short out, resulting in random misfires or a complete no-spark condition.
Phase 5: Common Failure Modes and Pre-Flight Troubleshooting
Even with a perfect installation plan, 110cc Chinese quads have specific edge cases that trip up novice builders. Review this checklist before applying power to the system.
1. The 'Click-Click-Click' Solenoid Chatter
The Failure: When you press the start button, the solenoid rapidly clicks but the starter motor does not turn.
The Cause: Voltage drop across the handlebar start button or the factory safety tether switch. The solenoid requires at least 9.5V to pull the heavy copper contactor closed. If the cheap Chinese switch drops the voltage to 8V, the solenoid chatters.
The Fix: Bypass the factory switch logic. Use the handlebar button to trigger a small Bosch-style 30A automotive relay, and let the relay handle the heavy 12V load directly from the battery to the solenoid trigger post.
2. The Blown Main Harness Fuse on Crank
The Failure: The 15A or 20A main glass/blade fuse blows instantly when the starter is engaged.
The Cause: The factory harness often routes the starter motor power through the main fuse block on budget models. A 110cc starter with a slightly seized bendix can pull 40+ amps.
The Fix: As outlined in Phase 2, the starter solenoid must pull power directly from the battery via a dedicated 10 AWG line with its own inline 40A MAXI fuse, completely isolating the starter draw from the delicate 12V lighting and CDI circuits.
3. Stator Ground Float
The Failure: The ATV has spark when the spark plug is resting on the engine block, but no spark when installed in the cylinder head.
The Cause: The engine is isolated from the frame by thick rubber motor mounts. The stator ground (Green or Blue/White) relies on a dedicated braided ground strap to connect the engine block to the negative battery terminal. If this strap is missing or corroded, the CDI cannot complete its circuit under compression.
The Fix: Install a dedicated 12 AWG ground strap from the engine mounting bolt directly to the negative battery terminal.
Final Installation Verification
By treating your four wheeler electric start chinese 110cc atv wiring diagram as an engineering project rather than a simple plug-and-play task, you eliminate the frustrating electrical gremlins that plague imported ATVs. Always verify continuity with a multimeter before connecting the battery, ensure all splices are sealed with adhesive heat shrink, and verify your brake-interlock safety logic. With this planning guide, your 110cc quad will start reliably and safely for years to come.