
The 2026 Baseline: Why Cat 6 Remains the Smart Choice
Even as fiber-to-the-room gains traction in ultra-high-end custom builds, Category 6 (Cat 6) unshielded twisted pair (UTP) cabling remains the undisputed workhorse for residential and commercial wired networks in 2026. When properly terminated, Cat 6 supports 10GBASE-T up to 55 meters and 1GBASE-T up to the full 100 meters. However, the performance of your network is only as strong as its weakest termination point. A poorly executed wall plate can introduce Near-End Crosstalk (NEXT) and return loss, degrading a 10Gbps link down to a 1Gbps bottleneck.
This comprehensive walkthrough provides an exact cat 6 wiring diagram for wall plates, focusing on the industry-standard T568B pinout, proper keystone jack termination, and the critical physical tolerances required to pass modern certification testing.
Essential Tools and Materials (With Current Pricing)
Terminating Cat 6 requires precision. Using a flathead screwdriver or a cheap plastic punch-down tool will crush the 23 AWG copper conductors and ruin the keystone jack's IDC (Insulation Displacement Contact) slots. Here is the professional-grade toolkit required for a flawless termination.
| Item | Recommended Model / Spec | Est. 2026 Cost | Purpose |
|---|---|---|---|
| Cat 6 UTP Cable | 23 AWG Solid Bare Copper (Plenum or Riser) | $0.18 - $0.24 / ft | The primary transmission medium. Avoid CCA (Copper Clad Aluminum). |
| Keystone Jack | Leviton 41088-W QuickPort Cat 6 | $4.50 - $6.00 | 110-style IDC termination block with built-in wire managers. |
| Wall Plate | Leviton 41080-1WP (1-Port) or 41082-2WP (2-Port) | $2.50 - $4.00 | Standard Decora-style faceplate for flush mounting. |
| Punch Down Tool | Klein Tools D814 (110 Blade) or Impact Tool | $25.00 - $45.00 | Seats the wire into the IDC and cleanly shears the excess. |
| Cable Stripper | Klein Tools VDV110-611 Coax/UTP Stripper | $15.00 | Removes the PVC jacket without nicking the copper pairs. |
Decoding the Cat 6 Wiring Diagram: T568A vs. T568B
The ANSI/TIA-568 standard defines two acceptable wiring schemes for 8P8C (RJ45) connectors and keystone jacks: T568A and T568B. Electrically, they are identical in performance. The only difference is the swapping of the orange and green pairs. In the United States, T568B is the dominant commercial and residential standard. Unless you are integrating into an existing legacy network wired for T568A, always default to T568B.
T568B Pinout Reference Chart
When looking at the back of a Leviton or Keystone jack, the manufacturer prints both the 'A' and 'B' color codes directly on the plastic housing. You will follow the 'B' row.
- Pin 1: White/Orange (Stripe)
- Pin 2: Orange (Solid)
- Pin 3: White/Green (Stripe)
- Pin 4: Blue (Solid)
- Pin 5: White/Blue (Stripe)
- Pin 6: Green (Solid)
- Pin 7: White/Brown (Stripe)
- Pin 8: Brown (Solid)
The Golden Rule of Twists: According to BICSI installation standards, you must maintain the pair twists to within 0.5 inches (13mm) of the IDC termination point. Untwisting the pairs too far back destroys the electromagnetic cancellation, guaranteeing a failure on the NEXT (Near-End Crosstalk) test.
Step-by-Step Walkthrough: Terminating the Wall Plate
Step 1: Jacket Stripping and Preparation
Measure roughly 2.5 inches from the end of your Cat 6 cable. Using your UTP stripper, score the PVC jacket and pull it away. Warning: Do not use a utility knife, as scoring the 23 AWG copper will create a high-resistance point that fails certification. If your Cat 6 cable contains a central nylon spline (common in thicker outdoor or plenum-rated runs), use flush cutters to snip the spline flush with the jacket edge so it doesn't interfere with the keystone cap.
Step 2: Untwisting and Pair Routing
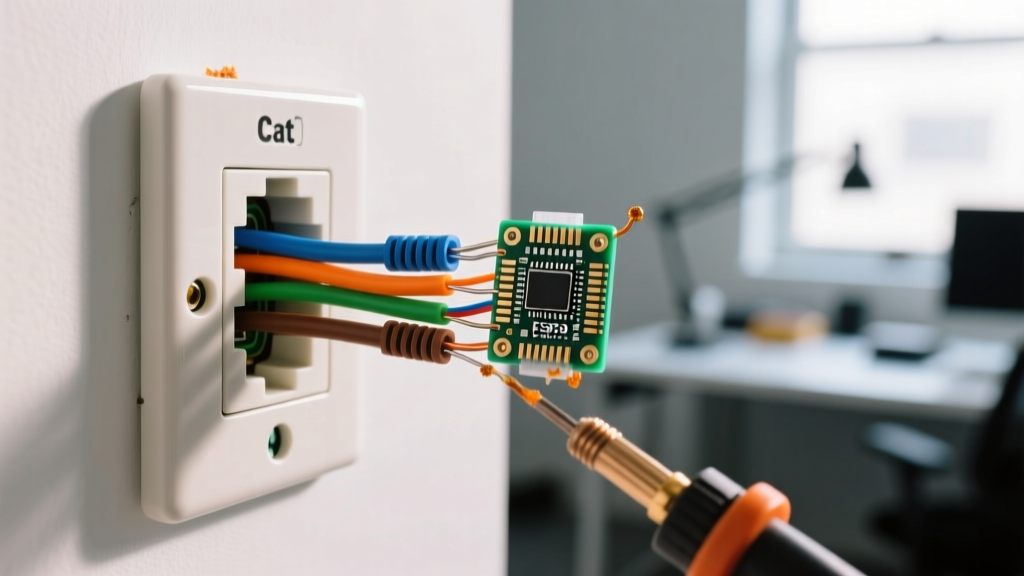
Gently separate the four twisted pairs. Untwist only the absolute minimum length required to reach the IDC slots on the keystone jack—ideally less than 0.5 inches. Route the Blue pair down the center channel of the jack first, followed by the Orange and Green pairs on the sides, and finally the Brown pair. Follow the T568B color diagram printed on the jack housing.
Step 3: The Punch Down Process
This is where precision matters. Set your impact punch-down tool to the 'Cut' side facing outward. If the cutting blade faces inward, you will sever the internal copper connection inside the IDC, resulting in an open circuit.
- Press the wire firmly into the V-groove of the IDC slot with your thumb.
- Place the 110 blade of the punch-down tool directly over the wire and IDC slot.
- Push down firmly until the tool's internal spring releases with a loud 'click'. This simultaneously seats the copper into the metal forks and shears the excess wire.
- Repeat for all 8 conductors.
Step 4: Capping and Wall Plate Mounting
Once all 8 wires are punched down, inspect the termination. There should be no bare copper visible outside the IDC slots, and the excess wire tails should be completely severed. Snap the protective dust cap onto the back of the keystone jack. This cap prevents the wires from vibrating loose inside the wall cavity over time. Finally, push the keystone jack into the designated port on your Decora wall plate until it clicks, and screw the plate into the low-voltage mounting bracket using the provided 6-32 machine screws.
Advanced Troubleshooting and Edge Cases
Even experienced low-voltage technicians encounter termination failures. When certifying your links using a professional analyzer like those specified by Fluke Networks, watch for these specific failure modes:
1. Split Pairs (Wire Map Failure)
A split pair occurs when you accidentally cross one wire from the Orange pair with one wire from the Green pair (e.g., terminating White/Orange in Pin 3 and White/Green in Pin 1). The cable will show continuity and might even pass a basic $20 blink-tester, but it will completely fail to pass data at gigabit speeds due to massive crosstalk. Fix: Rely strictly on the T568B diagram, not on 'memorized' color patterns.
2. High Return Loss
Return loss measures signal reflection caused by impedance mismatches. In Cat 6 wall plates, this is almost always caused by crushing the cable with zip-ties that are pulled too tight, or by kinking the cable at a sharp 90-degree angle immediately behind the keystone jack. Fix: Use Velcro hook-and-loop wraps for cable management and ensure a minimum bend radius of 4 times the cable diameter (approx. 1 inch for Cat 6) inside the wall box.
3. Open Circuits on Pins 4 and 5
The Blue pair (Pins 4 and 5) sits in the deepest, most recessed part of many keystone jacks. If your punch-down tool has a worn-out spring or you are using a cheap non-impact manual tool, the Blue pair often fails to seat fully into the IDC forks. Fix: Always use a calibrated impact tool and visually verify that the wire is pushed flush to the bottom of the slot after the 'click'.
Final Verification
Once the wall plate is mounted, connect a basic wire-mapper to verify the T568B pinout continuity. For 2026 builds requiring multi-gigabit internet (2.5Gbps or 10Gbps from your ISP's ONT), invest in a permanent link certification test. A properly terminated Cat 6 wall plate using the steps above will yield a clean pass, ensuring your physical layer is ready to support modern Wi-Fi 7 access points and high-speed NAS transfers for years to come.