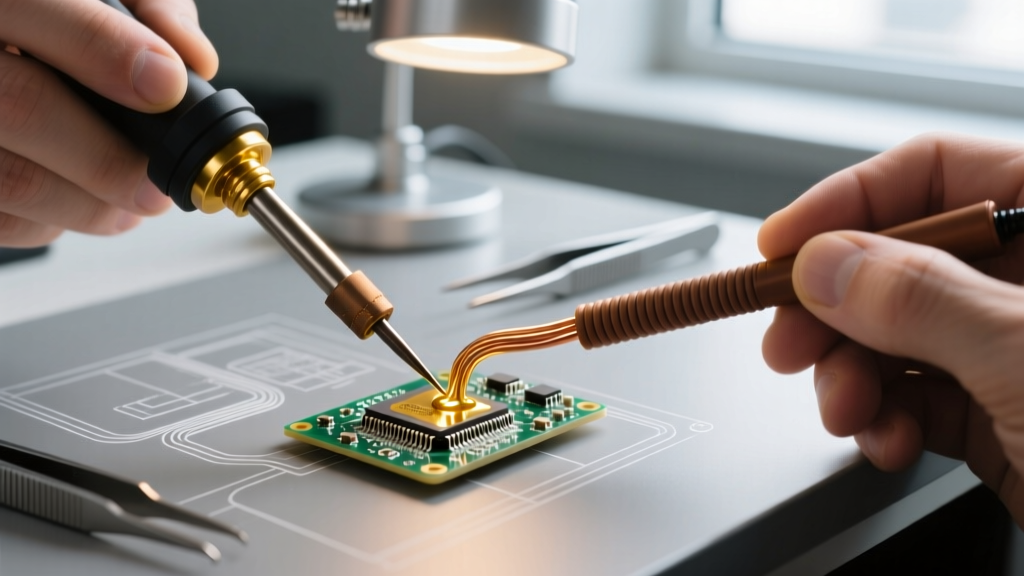

The 840°F (450°C) Threshold: Where Soldering Ends and Brazing Begins
When you first pick up a torch or a high-wattage iron, the difference between brazing and soldering can seem like a matter of semantics. However, in metallurgy and practical DIY electronics or plumbing, confusing the two leads to catastrophic joint failures. Whether you are assembling a custom drone frame, repairing a vintage amplifier, or sweating copper pipes, understanding the thermal and mechanical boundaries of these processes is non-negotiable.
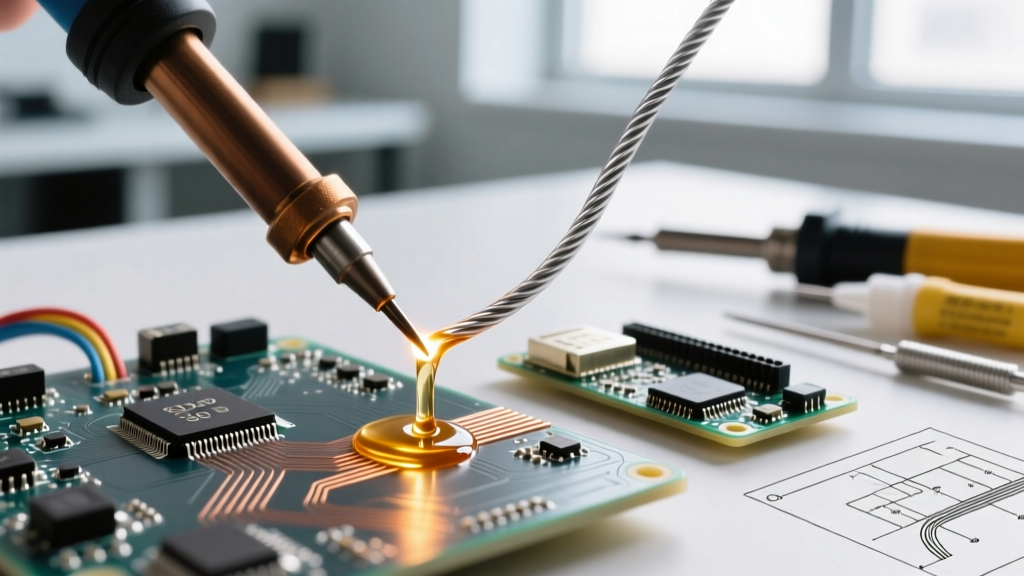
At the most fundamental level, neither process melts the base metal (that is welding). Instead, both rely on capillary action to draw a molten filler metal into the microscopic gap between two tightly fitted base metals. The defining difference lies entirely in the melting point of the filler alloy.
"The American Welding Society (AWS) defines the boundary between soldering and brazing at exactly 840°F (450°C). Processes utilizing filler metals that melt below this threshold are classified as soldering; those above 840°F are classified as brazing." — American Welding Society (AWS)
This 450°C dividing line dictates everything from the flux chemistry you must use to the structural load the finished joint can bear. Let us break down the metallurgy, tool requirements, and practical applications for each.
Soldering: Low-Temperature Metallurgy and Applications
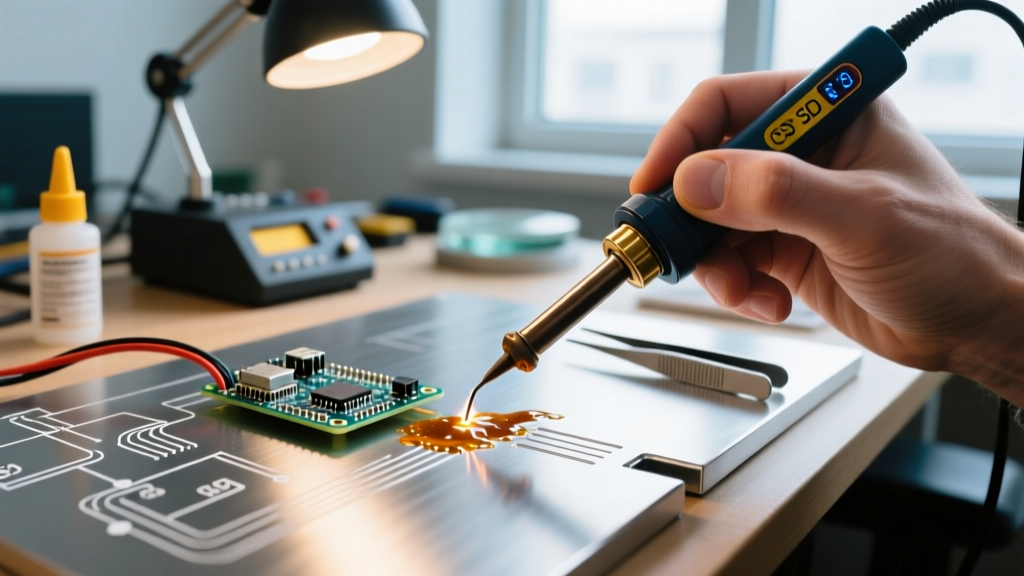
Soldering operates in the 180°C to 400°C range. Because the temperatures are relatively low, the base metals undergo zero thermal distortion, making soldering the undisputed king of electronics and low-pressure plumbing.
Common Solder Alloys
- Sn63Pb37 (Tin/Lead): The classic eutectic alloy. It melts at exactly 183°C (361°F) with no plastic (semi-solid) phase. While restricted in commercial manufacturing, it remains a staple for DIY hobbyists due to its superior wetting and ease of use.
- SAC305 (Sn96.5Ag3.0Cu0.5): The modern RoHS-compliant standard for 2026. It melts between 217°C and 220°C. It requires higher iron temperatures (typically 350°C at the tip) and is more prone to cold joints if the thermal mass of the pad is not properly managed.
Flux Chemistry
Soldering relies on mild fluxes. For electronics, Rosin Mildly Activated (RMA) flux uses abietic acid to dissolve copper oxides at 200°C without corroding the delicate traces. For copper plumbing, water-soluble or tinning fluxes (often containing zinc chloride) are used, which must be flushed with water post-solder to prevent long-term acid corrosion.
Brazing: High-Temperature Alloys and Structural Integrity
Brazing operates between 450°C and 1100°C. The higher thermal energy allows for filler metals that possess immense tensile strength, often exceeding the strength of the base metals themselves. According to the Copper Development Association, a properly brazed copper joint can withstand pressures exceeding 1,000 PSI, making it mandatory for HVAC refrigerant lines and high-pressure hydraulic systems.
Common Brazing Alloys
- BCuP-5 (e.g., Sil-Fos 5): A copper-phosphorus-silver alloy (15% silver) that melts between 649°C and 816°C. The phosphorus acts as a built-in flux when joining copper-to-copper, eliminating the need for external flux paste.
- BAg-24 (50% Silver): A cadmium-free silver braze that melts around 630°C. It is highly ductile and essential for joining dissimilar metals or metals that do not contain copper.
Flux Chemistry
Brazing requires aggressive, high-temperature fluxes, typically white flux (borax-based) or black flux (containing elemental boron). These fluxes remain active at 800°C, dissolving heavy refractory oxides that rosin fluxes would instantly vaporize and fail against.
Comparison Matrix: Brazing vs. Soldering
| Feature | Soldering | Brazing |
|---|---|---|
| Temperature Range | 180°C – 400°C (356°F – 752°F) | 450°C – 1100°C (842°F – 2012°F) |
| Primary Filler Metals | Tin-Lead (SnPb), Tin-Silver-Copper (SAC) | Copper-Phosphorus (BCuP), Silver (BAg) |
| Joint Tensile Strength | Low (Shear strength ~2,000 - 5,000 PSI) | High (Tensile strength ~40,000 - 70,000 PSI) |
| Ideal Capillary Gap | 0.002" – 0.005" | 0.001" – 0.003" |
| Heat Source | Soldering Iron, Hot Air, Micro-Torch | Oxy-Acetylene, MAP-Pro Torch, Induction |
| Base Metal Distortion | None | Minimal (but annealing of base metal can occur) |
Step-by-Step Beginner Walkthrough: Executing the Perfect Joint
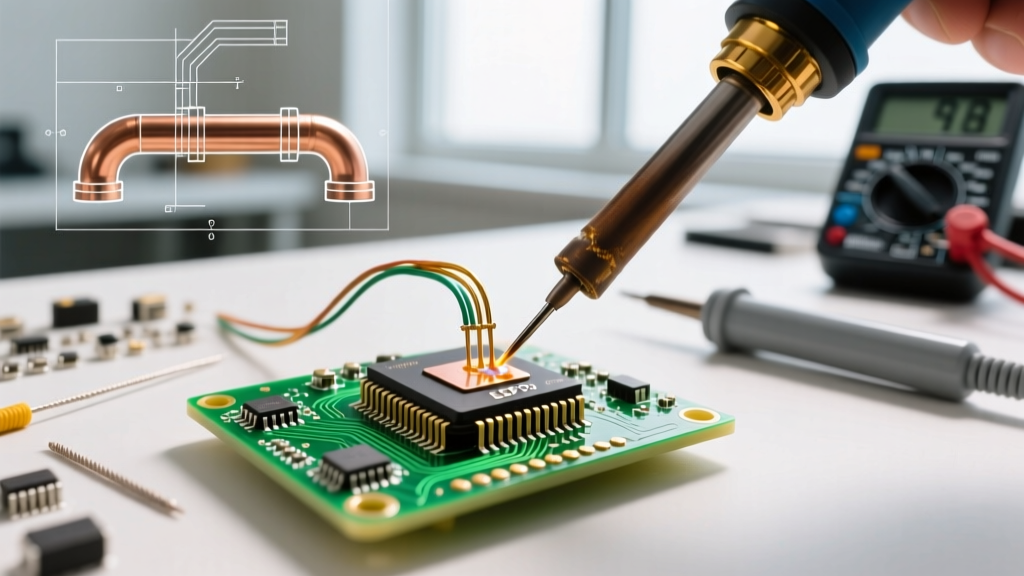
Whether you are soldering a PCB or brazing an HVAC line, the physics of capillary action remain identical. Follow this workflow to ensure a flawless metallurgical bond.
- Mechanical Prep: Capillary action requires a specific gap. For soldering, aim for 0.003 inches. For brazing, tighter is better (0.001 to 0.002 inches). If the gap is too wide, the filler metal will not draw upward against gravity.
- Chemical Prep: Abrade the base metals with 400-grit sandpaper or Scotch-Brite to remove heavy oxidation. Follow immediately with an isopropyl alcohol wipe to remove skin oils.
- Flux Application: Apply your flux before heating. Flux is not a cleaner for heavy dirt; it is a chemical shield that prevents new oxides from forming as the temperature rises.
- Thermal Transfer (The Golden Rule): Never melt the filler rod on the torch flame or iron tip. You must heat the base metal until the base metal itself is hot enough to melt the rod. If you touch the rod to the flame and then smear it on the joint, you are creating a "cold joint" or a superficial smear that will fail under stress.
- Capillary Draw: Touch the filler rod to the opposite side of the joint from where the heat is applied. When the base metal reaches the liquidus temperature, the flux will turn clear and glassy, and the filler metal will instantly wick through the joint via capillary action.
- Controlled Cooling: Remove the heat and let the joint cool naturally. Quenching a brazed joint in water can cause thermal shock, micro-cracking the silver alloy and shattering the glass-like borax flux residue into dangerous shrapnel.
Critical Edge Cases: The Copper-to-Steel Trap
One of the most common and dangerous mistakes beginners make occurs when joining copper tubing to a steel compressor fitting in an HVAC or refrigeration system.
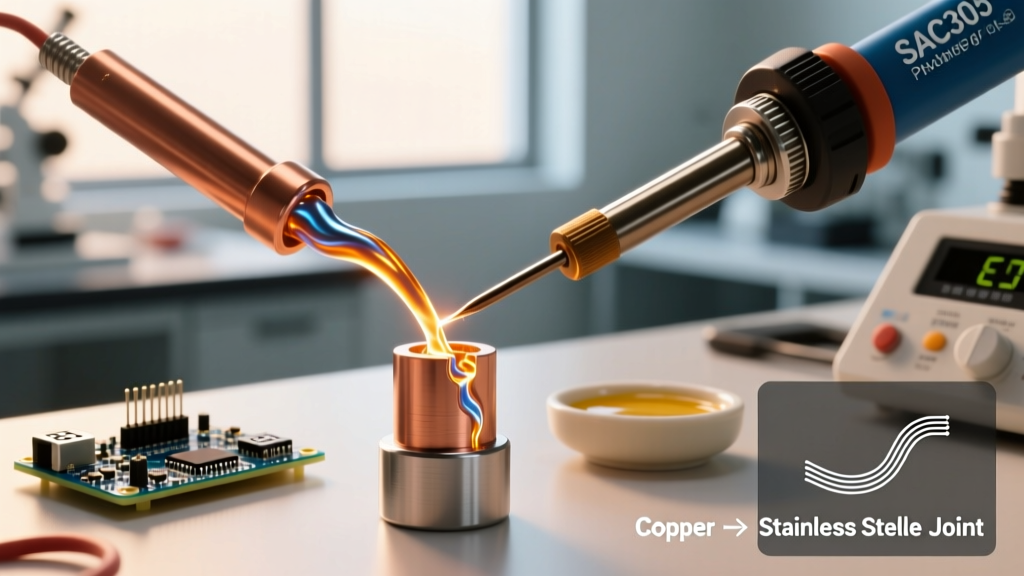
If you attempt to braze copper to steel using a BCuP (Copper-Phosphorus) alloy, the joint will fail catastrophically. Why? The phosphorus in the filler metal reacts with the iron in the steel to form iron phosphide, a highly brittle intermetallic compound. The joint might look perfect on the outside, but it will shatter like glass under the vibration of a compressor.
The Solution: When joining copper to steel, brass, or any ferrous metal, you must abandon BCuP alloys. Switch to a BAg (Silver) alloy, such as BAg-24 (50% silver), and use a generous amount of white borax-based flux to manage the iron oxides. This specific metallurgical nuance separates amateur DIYers from certified technicians.
Frequently Asked Questions
Can I use a standard soldering iron for brazing?
No. Standard electronics soldering irons (like the Hakko FX-888D or Weller WE1010) max out around 450°C to 480°C at the tip. Due to thermal loss, they cannot transfer enough energy to bring a copper pipe or thick wire up to the 650°C+ required to melt silver braze alloys. You must use a high-BTU gas torch (like MAP-Pro or Oxy-Acetylene) or a specialized high-frequency induction heater.
Is "Silver Solder" considered soldering or brazing?
The term "silver solder" is a colloquial misnomer that confuses many beginners. In the jewelry and HVAC trades, "silver soldering" actually refers to brazing, as the silver alloys (BAg) melt well above the 450°C AWS threshold. Always check the liquidus temperature on the alloy datasheet rather than relying on the marketing name.
Why does my brazed joint look like a ball of metal instead of flowing into the gap?
This is caused by either insufficient heat (the base metal is below the liquidus temperature of the filler) or a lack of proper flux, which allows a microscopic layer of oxidation to act as a barrier. The filler metal will only wet and wick into chemically clean, adequately heated bare metal.