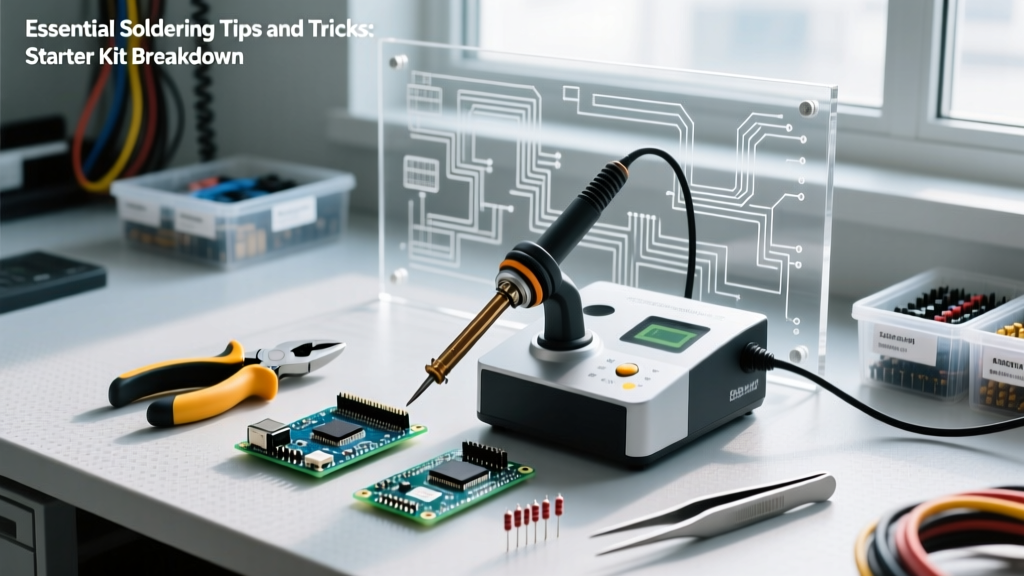

The Anatomy of a Modern Soldering Kit
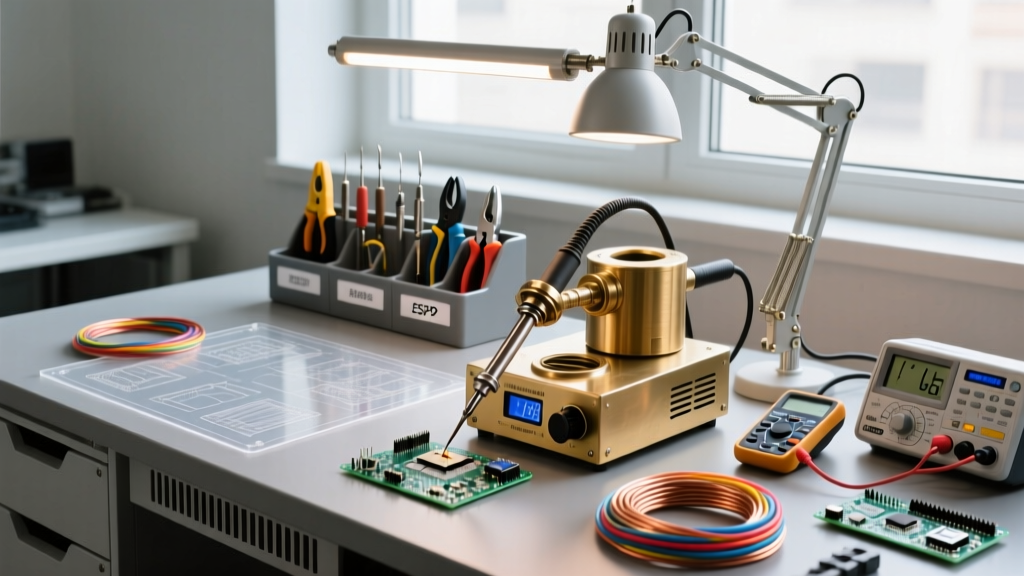
Opening a new soldering kit is an exciting milestone for any electronics enthusiast, but the true value lies in knowing exactly how to leverage every included component. In 2026, the standard for DIY and professional prototyping has shifted dramatically toward USB-C PD-powered smart irons and advanced chemical fluxes. However, a kit is only as effective as the technician wielding it. Whether you are assembling a Pine64 Pinecil V2 Deluxe Kit or a comprehensive FNIRSI HS-01 bundle, understanding the metallurgy, thermal dynamics, and chemical interactions of your included tools is what separates a cold, brittle joint from an IPC-compliant masterpiece.
This guide provides a deep-dive breakdown of standard kit components, pairing each with advanced soldering tips and tricks to elevate your workspace from amateur to professional grade.
Component Breakdown & Pro Soldering Tips and Tricks
1. The Smart Soldering Iron (65W PD / DC Powered)
What is Included: A RISC-V or ARM-based smart iron (e.g., Pinecil V2), a USB-C to DC5525 cable, and a 65W GaN power adapter. Modern kits have largely abandoned bulky transformer-based stations in favor of high-frequency induction or direct-resistive smart tips.
Expert Tips & Tricks:
- Optimize PD Negotiation: Smart irons require strict USB-C Power Delivery (PD) 3.0/3.1 handshakes. If your iron maxes out at 30W instead of 65W, the included cable is likely missing the E-marker chip required for 20V/3.25A negotiation. Always verify your GaN charger supports the PPS (Programmable Power Supply) protocol for the most stable thermal recovery.
- Configure Sleep Thresholds: Do not leave your iron at 320°C while idle. Access the iron's hidden menu (usually by holding the '+' button on boot) and set the sleep temperature to 150°C with a 3-minute timeout. This specific trick prevents the oxidation of the iron's microscopic plating layer while saving the tip from thermal degradation.
- Boost Mode for Ground Planes: When soldering to heavy copper pours or ground planes, the thermal mass will suck heat away from the joint, causing a cold solder connection. Map your iron's 'Boost' button to 380°C for 40 seconds to overcome this thermal sink effect without permanently running the iron at destructive temperatures.
2. Solder Wire (Sn63/Pb37 vs. SAC305)
What is Included: Typically a 50g to 100g spool of 0.8mm diameter rosin-core solder wire. Most 2026 starter kits default to 63/37 (Tin/Lead) eutectic solder for hobbyists, while RoHS-compliant kits include SAC305 (Tin/Silver/Copper) lead-free alloy.
Expert Tips & Tricks:
- Understand the Eutectic Advantage: 63/37 solder is 'eutectic,' meaning it transitions from liquid to solid at a single, precise temperature (183°C). Standard 60/40 solder has a 'plastic phase' where it is semi-solid. If you bump the component while 60/40 is in this plastic phase, you will create a disturbed joint with a grainy, frosty appearance, leading to micro-fractures. Always use 63/37 for critical connections.
- Diameter Matching: The included 0.8mm wire is a generalist. For through-hole components (DIP ICs, resistors), feed exactly 2-3mm of wire into the joint. For SMD (Surface Mount Device) 0805 or 0603 components, 0.8mm is too thick and will bridge the pads. Upgrade to 0.3mm or 0.5mm solder paste/wire for micro-soldering.
- Pre-tinning Heavy Leads: When soldering thick wires (14 AWG or larger), do not rely on the flux core inside the wire. Apply external tacky flux and pre-tin the wire separately before introducing it to the PCB pad. For deeper metallurgical insights on alloy selection, refer to the Indium Corporation's solder alloy database.
3. Flux (Rosin Paste or Tacky Syringe)
What is Included: A 10g syringe of 'No-Clean' tacky flux or a small tin of generic rosin paste (RMA).
Expert Tips & Tricks:
- Flux Activation Timing: Flux does not work instantly. It requires thermal activation to break down metal oxides. Most rosin-based fluxes activate around 150°C. Apply the flux, wait two seconds for the heat to penetrate and activate the chemistry, and then apply the solder wire. Applying solder immediately traps the unactivated flux, leading to splattering and incomplete wetting.
- The 'No-Clean' Myth: While modern no-clean fluxes (like Amtech NC-559) are designed to be left on the board, the leftover residue can cause parasitic capacitance in high-frequency RF circuits or alter impedance in precision analog sensor paths. Always clean flux residue with 99% Isopropyl Alcohol (IPA) and a lint-free swab for high-reliability builds.
- Reviving Dried Flux: If your included syringe flux has thickened over time, do not thin it with standard IPA, which alters the activator ratio. Instead, store the syringe in a sealed bag with a damp paper towel in the refrigerator to maintain its viscosity and extend its shelf life up to 12 months.
4. Tip Maintenance (Brass Sponge & Silicone Holder)
What is Included: A brass wire sponge (often in a small metal or plastic holster) and a high-temperature silicone iron rest.
Expert Tips & Tricks:
- Ditch the Wet Cellulose Sponge: Older kits included wet yellow sponges. Using a wet sponge causes a rapid temperature drop (Delta-T > 150°C in milliseconds), which induces thermal shock and micro-fractures in the tip's copper core, eventually causing the iron plating to flake off. The included brass sponge only drops the tip temperature by roughly 20°C, safely removing oxidation without damaging the tip.
- The 'Tinning' Rule: Never wipe your tip clean and leave it bare in the holder. Before placing the iron in the silicone holster, melt a generous blob of cheap, leaded solder onto the tip. This sacrificial layer oxidizes in the air instead of the tip's actual iron plating. When you return to work, simply wipe the sacrificial blob on the brass sponge and apply fresh solder.
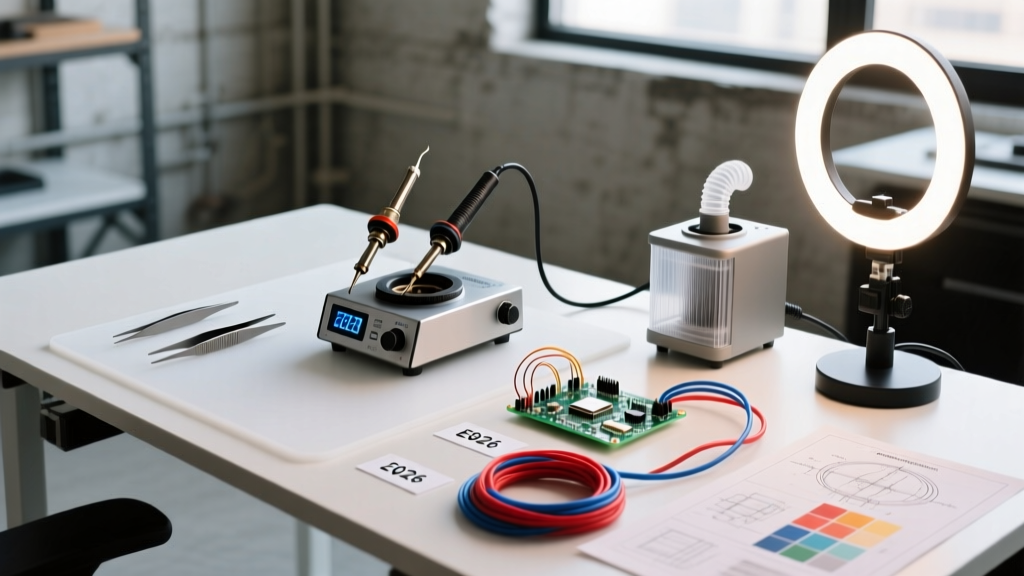
5. Workspace Protection (Silicone Soldering Mat)
What is Included: A 450x300mm heat-resistant silicone mat featuring magnetic compartments and grid lines.
Expert Tips & Tricks:
- Magnetic Component Staging: Use the magnetic corners to hold small steel tools, but use the non-magnetic center grid for organizing SMD components. The grid lines are perfect for aligning multi-pin headers before tacking the first pin.
- Flux Spill Management: Silicone is non-porous, but aggressive water-soluble fluxes can stain or degrade lower-quality mats over time. Clean the mat weekly with a mild dish soap and warm water; avoid harsh solvents like acetone, which will break down the silicone polymers and ruin the heat resistance.
Accessory Comparison Matrix: Kit vs. Pro Upgrades
While starter kits provide an excellent foundation, specific projects require specialized tools. Use this matrix to identify when to upgrade your included accessories based on industry standards like those outlined in the IPC soldering and assembly guidelines.
| Included Kit Component | Limitation | Professional Upgrade Path | Estimated Cost (2026) |
|---|---|---|---|
| 0.8mm 63/37 Solder Wire | Too thick for 0603 SMD pads; bridges fine-pitch ICs. | 0.3mm Sn42/Bi58 (Low-Temp) or 0.5mm SAC305 | $18 - $25 |
| Generic Syringe Flux | Low viscosity; boils off too quickly during BGA rework. | Amtech NC-559-V2-TF (High-Tack BGA Flux) | $35 - $45 |
| Basic Brass Sponge | Lacks chemical cleaning agents for heavily oxidized tips. | Hakko 599B Tip Cleaner (Flux-Core Brass Wool) | $12 - $15 |
| Standard Silicone Mat | Static buildup can damage sensitive CMOS/MOSFET gates. | ESD-Safe High-Temp Silicone Mat (10^6 to 10^9 ohms/sq) | $25 - $40 |
Advanced Troubleshooting: When Included Accessories Fall Short
Even with perfect technique, you may encounter joint failures. According to SparkFun's comprehensive soldering tutorials, visual inspection is your first line of defense.
- Icicle/Jagged Joints: Caused by insufficient heat or pulling the iron away too quickly. Fix: Apply more flux, increase iron temp by 20°C, and let the heat flow through the pad before withdrawing the iron at a 45-degree angle.
- Dull, Grainy, or Frosty Joints: A classic sign of a disturbed joint (moving the component while the solder is in its plastic phase) or severe oxidation. Fix: Re-flow the joint with fresh 63/37 solder and external flux to displace the oxidized metal.
- Solder Balling/Refusal to Wet: The pad is contaminated with oils from fingerprints or conformal coating. Fix: Scrub the pad with a fiberglass scratch pen or IPA, apply tacky flux, and pre-tin the pad before attaching the component.
Frequently Asked Questions
How often should I replace the tip on my smart soldering iron?
With proper maintenance (using a brass sponge, utilizing sleep modes, and tinning before storage), a high-quality tip like the Pine64 TS100/Pinecil series can last 2 to 3 years of regular DIY use. If you notice the tip turning black and refusing to accept solder (de-wetting), the iron plating has oxidized through. Do not sand the tip; this will expose the copper core, which will rapidly dissolve into the solder alloy, ruining the tip permanently.
Is the included 65W GaN charger safe to use with my laptop?
Yes. Modern 65W GaN chargers included in 2026 smart iron kits utilize standard USB-C PD protocols. The charger communicates with the connected device and will only supply the voltage and amperage requested. You can safely use the kit's charger for a MacBook Air, Dell XPS, or smartphone without risking overvoltage damage.
Can I use the included rosin flux for plumbing or automotive wires?
No. The rosin-core flux included in electronics kits is specifically formulated to be non-corrosive to copper traces and component leads. Plumbing and automotive soldering require highly acidic, corrosive fluxes to penetrate heavy oxidation and grease. Using acidic flux on a PCB will cause rapid galvanic corrosion, destroying the copper traces and causing short circuits within weeks.