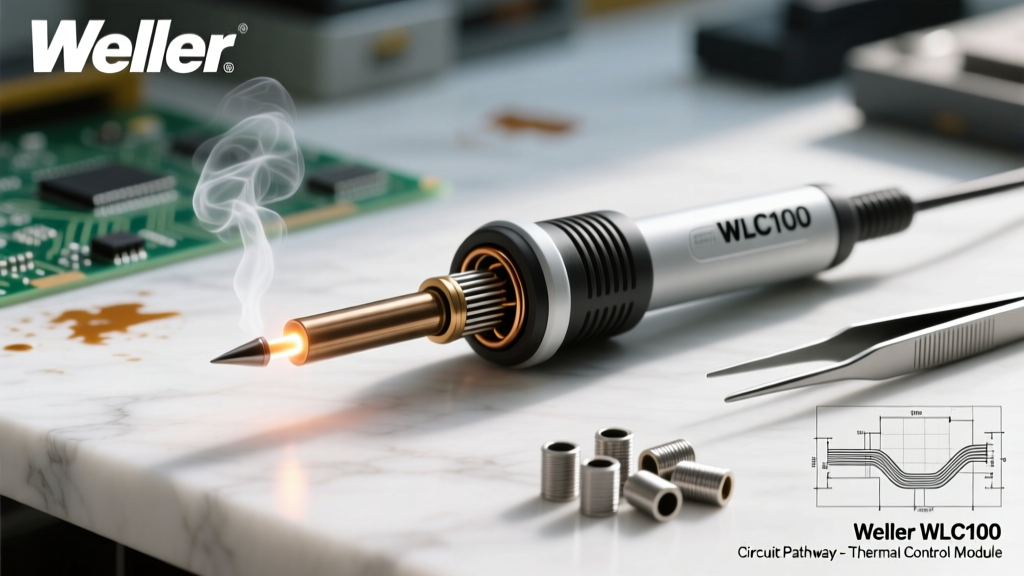

Mastering the Weller WLC100: Advanced Troubleshooting and Maintenance
The Weller WLC100 40-watt variable-output soldering station has remained a staple on DIY electronics workbenches and professional repair desks for years. Its robust, foam-gripped iron and heavy-duty base station offer exceptional durability. However, because the WLC100 relies on a variable power duty-cycle rather than closed-loop thermocouple feedback, it requires a specific maintenance approach to ensure optimal thermal transfer and component safety.
Whether you are dealing with a unit that refuses to heat, a seized ET-series tip, or degraded thermal recovery, this comprehensive 2026 guide will walk you through exact diagnostic procedures, multimeter testing parameters, and preventative maintenance matrices to extend the life of your station.
The Power Dial Misconception: Duty Cycle vs. Temperature
Before troubleshooting, it is critical to understand how the WLC100 actually operates. The dial on the base station does not set a specific temperature (e.g., 350°C). Instead, it acts as a rheostat-style duty-cycle controller. Turning the dial to '5' (max) supplies 100% of the 120V AC line voltage to the Nichrome heating element continuously. Turning it to '3' pulses the power, effectively reducing the wattage output.
Expert Insight: Because the WLC100 lacks active thermal feedback, soldering to large copper ground planes will cause the tip temperature to plummet, and the station will not automatically compensate. You must manually increase the dial setting or pre-heat the board to manage thermal lag.
Diagnostic Flowchart: Iron Not Heating
If your Weller WLC100 fails to heat up, do not immediately discard it. The failure is almost always isolated to one of three components: the cord, the internal heating element, or the base station switch. Grab a digital multimeter (DMM) and follow these steps.
Step 1: Testing the Nichrome Heating Element
The WLC100 utilizes a mica-wrapped Nichrome wire heating element. Using Ohm's Law ($R = V^2 / P$), we can calculate the exact expected resistance for a 40-watt element running on a 120V AC line.
- Calculation: 120V × 120V = 14,400. 14,400 ÷ 40W = 360 Ohms.
- The Test: Unplug the station. Remove the ET-series tip and the knurled locking nut. Slide the bakelite/plastic housing off the iron wand to expose the element terminals. Place your DMM probes on the element wires.
- Diagnosis: If your multimeter reads between 340Ω and 380Ω, the element is perfectly healthy. If it reads 'OL' (Over Limit/Infinite), the internal wire has snapped, and the element must be replaced. As of 2026, a genuine Weller replacement element costs roughly $18 to $22.
Step 2: Checking for Cord Flex Fatigue
The WLC100 features a high-grade silicone jacketed cord. While silicone resists melting from accidental tip contact, the mechanical strain relief boot near the iron handle is a common failure point for internal wire fatigue.
- Set your DMM to the continuity or resistance setting.
- Probe the prongs of the AC plug (ensure the base station dial is turned to MAX to close the circuit).
- While watching the multimeter display, aggressively bend and twist the cord near the iron's handle strain relief.
- If the resistance fluctuates wildly or drops to OL, you have an internal wire break. The cord must be re-terminated or replaced.
Seized ET-Series Tip Extraction Protocol
The WLC100 uses Weller's iconic ET-series screw-on tips. A notoriously common issue occurs when users over-tighten the knurled locking nut while the iron is hot. As the station cools, thermal contraction causes the nut to seize onto the stainless steel tip sheath, making removal impossible by hand.
Do not use aggressive force with bare metal pliers, as this will crush the delicate copper core of the tip. Instead, use the thermal-shock and penetrant method:
- Ensure the iron is completely unplugged and cooled to room temperature.
- Apply a single drop of high-quality penetrating oil (e.g., PB Blaster or WD-40 Specialist) directly to the threads where the nut meets the wand.
- Allow the oil to wick into the threads for 15 minutes.
- Wrap the knurled nut in a piece of thick leather or heat-shrink tubing to protect the finish.
- Use padded locking pliers (Vise-Grips) to gently break the torque. The nut should unthread smoothly.
ET-Series Tip Selection and Thermal Mass Matrix
Maintaining your WLC100 isn't just about fixing breaks; it's about using the correct tool for the thermal load. According to the soldering requirements outlined in the IPC-J-STD-001 standard, selecting the proper tip geometry ensures adequate wetting without exceeding the thermal limits of the PCB pads.
| Tip Model | Geometry | Thermal Mass | Best Application |
|---|---|---|---|
| ETA | Conical (0.031") | Low | Fine-pitch SMD, 0603 components, small jumper wires. |
| ETS | Screwdriver (0.062") | Medium | Standard through-hole resistors, capacitors, and DIP ICs. |
| ET1/16 | Chisel (1/16") | High | Heavy ground planes, large power pads, and desoldering. |
Note: Using a low thermal mass tip (ETA) on a heavy ground plane will force you to turn the WLC100 dial to maximum and hold the iron in place for too long, risking pad delamination. Always match the tip mass to the copper volume.
Routine Maintenance and Oxidation Prevention
Tip oxidation is the primary killer of soldering efficiency. When the iron-plated copper sheath oxidizes, it turns black and refuses to accept solder, effectively insulating the heat source from your component lead. To combat this, implement the following maintenance matrix, drawing on best practices recommended by experts at SparkFun Electronics.
The Cleaning Media Debate: Sponge vs. Brass Wool
The WLC100 ships with a yellow cellulose sponge. While functional, sponges require distilled water. If you use tap water, the dissolved minerals (calcium and magnesium) will bake onto the hot tip, causing micro-pitting and accelerating corrosion. Furthermore, wiping a 400°C tip on a wet sponge causes a rapid thermal shock that can micro-fracture the iron plating over time.
The 2026 Upgrade: Discard the cellulose sponge and replace it with a brass wire sponge (often sold as a 'tip tinner/cleaner'). Brass is softer than the iron plating, so it will not scratch the tip, but it is abrasive enough to shear off oxidized flux and burnt rosin without dropping the tip's core temperature.
End-of-Session Tinning Protocol
Never turn off your WLC100 and walk away. As the station powers down and the temperature drops through the 200°C to 150°C range, the tip is highly susceptible to rapid atmospheric oxidation.
- Step 1: Clean the tip in the brass wool to remove all burnt flux.
- Step 2: Apply a generous, thick blob of 63/37 (eutectic) or SAC305 lead-free solder, completely encasing the working end of the tip.
- Step 3: Turn the base station dial to zero and unplug it.
- Step 4: Allow the iron to cool with the sacrificial solder blob intact. This layer takes the oxidative hit instead of your tip's iron plating. When you next power on the station, simply wipe this sacrificial layer away once it melts.
Base Station Contact Cleaning
If your WLC100 exhibits intermittent heating (the iron heats up, then suddenly drops in temperature without touching the dial), the internal variable resistor (potentiometer) inside the base station may have accumulated carbon dust or flux vapors.
To resolve this, unplug the station, open the base housing (usually secured by two Phillips screws on the bottom), and locate the rear of the power dial. Spray a small burst of DeoxIT D-Series contact cleaner into the potentiometer slots. Rotate the dial back and forth from 1 to 5 twenty times to distribute the cleaner and scrape away internal oxidation. Reassemble the unit, and your smooth, continuous power delivery will be restored.
Final Thoughts on WLC100 Longevity
The Weller WLC100 is an analog workhorse that rewards proper care with decades of service. By understanding its duty-cycle limitations, verifying the 360-ohm element resistance during diagnostics, and strictly adhering to a brass-wool and sacrificial-tinning maintenance routine, you will eliminate 95% of common soldering defects. For further reading on tool calibration and ESD-safe workbench setups, always refer to the official Weller Tools portal and your local IPC certification guidelines.