
The Reality of Budget Transformer Soldering Guns
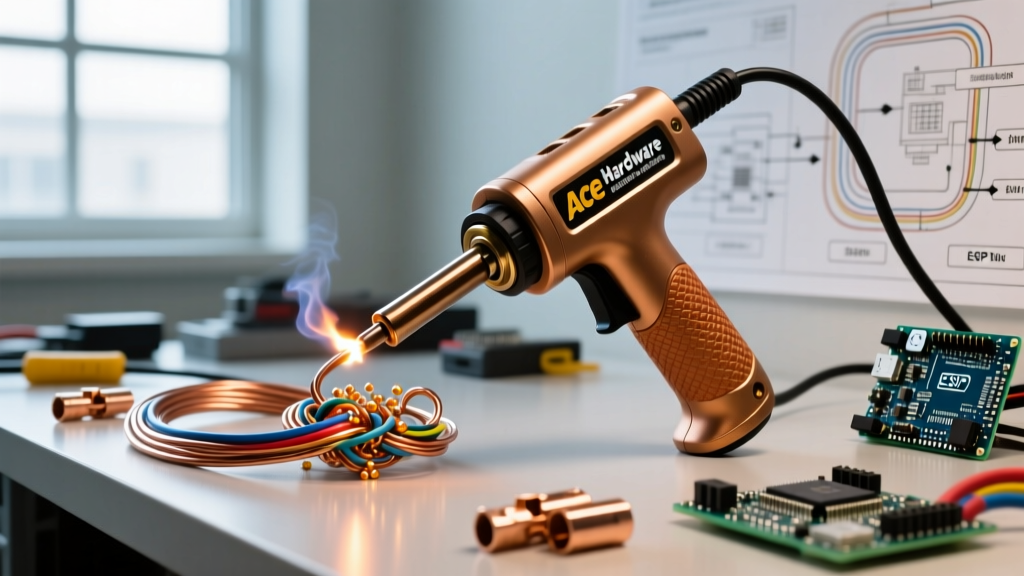
Harbor Freight’s lineup of transformer-based soldering tools—most notably the Chicago Electric 140W Dual Heat Soldering Gun (Item 60424) and the 200W Heavy Duty Soldering Gun—are ubiquitous in DIY garages, automotive shops, and stained-glass studios. Retailing between $19.99 and $29.99 in 2026, they offer massive thermal output for heavy-gauge wires and plumbing. However, their budget manufacturing tolerances mean they are highly susceptible to specific failure modes that premium brands like Weller or Hakko simply do not experience.
Unlike ceramic-heater soldering stations that use closed-loop temperature control, a soldering gun operates on a raw step-down transformer principle. Pulling the trigger energizes the primary coil, inducing a massive, low-voltage, high-amperage current (often exceeding 150 amps) through the secondary copper loop and the tip. When these tools fail, it is rarely a complex microelectronic fault; it is almost always a mechanical, thermal, or galvanic issue. This guide provides deep-level troubleshooting and maintenance protocols to keep your Harbor Freight soldering gun operational for years.
Diagnostic Flowchart: Why Your Gun Won't Heat
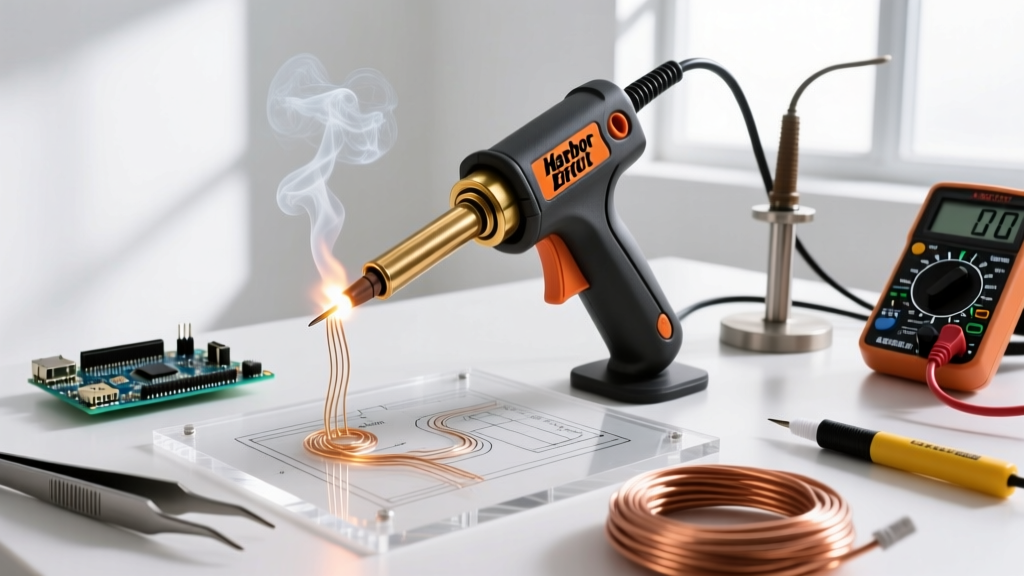
Before opening the casing, you must isolate the fault. Grab a digital multimeter (DMM) and follow this diagnostic sequence:
- Visual Inspection: Check the power cord for fraying near the strain relief. Inspect the tip retaining nuts for severe oxidation or melting.
- Tip Resistance Test: Set your DMM to the lowest ohms range (or continuity mode). Place probes on the two copper posts where the tip mounts. Expected reading: <0.5 Ω (near short). If open (OL), the tip is cracked or the internal secondary bus bar is severed.
- Trigger Switch Test: Unplug the gun. Open the housing. Place DMM probes on the switch terminals. Pull the trigger. Expected reading: 0.0 Ω. If it fluctuates or reads OL, the switch has carbon buildup or failed contacts.
- Primary Coil Test: With the gun unplugged and switch verified, test the two wires leading from the switch to the primary transformer winding. Expected reading: 10 Ω to 25 Ω. If OL, the primary winding is burnt open (fatal failure).
Top 3 Failure Modes and Step-by-Step Fixes
1. The 'Loose Nut' Arcing and Pitting Syndrome
The most common complaint with the Chicago Electric soldering guns is a buzzing sound, visible electrical arcing at the tip base, and rapid pitting of the copper tip. This is caused by a combination of thermal expansion and galvanic corrosion.
The stock retaining nuts on Harbor Freight guns are typically made of cheap steel or zinc-plated pot metal. When mated with a copper tip and exposed to acidic flux fumes and 400°F+ heat, a galvanic cell forms. The steel nut corrodes, creating a high-resistance oxide layer. The gun compensates by arcing across the gap, which pits the tip and melts the surrounding plastic housing.
The Expert Fix:
- Remove the stock nuts and discard them.
- Clean the copper contact posts with 400-grit emery cloth until bright.
- Replace the stock nuts with #8-32 solid brass nuts (available in the specialty fastener aisle of any hardware store for about $1.50). Brass resists galvanic corrosion with copper and maintains high electrical conductivity under thermal cycling.
- Apply a micro-drop of high-temperature anti-seize compound to the threads (avoiding the electrical contact faces) to prevent seizing.
2. Intermittent Trigger Switch (Carbon Buildup)
The internal mechanical trigger switch is rated for high inrush currents, but budget contacts degrade quickly. When the switch arcs internally, it deposits carbon, leading to intermittent heating or a requirement to 'pump' the trigger to get heat.
The Expert Fix:
- Unplug the tool and remove the four Phillips-head screws securing the ABS plastic clamshell.
- Carefully pry the switch out of its molded housing.
- Spray the internal actuator gap with DeoxIT D5 Contact Cleaner. Do not use standard WD-40, which leaves a dielectric residue.
- Actuate the switch 50 times to wipe the contacts clean.
- If the switch is physically melted or the internal spring is broken, splice in a replacement 15A 125V AC snap-action microswitch (e.g., Cherry or Omron equivalents, costing ~$4).
3. Melted Internal Bobbins and Transformer Burnout
Transformer soldering guns are not designed for continuous duty cycles. Leaving the trigger depressed for more than 45 seconds causes the primary coil to overheat, melting the internal plastic bobbin and eventually shorting the fine copper magnet wire.
⚠️ CRITICAL WARNING: If you smell burning ozone, acrid plastic, or see brown weeping resin from the transformer core, unplug the unit immediately. A shorted primary winding can bypass the internal thermal fuse (if equipped) and present a severe 120V shock hazard to the user. Do not attempt to rewind a budget transformer; the unit must be recycled.
Preventative Maintenance Matrix
To maximize the lifespan of your Harbor Freight soldering gun, implement this maintenance schedule. Heavy users (automotive wire harnessing, weekly plumbing) should adhere to the 'Professional' timeline.
| Interval | Maintenance Task | Tools Required | Purpose |
|---|---|---|---|
| Every Use | Wipe tip with dry brass sponge | Brass sponge | Removes oxidized solder and acidic flux residue without thermal shock. |
| Weekly | Inspect retaining nut torque | 1/4" Nut driver | Thermal cycling loosens nuts; re-torque to prevent arcing. |
| Monthly | Re-tin the copper tip loop | Rosin-core solder (60/40) | Prevents the bare copper loop from oxidizing and pitting away. |
| Bi-Annually | Open housing and blow out copper dust | Compressed air | Prevents conductive dust from bridging primary/secondary isolation. |
Information Gain: Modding for Better Thermal Transfer
The stock tip wire provided in the Harbor Freight blister pack is often a thin, high-impedance copper alloy that struggles to transfer heat to large ground planes or heavy 10 AWG automotive wires.
The Mod: Source a spool of 8 AWG or 6 AWG bare solid copper grounding wire. Bend it into a U-shape matching your required tip profile. Because the cross-sectional area is vastly larger than the stock tip, the electrical resistance drops, reducing localized I²R heating at the tip base and pushing more thermal energy directly into the workpiece. This single $3 modification effectively turns a $20 Chicago Electric gun into a heavy-duty lug-soldering beast capable of handling 4/0 AWG battery cables.
Industry Standards and Application Boundaries
While Harbor Freight soldering guns excel at heavy electrical and mechanical joints, they are fundamentally incompatible with modern printed circuit boards (PCBs).
According to the IPC J-STD-001 requirements for soldered electrical and electronic assemblies, temperature control and thermal profiling are mandatory to prevent pad delamination, thermal shock to surface-mount components, and flux burn-off. A transformer gun outputs uncontrolled, massive thermal spikes that will instantly lift copper traces from FR4 fiberglass substrates.
Furthermore, safety protocols must be observed. As outlined by Cornell University Environmental Health and Safety, the vaporization of rosin fluxes releases colophony fumes, which are known respiratory sensitizers. Because soldering guns operate at much higher, unregulated tip temperatures than ceramic stations, they aerosolize flux at a significantly higher rate. Always use localized HEPA/activated carbon fume extraction when operating a high-wattage transformer gun indoors.
Final Verdict: Maintain or Upgrade?
If your Harbor Freight soldering gun suffers from a burnt primary transformer or a shattered internal core, it is time to recycle it. However, if the issue is a dead switch, pitted tip, or arcing nuts, a $5 investment in DeoxIT, brass fasteners, and a replacement microswitch will restore the tool to factory-new condition. For heavy wire, stained glass, and automotive harnesses, a properly maintained Chicago Electric gun remains one of the highest-ROI tools in the DIY electrical arsenal.