
The Anatomy of a Perfect Wire Joint
Learning how to solder wires together seems like a fundamental skill, but achieving a high-reliability joint that survives vibration, thermal cycling, and electrical load requires a deep understanding of your consumables. A perfect solder joint is not just glue; it is a metallurgical bond. When molten solder meets copper wire, an Intermetallic Compound (IMC) layer—specifically Cu6Sn5—forms at the boundary. This IMC layer is what creates the electrical and mechanical connection.
If you use the wrong flux, the oxidation on the copper prevents this IMC formation, resulting in a cold joint. If you choose an alloy with the wrong melting profile, you risk damaging the wire insulation or creating a brittle connection. In this guide, we break down the exact consumables and techniques required to solder wires together to professional and aerospace standards.
Choosing the Right Solder Alloy for Wire Splicing
The diameter of your solder wire and its alloy composition must match the American Wire Gauge (AWG) of the conductors you are joining. Using 0.5mm solder on an AWG 12 automotive wire will result in insufficient thermal transfer and a starved joint. Conversely, using thick 1.5mm solder on AWG 26 signal wire will lead to messy blobs and potential short circuits.
| Alloy Composition | Melting Point | Best Application | Recommended Wire Diameter |
|---|---|---|---|
| Sn63Pb37 (Eutectic) | 183°C (361°F) | Precision electronics, quick wetting, no plastic phase | 0.8mm for AWG 24-20 |
| Sn60Pb40 | 183-190°C | General DIY, automotive, budget-friendly splicing | 1.0mm for AWG 18-14 |
| SAC305 (Lead-Free) | 217-220°C | RoHS compliant, high-temp environments, commercial | 1.2mm for AWG 14-10 |
For most hobbyist and professional bench work, Sn63Pb37 (63/37) is the gold standard. Because it is eutectic, it transitions from liquid to solid instantly at 183°C. This eliminates the 'plastic phase' found in 60/40 alloys, where the solder is semi-solid and highly susceptible to cracking if the wire is bumped during cooling.
Flux Selection: The Unsung Hero of Wire Soldering
You cannot successfully solder wires together without the correct flux. Flux dissolves copper oxide, allowing the molten alloy to wet the strands. However, using the wrong type of flux can lead to long-term corrosion or dendritic growth.
- Rosin Mildly Activated (RMA): The industry standard for wire splicing. Products like Kester 186 or standard rosin-core solder wire provide excellent wetting and leave a benign, non-conductive residue. According to Kester's technical data, RMA fluxes are ideal for standard copper conductors.
- No-Clean Flux: Leaves a minimal, clear residue that does not require cleaning. Ideal for tight harnesses where washing the wires with isopropyl alcohol (IPA) is impossible. Ensure the no-clean core is at least 2% by weight to guarantee enough flux action for thick stranded wires.
- Water-Soluble (Organic Acid): Highly aggressive and excellent for heavily oxidized wires. However, it must be washed off with distilled water immediately after soldering, or the acidic residue will eat through the copper strands over time.
CRITICAL WARNING: Never use plumbing paste flux or 'acid core' solder meant for copper pipes on electrical wires. The chlorides and zinc in plumbing flux will cause rapid galvanic corrosion, turning your wire joint into a high-resistance green powder within months.
Step-by-Step: How to Solder Wires Together Properly
Follow the guidelines set forth by the IPC J-STD-001 standard for soldered electrical assemblies to ensure maximum mechanical and electrical integrity.
Step 1: Mechanical Preparation and Stripping
Strip the wire insulation back by about 1/4 to 3/8 of an inch. Use precision wire strippers that match the AWG size to avoid nicking the copper strands. A nicked strand creates a stress riser, making the wire prone to snapping under vibration. If the copper is heavily tarnished, lightly scrape it with a fiberglass scratch pen or brass wool—never use sandpaper, which embeds abrasive grit into the copper.
Step 2: Pre-Tinning the Strands
Before twisting the wires together, you must tin them individually. Apply your iron (set to 350°C for 63/37 alloy) to the bare strands and feed a small amount of flux-core solder into the wire. Capillary action will draw the solder between the strands. The wire should look shiny and silver, with no excessive blobs at the tip. Pro Tip: Keep the solder away from the insulation to prevent wicking under the jacket, which makes the wire stiff and prone to breaking at the joint.
Step 3: The Lineman's Splice
For solid mechanical strength before the solder even flows, cross the tinned wires and twist them together using a Lineman's splice (or Western Union splice for solid core). This ensures that the mechanical tension is borne by the copper, not the solder. Solder is relatively brittle and should never be relied upon as the primary mechanical fastener.
Step 4: Heating and Flowing the Solder
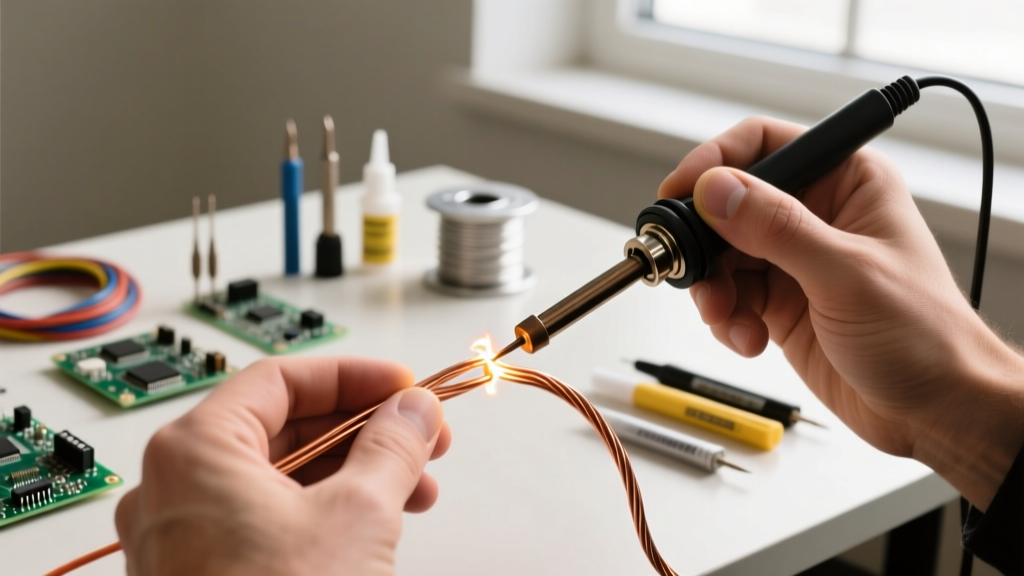
Place the flat of your chisel or bevel iron tip directly against the twisted joint. Do not melt the solder on the iron and carry it to the wire. As detailed in SparkFun's comprehensive soldering tutorials, transferring molten solder on the tip burns off the flux before it reaches the joint. Instead, heat the wire for 1-2 seconds, then touch your solder wire to the joint itself. When the joint reaches the melting point, the solder will flash and flow smoothly into the splice.
Troubleshooting Common Wire Soldering Defects
Even experienced technicians encounter issues when they solder wires together. Here is how to diagnose and fix the most common consumable-related failures:
- The Cold Joint (Grainy/Dull Appearance): Caused by insufficient heat or a lack of flux. The solder did not properly wet the copper. Fix: Apply a drop of external liquid RMA flux, reheat with a higher-wattage iron, and add a touch of fresh solder.
- Solder Wicking Under Insulation: Caused by using too much solder or holding the iron on too long, allowing the flux to boil and pull solder under the jacket via capillary action. Fix: Use less solder and rely on a sharper, hotter tip to reduce dwell time.
- Burnt Flux Residue (Black/Crusty): Caused by iron temperatures exceeding 400°C, which carbonizes the rosin core. Fix: Lower your iron temperature to 320-350°C and clean the tip with damp brass wool.
Finishing the Joint: Heat Shrink and Insulation
Once the joint is formed and cooled, it must be protected from moisture and short circuits. Electrical tape is a temporary, amateur solution that unravels over time. Instead, slide a piece of adhesive-lined, dual-wall polyolefin heat shrink tubing over the joint before you begin soldering. Once the joint is cool, center the tubing and apply heat. The inner layer of hot-melt adhesive will melt and seal the joint, providing strain relief and complete environmental protection against humidity and vibration.