
The Metallurgy of Wire Soldering: Why Flux is Non-Negotiable
Soldering wire is fundamentally a metallurgical process, not merely a mechanical one. When you join two copper conductors, you are relying on the formation of an intermetallic compound (IMC) between the solder alloy and the base metal. However, copper oxidizes rapidly when exposed to air, forming a microscopic layer of copper oxide (CuO and Cu2O). This oxide layer acts as a barrier, preventing the molten solder from wetting the wire. This is exactly why selecting and applying the correct flux for soldering wire is the most critical step in achieving a reliable electrical connection.
According to the IPC J-STD-004 standard governing flux requirements for electronics, flux serves three primary chemical functions: it removes existing oxides, prevents re-oxidation during the heating phase, and reduces the surface tension of the molten solder to promote capillary action. Skipping flux, or relying solely on the rosin core inside your solder wire, often results in high-resistance joints, mechanical fragility, and eventual field failure. In this comprehensive tutorial, we will break down the exact methodology for fluxing, tinning, and soldering wire joints to meet professional and aerospace-grade benchmarks.
Choosing the Right Flux for Soldering Wire
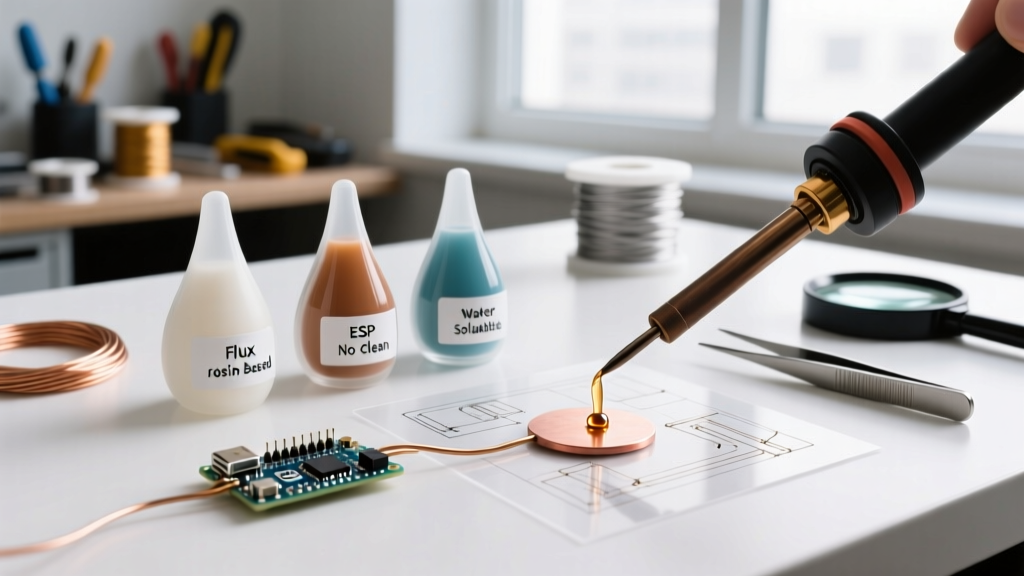
Not all fluxes are created equal. The chemistry of your flux must match the oxidation level of your wire, the alloy you are using, and your post-soldering cleaning capabilities. Below is a comparative matrix of the three primary flux chemistries used in modern wire harnessing and DIY electronics.
| Flux Type | Base Chemistry | Activity Level | Cleaning Required? | Best Application | 2026 Market Example & Avg Price |
|---|---|---|---|---|---|
| Rosin (RMA) | Abietic Acid (Pine Sap) | Moderate | Optional (Recommended) | General DIY, automotive wiring, thick gauge | Kester 186 Liquid (~$16 / 2oz) |
| Water-Soluble (OA) | Organic Acid | High | Mandatory (DI Water) | Heavily oxidized wire, vintage restoration | MG Chemicals 8341 (~$19 / 100g) |
| No-Clean | Synthetic Resin | Low | No | PCB jumpers, delicate AWG, quick repairs | Chip Quik NC191 (~$13 / Syringe) |
Deep Dive: When to Use Which?
For standard 22 AWG to 14 AWG stranded copper wire in good condition, a No-Clean or mild Rosin (RMA) flux is ideal. These provide enough activity to ensure wetting without leaving highly corrosive residues. However, if you are working with older wire that has darkened, or if you are soldering heavy-gauge battery cables (e.g., 4 AWG or 2 AWG) where thermal mass makes reaching activation temperatures difficult, a Water-Soluble (Organic Acid) flux is necessary. The aggressive OA chemistry will strip heavy tarnish instantly, but you must clean the joint with distilled water and a brush afterward to prevent long-term galvanic corrosion.
Step-by-Step Tutorial: Fluxing and Soldering Wire Joints
Follow this precise workflow to ensure optimal wetting and structural integrity. This methodology aligns with the workmanship criteria outlined in the NASA Electronic Parts and Packaging (NEPP) Program for high-reliability soldering.
Step 1: Mechanical Preparation and Stripping
Before any flux touches the wire, mechanical prep is required. Strip the wire insulation to the correct length. For a standard Western Union splice on 22 AWG wire, strip exactly 1/2 inch (12.7mm) of insulation. For a lap joint or terminal crimp-solder, 1/4 inch (6.35mm) is usually sufficient. Twist the strands of stranded wire tightly to prevent fraying, which can cause solder bridges or sharp protrusions that pierce heat shrink tubing later.
Step 2: Pre-Fluxing and Pre-Tinning (The Secret to Success)
Never apply solder directly to a cold, unfluxed wire.
- Dip the exposed, twisted wire strands directly into your liquid or paste flux for soldering wire. Ensure the flux penetrates between the individual strands via capillary action.
- Set your soldering station temperature. For leaded Sn63/Pb37 solder, set the tip to 320°C (608°F). For lead-free SAC305, increase to 360°C (680°F).
- Touch the hot, clean iron tip to the fluxed wire. The flux will activate (smoke and bubble). Immediately feed your solder wire into the junction of the wire and the iron, not directly onto the iron tip.
- Allow the solder to wick through the strands. Stop when the wire looks uniformly silver and the individual strands are no longer visible. This is your "pre-tinned" wire.
Step 3: Splicing and Final Soldering
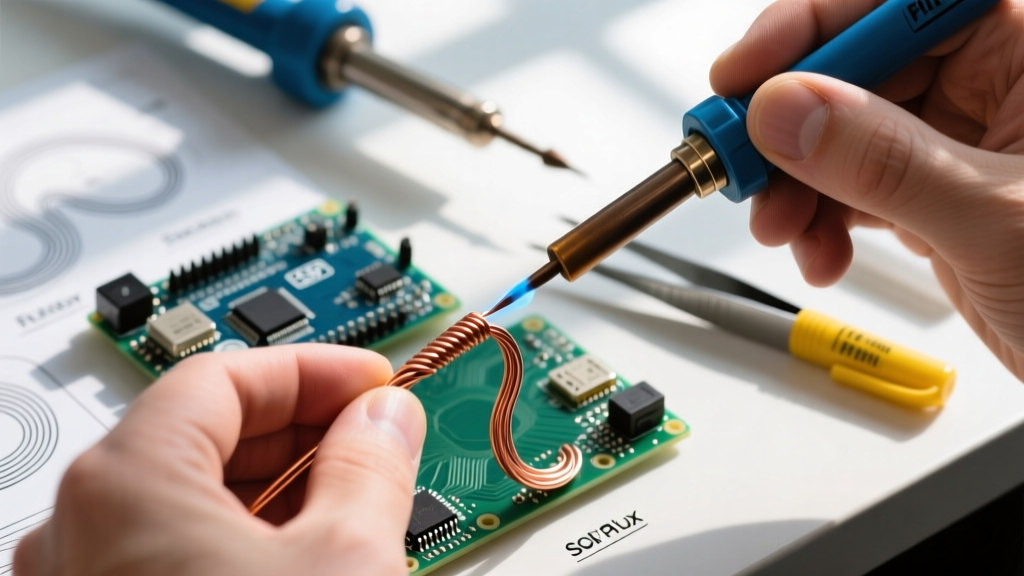
If you are joining two wires, mechanically interlock the pre-tinned wires (e.g., twisting them together in a Western Union splice). Because both wires are already tinned, you do not strictly need to add more flux, but applying a tiny dab of no-clean paste flux over the mechanical splice will guarantee a flawless reflow. Apply the iron to the top of the splice. The pre-existing solder will melt and flow into the mechanical gaps within 2 to 3 seconds. Remove the heat and hold the wires perfectly still for 3-5 seconds until the solder solidifies. Moving the wire while the solder is in its "plastic" (semi-solid) state will cause a cold, fractured joint.
Step 4: Inspection and Cleaning
Inspect the joint. A proper solder joint should be shiny (for leaded) or smooth and slightly dull/grainy (for lead-free). It should exhibit a smooth concave fillet where the solder meets the insulation. If you used a Water-Soluble (OA) flux, immediately scrub the joint with a stiff brush and distilled water or isopropyl alcohol (99% IPA) to remove the acidic residue. If you used No-Clean, simply wipe away any excess sticky residue with a lint-free swab if aesthetics demand it.
Expert Workbench Tip: Keep a damp cellulose sponge and a coiled brass wire tip cleaner on your bench. Wipe your iron tip on the brass wire before every single wire joint. A flux-crusted tip has terrible thermal transfer and will force you to hold the iron on the wire longer, melting the PVC insulation and releasing toxic hydrochloride gas.
Troubleshooting Common Flux-Related Wire Failures
Even experienced technicians encounter issues when the flux chemistry or application technique is misaligned with the task. Here is how to diagnose and fix the three most common wire soldering failures.
1. Solder Splattering and Popping
The Cause: This almost always happens when using water-soluble or high-activity liquid fluxes. The flux contains moisture or volatile solvents that flash-boil when they hit a 360°C iron tip, causing microscopic explosions that throw hot solder onto your skin or workbench. The Fix: Apply the flux and let it sit for 10-15 seconds to allow solvents to off-gas before applying heat. Alternatively, switch to a thicker gel or paste flux, which traps the solvents and releases them more gradually during the heating ramp-up.
2. The "Cold" or "Disturbed" Joint
The Cause: The joint looks dull, lumpy, or cracked. This occurs when the flux was exhausted (burned off) before the solder fully wetted the wire, or when the thermal mass of the wire was too high for the iron tip, resulting in a prolonged dwell time that destroyed the flux's protective barrier, allowing instant re-oxidation. The Fix: Use a wider iron tip (like a bevel or large chisel) to maximize surface area contact. Apply fresh flux after the mechanical splice is made, right before reflowing. Never use a pinpoint conical tip for thick wires; it lacks the thermal recovery to keep the flux active.
3. Solder Refusing to Wick (Balling Up)
The Cause: The solder forms a ball on the iron tip and rolls off the wire without sticking. This means the copper oxide layer is too thick for your current flux to penetrate. The Fix: You are likely using a mild No-Clean flux on heavily tarnished wire. Switch to an aggressive Organic Acid (OA) water-soluble flux, or mechanically clean the wire with fine-grit sandpaper or a fiberglass scratch pen before applying your standard RMA flux.
2026 Workbench Safety and Fume Extraction
When heating any flux for soldering wire, the rosin or synthetic resins vaporize into colophony fumes. While the solder alloy itself (even leaded) does not vaporize at these temperatures, the flux fumes are a known respiratory sensitizer and can cause occupational asthma with chronic exposure. According to NIOSH guidelines on soldering fume management, relying on a simple desk fan to blow smoke away is insufficient and actually spreads particulate matter across your workspace.
For a modern 2026 workbench, invest in a localized HEPA and activated carbon fume extractor positioned within 6 inches of the soldering zone. If you are doing high-volume wire harnessing, consider switching entirely to low-solids, synthetic no-clean fluxes, which generate significantly less visible smoke and contain fewer volatile organic compounds (VOCs) than traditional pine-based rosin fluxes. Always wear ANSI-rated safety glasses; as noted in our troubleshooting section, flux splatter is a real hazard that can cause severe ocular injury.
Final Thoughts
Mastering the application of flux for soldering wire transforms your connections from fragile mechanical wraps into robust, low-resistance metallurgical bonds. By matching your flux chemistry to the wire condition, strictly controlling your temperature profiles, and adhering to proper pre-tinning workflows, you will achieve joints that pass IPC Class 3 inspection standards every time. Keep your tips clean, respect the chemistry, and let the flux do the heavy lifting.