
The Physics of Desoldering: Why Tool Choice Matters in 2026
Removing components from a printed circuit board (PCB) is fundamentally more destructive than placing them. When clearing Plated Through-Holes (PTH), you are fighting capillary action, surface tension, and the rapid thermal dissipation of multi-layer ground planes. As board densities increase and lead-free SAC305 alloys become the absolute standard, the thermal requirements for rework have skyrocketed. Leaded solder (Sn63/Pb37) melts at 183°C, but SAC305 requires liquidus temperatures around 217°C, meaning your tool must deliver sustained heat at 350°C to 380°C without oxidizing the tip or lifting the copper pad.
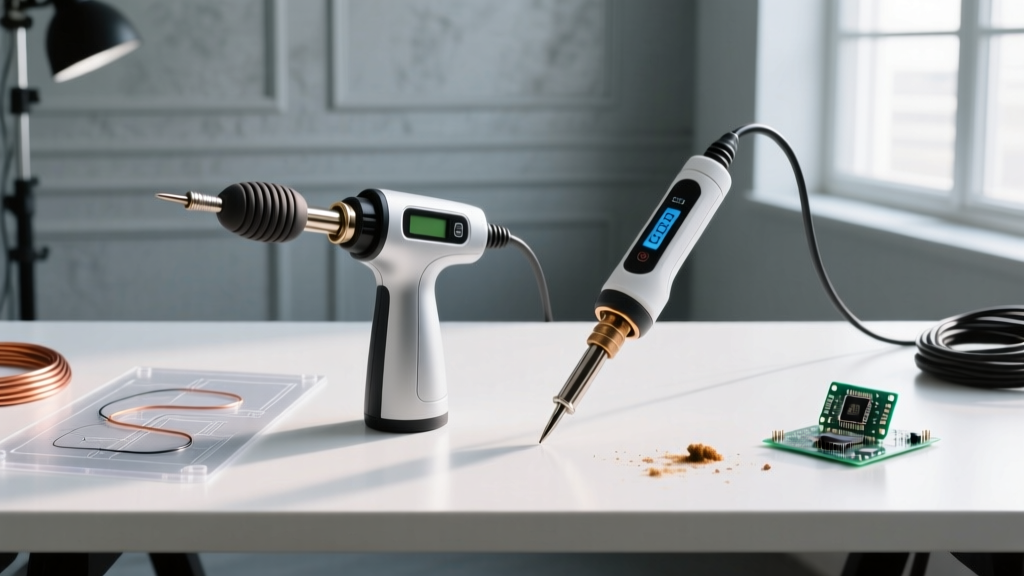
When evaluating a desoldering pump, new soldering tools on the market offer vastly different approaches to solving this thermal and mechanical challenge. The two dominant methodologies on the professional bench are the high-end manual spring-loaded pump and the integrated electric vacuum desoldering iron. This guide provides a deep-dive method comparison to help you choose the right rework solution for your specific workflow.
Method 1: High-End Manual Desoldering Pumps
Forget the $3 plastic pumps included in beginner kits; they feature weak springs and rubber diaphragms that degrade after a dozen uses. The professional standard for manual extraction is the Engineer SS-02 (or the Edsyn DS017). Priced around $28 to $35, these tools utilize a specialized PTFE (Teflon) tube at the nozzle and a high-durability silicone rubber diaphragm.
Operational Realities and Edge Cases
- Suction Mechanics: The SS-02 generates approximately 400 mmHg of suction pressure. This is sufficient to clear standard 0.8mm vias on 2-layer boards.
- Thermal Independence: Because the pump is separate from your soldering iron, you can use a high-wattage iron (like a 150W JBC or Hakko FX-951) to melt the joint, then quickly apply the pump. This allows for massive thermal recovery.
- The 'Two-Hand' Bottleneck: The primary limitation is ergonomics. You must hold the iron in one hand and the pump in the other, requiring you to remove the iron from the joint to position the pump. During this 1-to-2-second transition, the solder in the PTH barrel can begin to solidify, leading to incomplete extraction.
Method 2: Electric Vacuum Desoldering Irons
Electric vacuum irons integrate a ceramic heating element and a motorized diaphragm vacuum pump into a single handpiece. The industry benchmark is the Hakko FR-301, retailing between $180 and $220. For high-volume manufacturing, pneumatic stations like the Hakko FR-410 ($1,000+) are used, but the FR-301 remains the king of the advanced DIY and repair bench.
Operational Realities and Edge Cases
- Continuous Thermal Application: The FR-301 features a 140W-equivalent ceramic heater that reaches 450°C in under 20 seconds. Because the heating element and the vacuum nozzle are one and the same, you keep the solder molten right up to the millisecond the vacuum triggers.
- One-Handed Operation: You heat the joint, press the trigger, and the molten solder is instantly sucked through the PTFE tube into a collection chamber. This eliminates the thermal drop-off seen in manual two-handed methods.
- Maintenance Overhead: Electric irons require strict filter maintenance. Solder flux vaporizes and condenses inside the handpiece. If the internal B5061 paper filters are not replaced regularly, the pump will suffer 'asphyxiation,' resulting in a total loss of suction.
Head-to-Head Comparison Matrix
| Feature | Manual Pump (Engineer SS-02) | Electric Vacuum Iron (Hakko FR-301) |
|---|---|---|
| Suction Mechanism | Spring-loaded mechanical piston | Motorized internal diaphragm pump |
| Thermal Delivery | Dependent on external iron (High potential) | Integrated 140W ceramic heater (Consistent) |
| Operation Style | Two-handed (Iron + Pump) | One-handed (All-in-one tool) |
| Maintenance Cost | Low ($12 for replacement diaphragm every 2 years) | Moderate ($15 for filter packs every 3-6 months) |
| Ideal Use Case | Occasional rework, heavy ground planes (with high-W iron) | High-volume PTH extraction, multi-layer DIP/IC removal |
| Approx. 2026 Price | $28 - $35 | $195 - $220 |
Critical Failure Modes and Troubleshooting
According to the rework guidelines outlined in the IPC-7711/7721 standard, pad lifting and barrel cracking are the most catastrophic failures during desoldering. Understanding how your chosen tool contributes to these failures is critical.
Thermal Starvation and Pad Lifting
When using a manual pump on a 4-layer board with internal ground planes, the copper acts as a massive heatsink. If your external iron is only 40W, the solder inside the via barrel will remain solid even if the surface pad is molten. When you apply the mechanical shock of the manual pump, the physical force will rip the copper pad off the fiberglass substrate. Solution: Always use a pre-heater (set to 120°C) under the PCB when desoldering multi-layer boards, regardless of the pump type.
Filter Asphyxiation in Vacuum Irons
A common failure mode with the Hakko FR-301 is a sudden drop in suction power. Users often assume the motor is dying. In 95% of cases, the porous ceramic filter and the internal paper filters are clogged with carbonized rosin flux. Solution: Keep a dedicated cleaning pin (usually included) to clear the nozzle tip after every 5 joints, and replace the B5061 filter pack at the first sign of reduced airflow.
PTFE Tube Blockages
Both manual and electric tools use PTFE tubing to transport molten solder. If the solder cools inside the tube, it creates a solid blockage. Never use metal wire to clear this tube, as scratching the Teflon lining will cause future solder to stick permanently. Instead, use a 1.2mm or 1.5mm plastic drill bit or a specialized nylon cleaning rod to gently push the cold solder plug out.
Preventative Maintenance Protocols for Longevity
To maximize the lifespan of your desoldering equipment, implement the following bench protocols:
- Tip Tinning: Never leave a desoldering iron tip bare. The moment you finish a session, melt a generous amount of leaded 63/37 solder over the tip to create a sacrificial oxidation barrier. This is especially vital for the FR-301, as replacement tips (like the N61 series) cost upwards of $35 each.
- Brass Wool Only: Never use a wet cellulose sponge to clean a desoldering tip. The thermal shock micro-fractures the iron plating, leading to rapid tip pitting and copper dissolution. Use dry brass wool.
- Diaphragm Lubrication: For manual pumps like the SS-02, disassemble the body once a year and apply a microscopic amount of silicone grease to the rubber O-rings to maintain the 400 mmHg vacuum seal.
Decision Framework: Which Tool Belongs on Your Bench?
Choosing between a manual pump and an electric vacuum iron comes down to volume, budget, and board complexity. For further foundational techniques, the Adafruit Desoldering Guide offers excellent visual primers on basic through-hole extraction.
Choose the Manual Pump (Engineer SS-02) If:
- You are performing occasional repairs or modifying vintage audio equipment.
- You already own a top-tier, high-thermal-mass soldering station (e.g., JBC CD-2BE) and prefer using its massive tip for melting, using the pump purely for extraction.
- Your budget is strictly under $50.
Choose the Electric Vacuum Iron (Hakko FR-301) If:
- You regularly harvest components from donor boards or repair multi-layer motherboards.
- You suffer from repetitive strain or prefer the ergonomic efficiency of one-handed rework.
- You require consistent, repeatable results on dense PTH connectors where manual two-handed coordination leads to thermal drop-off and incomplete hole clearance.
Ultimately, investing in high-quality desoldering tools pays for itself the first time you successfully remove a 64-pin DIP microcontroller from a 4-layer PCB without tearing a single trace or lifting a via barrel.