
The Hidden Economics of Speaker Soldering
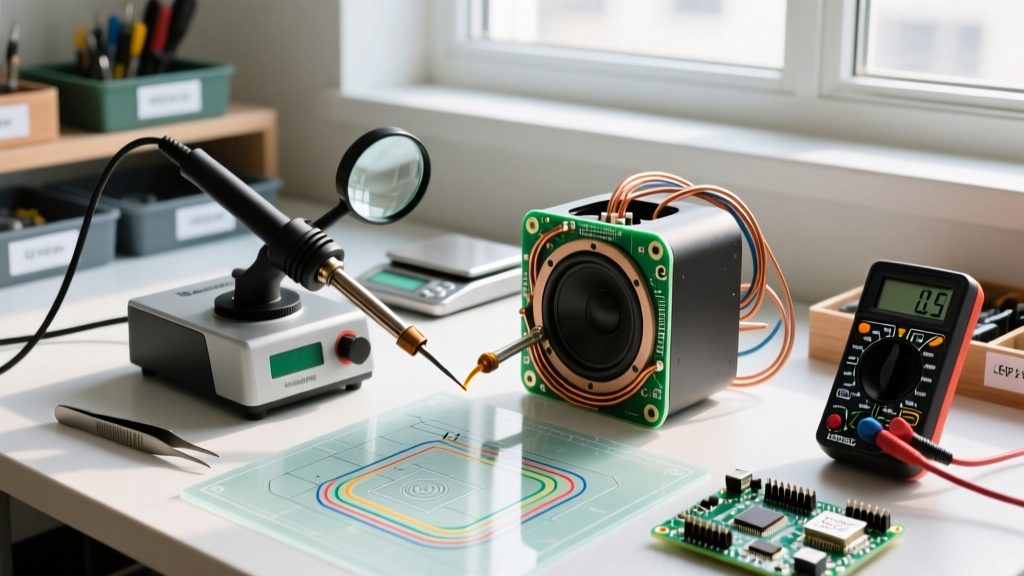
When a high-fidelity driver loses connection at the terminal or a tinsel lead fractures near the voice coil, the immediate instinct is to weigh the cost of a replacement driver against a professional repair. However, speaker soldering is a highly specialized subset of electronics assembly. The thermal mass of speaker terminals, the heat sensitivity of paper and Kevlar cones, and the mechanical stress placed on audio joints require a precise approach. As of 2026, with raw material costs for audio components rising, understanding the true cost breakdown of DIY speaker soldering versus professional bench repair is critical for audiophiles and DIY technicians alike.
The 2026 Audio Repair Reality: Replacing a mid-tier 8-inch woofer costs between $140 and $250. A professional recone and solder repair averages $95 to $135. A properly equipped DIY soldering repair costs under $18 in consumables, provided the initial capital expenditure on thermal-controlled equipment is amortized.
Capital Expenditure: Equipment & Material Cost Breakdown
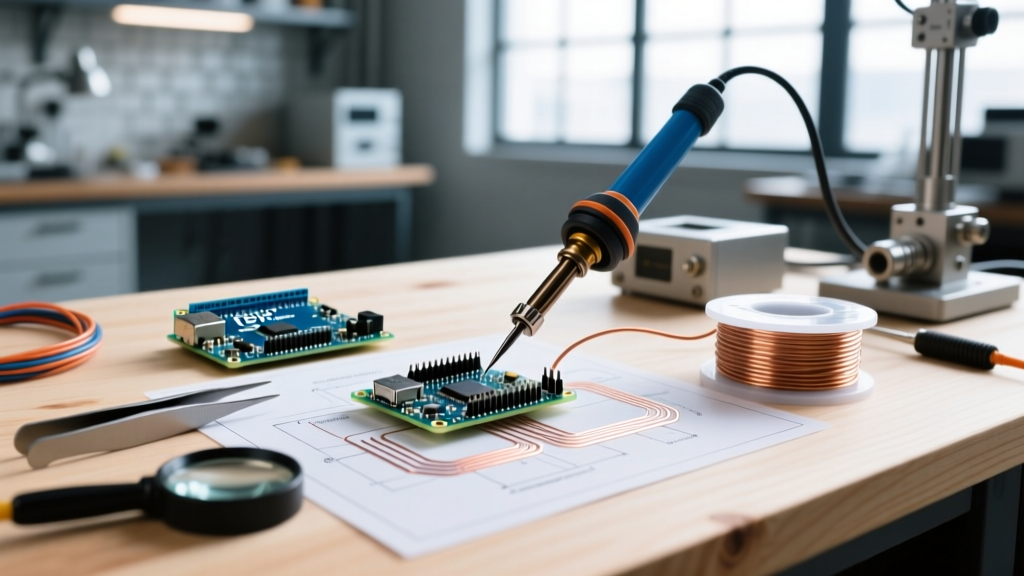
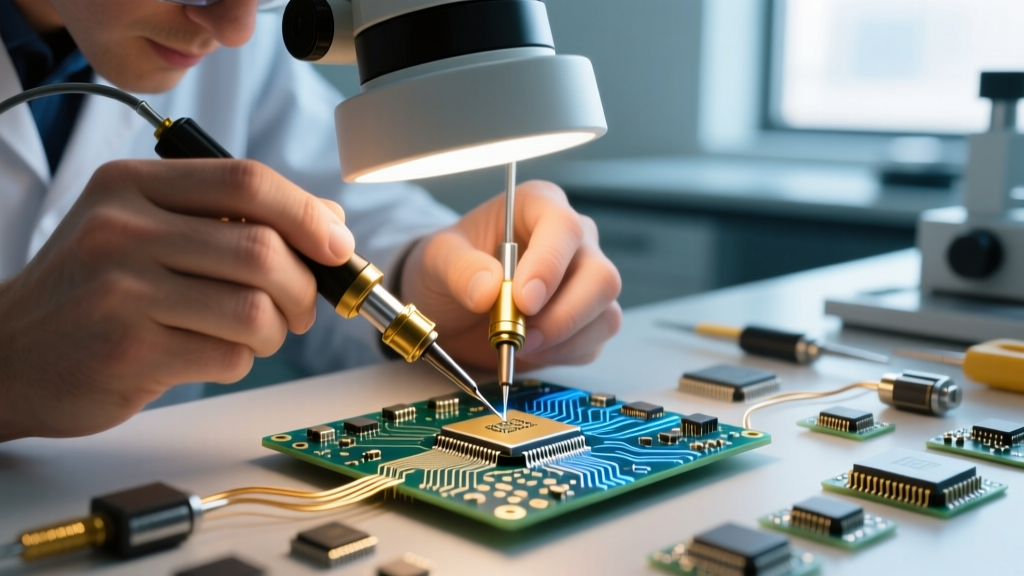
The most common financial mistake in audio repair is attempting speaker soldering with a generic, unregulated 40W pencil iron. Speaker terminals act as massive heat sinks. An unregulated iron will either fail to reflow the solder (causing cold joints) or require prolonged contact that melts the adhesive bonding the spider to the basket. Investing in a closed-loop thermal station is non-negotiable for cost-effective DIY repair.
| Equipment / Consumable | Recommended Model / Spec | Est. Cost (2026) | Lifespan & ROI Notes |
|---|---|---|---|
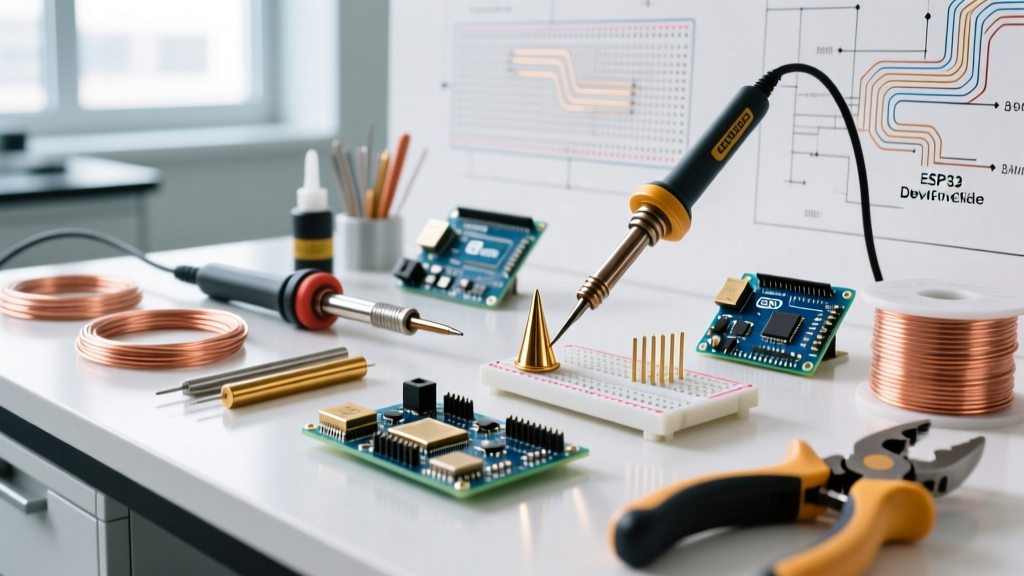
| Soldering Station | Hakko FX-888D (70W) | $115.00 | 10+ years. Rapid thermal recovery prevents heat soak on voice coils. |
| Solder Alloy | Kester 245 (63/37 Sn/Pb) | $42.00 / 1lb spool | Eutectic alloy melts at 183°C. Lower temp protects delicate cone adhesives. |
| Flux | MG Chemicals 8341 (No-Clean) | $18.50 / 100g | Crucial for oxidized brass speaker terminals. Lasts ~50 repairs. |
| Desoldering Wick | Chemtronics 20-1 (Copper) | $12.00 / 10ft | Essential for removing old factory solder without prying fragile eyelets. |
| Tip Cleaner | Hakko 599B (Brass Wire) | $14.00 | Prevents thermal shock and micro-fractures on iron plating. |
The Metallurgy of Speaker Terminals and Consumable Selection
Speaker terminals are typically stamped brass or nickel-plated steel. These materials oxidize rapidly when exposed to the high-energy environment of an amplifier signal and ambient humidity. According to the IPC-J-STD-001 standard for soldered assemblies, heavily oxidized surfaces require aggressive fluxing and precise thermal profiles to achieve proper wetting. While lead-free SAC305 solder is mandated for commercial PCB manufacturing, its higher melting point (217°C) poses a severe delamination risk to speaker cones and surround adhesives. Therefore, 63/37 Tin-Lead (Sn/Pb) eutectic solder remains the gold standard for audio repair, offering a lower melting point and superior capillary action into stranded tinsel leads.
DIY vs. Professional Speaker Repair: A Financial Matrix
Deciding whether to send a blown driver to a specialist or repair it on your own bench requires analyzing both direct costs and logistical overhead. Below is a comparative matrix for a standard terminal-to-tinsel lead solder repair on a 10-inch woofer.
- Professional Bench Repair:
- Direct Labor & Parts: $85.00 (Minimum bench fee + tinsel lead replacement)
- Shipping & Insurance: $35.00 to $55.00 (Round trip, heavily insured due to magnet weight)
- Turnaround Time: 2 to 4 weeks
- Total Out-of-Pocket: $120.00 - $140.00
- DIY Home Repair (Amortized):
- Consumables Used: ~$1.50 (Solder, flux, isopropyl alcohol)
- Replacement Parts: $8.50 (Copper-clad Kevlar tinsel lead from suppliers like Parts Express)
- Tool Amortization: ~$2.00 per repair (assuming a $150 total tool investment spread over 75 repairs)
- Turnaround Time: 45 minutes
- Total Out-of-Pocket: $12.00 (post initial tool purchase)
The Financial Impact of Thermal Damage and Cold Joints
The hidden costs of poor speaker soldering techniques manifest as catastrophic mechanical failures. When attempting to save money by using subpar tools, technicians frequently encounter edge cases that turn a $2 fix into a $200 replacement.
Edge Case 1: Tinsel Lead and Spider Soldering
The tinsel lead (the flexible wire connecting the terminal to the voice coil) is often woven through the spider (the suspension ring). If an unregulated soldering iron is held against the terminal for more than 4 seconds to force a reflow, the heat conducts down the copper lead and into the spider. This melts the cyanoacrylate or epoxy adhesive bonding the spider to the metal basket. The financial result? The voice coil shifts off-center, causing mechanical rubbing. The driver must now undergo a full recone ($110+) rather than a simple solder joint repair.
Edge Case 2: The 'Cold Joint' Audio Degradation
A cold solder joint occurs when the solder melts but fails to metallurgically bond to the speaker terminal, usually due to inadequate heat or lack of flux. In high-current audio applications (e.g., subwoofers pulling 500W+ RMS), a cold joint acts as a variable resistor. It generates localized heat, eventually arcing and burning out the terminal eyelet. Replacing a destroyed eyelet requires drilling out the terminal, which frequently damages the surrounding paper cone, totaling the driver.
Cost-Optimized Step-by-Step Soldering Workflow
To maximize your equipment ROI and prevent costly thermal damage, adhere to this strict, time-regulated soldering protocol:
- Mechanical Prep (Cost: $0.50): Scrape away any clear factory sealant from the terminal using a fiberglass scratch pen. Clean the terminal and tinsel lead with 99% isopropyl alcohol to remove acoustic damping grease.
- Chemical Fluxing (Cost: $0.20): Apply a generous drop of MG Chemicals no-clean flux to both the terminal eyelet and the stripped tinsel lead. Do not rely on the mild rosin core inside the solder wire for heavy audio terminals.
- Tinning the Iron (Cost: $0.05): At 360°C (680°F), melt a small bridge of 63/37 solder onto the Hakko tip. This creates a thermal transfer bridge, reducing the required contact time by up to 60%.
- The 3-Second Rule: Place the tinned tip against the terminal and the wire simultaneously. Feed solder into the joint (not directly onto the iron). The joint should flow and shine within 2 to 3 seconds. Remove heat immediately.
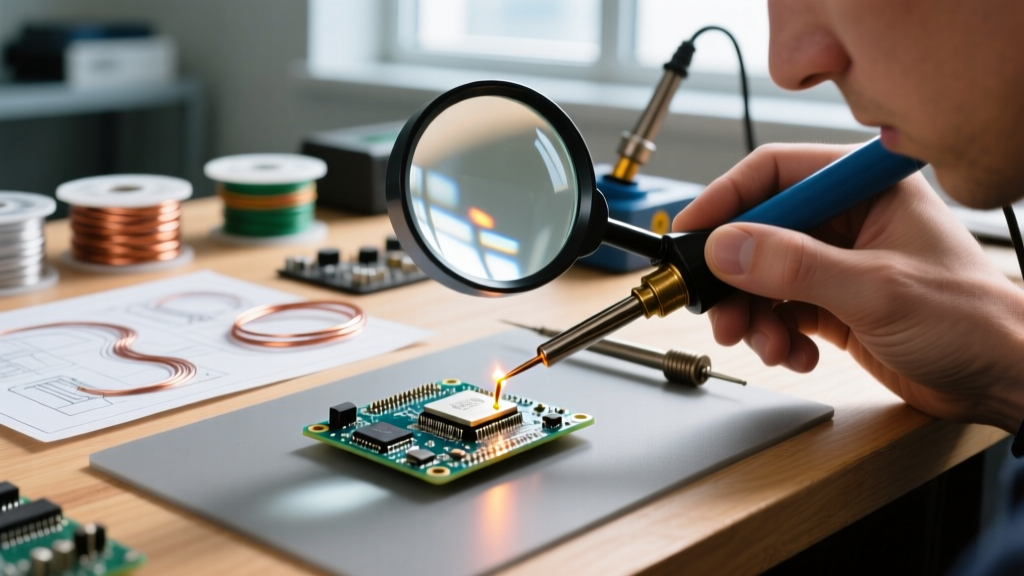
- Inspection: A proper audio solder joint will look like a smooth, shiny volcano. A dull, grainy appearance indicates a cold joint requiring immediate rework with additional flux.
Expert FAQ: Speaker Soldering Economics
Is silver-bearing solder worth the premium for high-end speakers?
While 2% silver solder (like Sn62/Pb36/Ag2) costs roughly 35% more than standard 63/37, it offers higher shear strength and resistance to thermal fatigue. For high-excursion subwoofers where mechanical vibration is extreme, the $15 premium for a silver-bearing spool is a justifiable insurance policy against joint fracturing.
Can I use a cheap 60W hardware store iron for speaker terminals?
Financially, it is a massive risk. Hardware store irons lack thermal sensors. When they touch a heavy brass speaker terminal, the tip temperature plummets. You will compensate by holding the iron in place longer, inevitably transferring destructive heat into the voice coil former and spider adhesive. The $115 investment in a closed-loop station like the Hakko FX-888D pays for itself the first time you successfully save a $200 vintage driver from thermal delamination.
How do I safely remove old factory solder without damaging the eyelet?
Never use a solder sucker (desoldering pump) on speaker terminals. The mechanical shockwave generated by the pump's spring can crack the fragile phenolic resin or fiberglass voice coil former hidden beneath the terminal. Always use copper desoldering braid saturated with fresh flux to gently wick away the old alloy via capillary action.