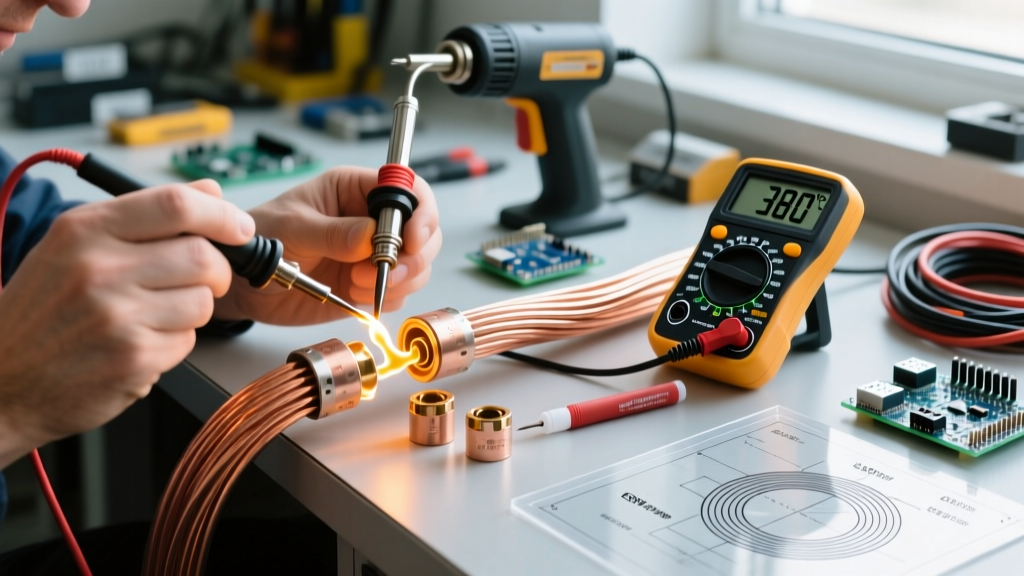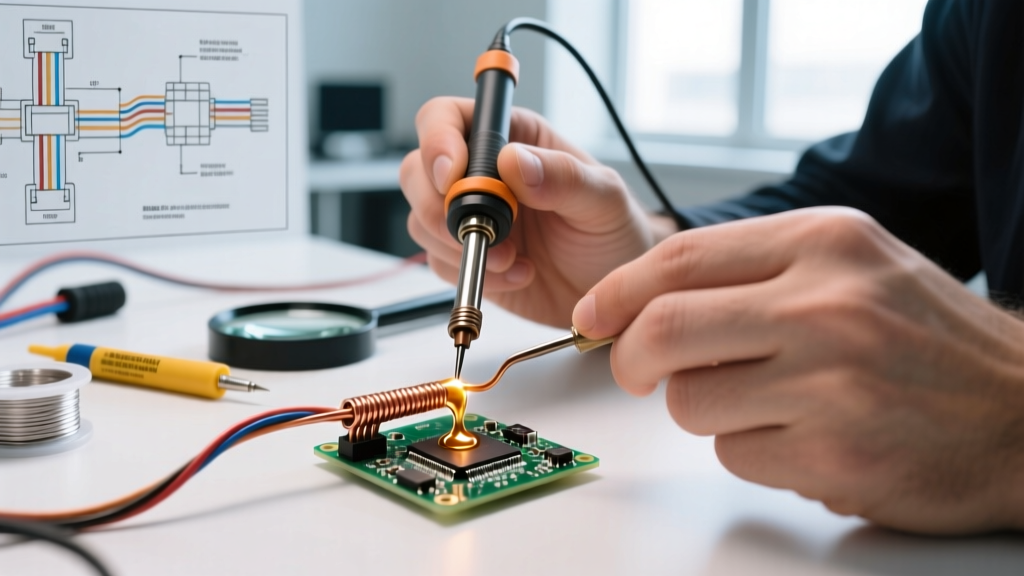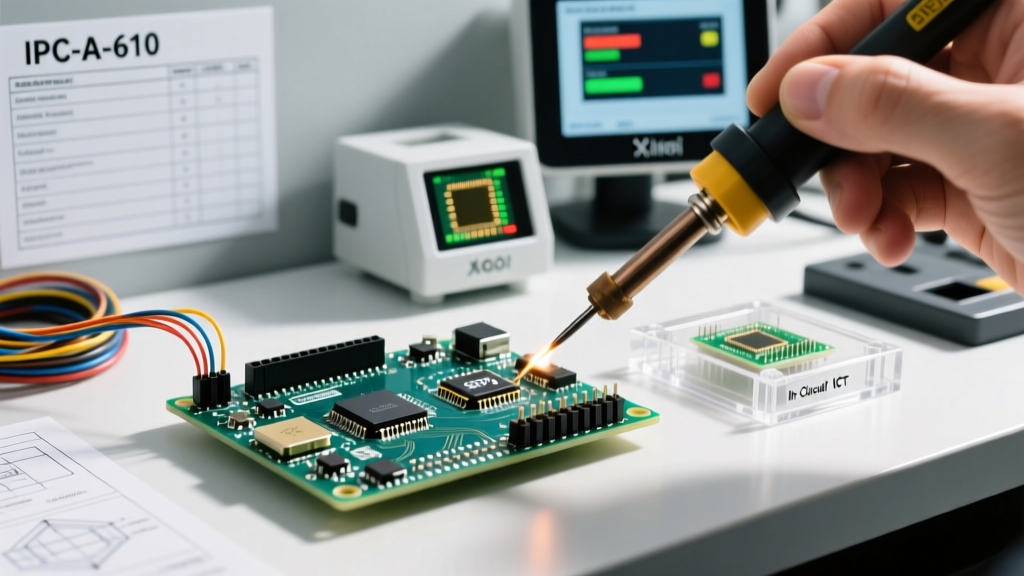

The 'Sautering' Myth: Linguistic Confusion vs. Metallurgical Reality
If you have been searching for guides comparing soldering vs sautering, it is time to clear up a massive linguistic misconception in the electronics and metalworking communities. The short answer is that 'sautering' does not exist as a recognized metallurgical or electronics joining process. The term is a phonetic misspelling and mispronunciation of soldering.
In the United States, the word is commonly pronounced 'sod-er-ing', which leads many beginners to spell it incorrectly based on how they hear it, or confuse it with words like 'sautéing' from the culinary world. However, in the UK and among historical metallurgists, the 'L' is often pronounced, leaning closer to the Latin root solidare (to make solid).
That said, when beginners ask about 'sautering', they are usually confusing soldering with two other distinct industrial processes: Sweating (used in plumbing) and Sintering (used in powder metallurgy). Before we dive into our deep-dive troubleshooting FAQ, let us clarify these terms so you can buy the right tools and consumables for your specific project.
Process Comparison Matrix: Soldering vs. Sweating vs. Sintering
| Process | Primary Application | Temperature Range | Filler Material | Flux Requirement |
|---|---|---|---|---|
| Soldering | Electronics, PCBs, delicate wiring | 183°C to 250°C | Sn63Pb37, SAC305 | Rosin (RMA), No-Clean |
| Sweating | Copper plumbing, HVAC refrigerant lines | 200°C to 450°C | 95/5 Tin-Antimony, Silver-bearing | Acid-based, Tinning flux |
| Sintering | Powder metallurgy, 3D printing, ceramics | 800°C to 1500°C+ | None (fuses base powder) | None (controlled atmosphere) |
Pro Tip: Never use plumbing 'sweating' acid flux on electronic PCBs. The aggressive zinc chloride and hydrochloric acid compounds will rapidly corrode copper traces and cause catastrophic dendritic short circuits over time.
Core Soldering Troubleshooting FAQ (2026 Edition)
Now that we have established that you are indeed looking for soldering techniques, let us address the most common failure modes encountered by DIYers and hobbyists. According to the IPC Standards for Electronics Assembly, a reliable solder joint must exhibit proper wetting, a smooth concave fillet, and a shiny appearance (for leaded solder) or a slightly dull but smooth finish (for lead-free SAC alloys).
FAQ 1: Why does my solder ball up and refuse to wet the pad?
The Symptom: The solder melts on your iron tip but forms a tight sphere, rolling off the PCB pad or component lead instead of flowing into a smooth fillet. This is known as 'dewetting' or 'solder balling'.
The Root Cause: Solder balling is almost always caused by severe oxidation on the pad or the exhaustion of the flux core before the metal reaches its liquidus temperature. If you are using lead-free SAC305 solder (melting point 217°C), your iron must be set to at least 350°C to provide enough thermal mass. If the pad is oxidized, the flux boils off before it can clean the copper, leaving the molten solder with nowhere to bond.
The Fix:
- Lower your iron temperature by 15°C to prevent instant flux burnout.
- Apply an external, high-quality tacky flux (such as Kester 245 No-Clean or Amtech NC-559-V2-TF) directly to the pad before applying heat.
- Pre-tin the component lead and the PCB pad separately with a tiny amount of fresh solder, then bring them together with the iron.
FAQ 2: How do I identify and fix a 'Cold' Solder Joint?
The Symptom: The joint looks grainy, dull, and lumpy (resembling a blob of cold oatmeal) rather than forming a smooth, concave volcano shape. Under a microscope, micro-cracks are visible at the intermetallic boundary.
The Root Cause: A cold joint occurs when the solder is disturbed during its 'plastic phase'—the critical window where it is transitioning from liquid to solid. For eutectic 63/37 Sn/Pb solder, this phase is nearly instantaneous. However, for non-eutectic lead-free alloys, the plastic phase can last 1 to 2 seconds. Moving the wire or the board during this window fractures the crystalline structure as it forms.
The Fix:
- Do not simply add more solder on top of a cold joint; this traps the fractured boundary underneath.
- Apply fresh liquid or paste flux to the joint.
- Re-flow the joint completely with a clean, properly tinned iron tip until the solder turns fully liquid.
- Remove the heat and hold the component completely still for 3 to 4 seconds to allow proper crystallization.
FAQ 3: My iron tip turns black and won't melt solder. Is the heating element dead?
The Symptom: The iron reaches the correct temperature, but solder just slides off the tip. The tip itself is covered in a hard, black or blue crust.
The Root Cause: This is tip oxidation, not a broken heating element. When a copper-core iron tip is exposed to air at temperatures above 380°C, iron oxide forms rapidly on the protective plating. This oxide layer acts as a thermal insulator and physically blocks solder wetting.
The Fix:
- Never use sandpaper, files, or abrasive scouring pads on a soldering tip. You will strip the microscopic iron plating and destroy the tip permanently.
- Use a brass wire sponge (like the Hakko 599B) to gently scrub the oxidation away while the iron is hot.
- If the oxidation is severe, use a specialized tip tinner (like Hakko FS-100). Dip the hot, oxidized tip into the paste; the aggressive acids will strip the oxide, and the embedded solder powder will instantly re-tin the surface.
- Always leave a thick blob of 63/37 solder on the tip before turning off your station. This sacrificial layer oxidizes instead of the tip itself.
Recommended 2026 Soldering Arsenal for Beginners & Pros
Whether you are repairing a vintage audio amplifier or assembling a custom mechanical keyboard, having the right thermal delivery system is non-negotiable. Here is what the experts at Adafruit Industries and SparkFun Electronics recommend for reliable, repeatable results.
1. The USB-C PD Revolution: Pine64 Pinecil V2
For hobbyists and field technicians, the $26 Pinecil V2 has completely disrupted the market. Powered by a RISC-V chip and negotiating up to 65W via USB-C Power Delivery, it heats to 300°C in under 8 seconds. It supports custom firmware and offers thermal recovery rates that rival stations costing four times as much.
2. The Benchtop Standard: Weller WE1010NA
Priced around $110, the Weller WE1010NA (70W) remains a staple on professional workbenches. Its proprietary micro-heater technology ensures rapid thermal recovery when soldering to large ground planes, which act as massive heat sinks. Pair it with Weller's ET-series tips for optimal thermal transfer.
3. The Consumables: Kester 44 and SAC305
For through-hole and general DIY work, Kester 44 (63% Tin / 37% Lead) with a Rosin Mildly Activated (RMA) flux core is the undisputed king. Its eutectic nature means it melts and freezes at the exact same temperature (183°C), eliminating the plastic phase and drastically reducing cold joints. If you are manufacturing for commercial sale in regions with RoHS compliance, upgrade to SAC305 (96.5% Sn, 3% Ag, 0.5% Cu), but be prepared to increase your iron temperature to 350°C and use a more aggressive No-Clean flux.
Final Verdict: Focus on Technique, Not Terminology
While the 'soldering vs sautering' debate is purely a matter of linguistic confusion, the physics of creating a reliable intermetallic bond are very real. By understanding the difference between electronics soldering, plumbing sweating, and metallurgical sintering, you can ensure you are buying the correct fluxes and filler metals. Master your thermal management, keep your tips immaculately clean, and rely on high-quality flux to do the heavy chemical lifting. Your joints will be shiny, strong, and fully compliant with industry standards.