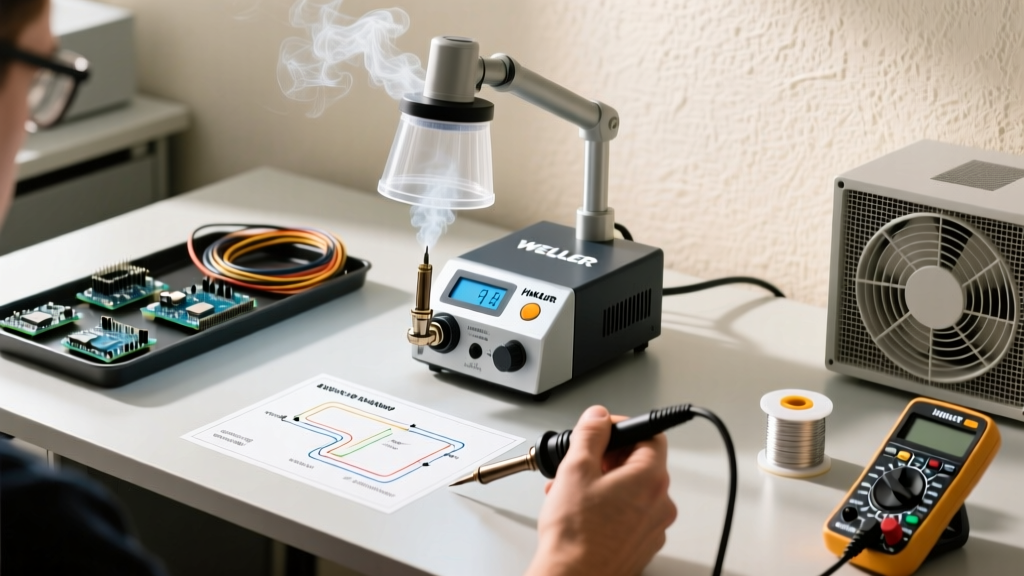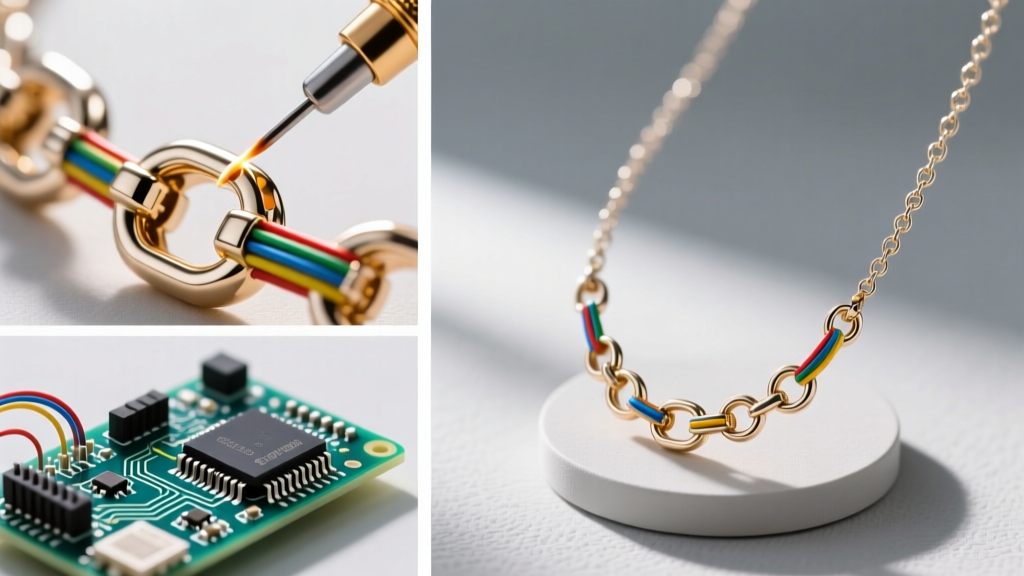

The Shift from Electronics to Jewelry: Why Soldering a Necklace is Different
If you are transitioning from PCB assembly to jewelry repair, you must immediately discard your rosin-core tin/lead or SAC305 wire solder. Soldering a necklace—whether repairing a broken sterling silver chain, closing a gold jump ring, or attaching a pendant bail—requires entirely different metallurgy, fluxes, and thermal management techniques. In 2026, the jewelry repair market continues to rely on high-temperature silver and gold brazing alloys, often incorrectly referred to as 'solder' by industry tradition. Unlike electrical soldering where the base metal remains solid and the filler melts at a low temperature (typically 361°F to 430°F), jewelry soldering involves filler metals that melt between 1,200°F and 1,450°F, requiring precise torch control to avoid melting the delicate necklace links themselves.
This comprehensive FAQ and troubleshooting guide addresses the most common failure modes, material selections, and thermal techniques required for flawless necklace repairs.
Frequently Asked Questions (FAQ)
1. Can I use electrical solder (Sn60/Pb40 or Lead-Free) to repair a broken necklace chain?
Absolutely not. Using electronics solder on jewelry results in three catastrophic failures. First, the color mismatch is glaring; tin/lead solder dries to a dull, grayish-white that cannot be polished to match silver or gold. Second, the structural integrity is severely compromised. Jewelry experiences high tensile stress at the clasp and jump rings; low-temperature solder lacks the shear strength to hold a necklace together, leading to immediate breakage and potential loss of valuable pendants. Finally, lead-based solder poses a severe contact toxicity risk when worn against the skin. Always use karat-matched gold solder or sterling silver brazing alloys.
2. What is the difference between Hard, Medium, and Easy silver solder?
According to technical standards published by Rio Grande, silver solder is categorized by its melting point to allow for multi-step soldering without remelting previous joints:
- Hard Solder (1,450°F / 788°C): Used for the first joint, such as sizing a ring or creating the initial jump ring for a pendant bail. It has the highest silver content and strongest bond.
- Medium Solder (1,325°F / 718°C): Used for secondary joints, like attaching a clasp to a chain that already has soldered jump rings.
- Easy Solder (1,240°F / 671°C): Used for final repairs, such as closing a single broken link in an existing chain. It flows at a lower temperature, ensuring the surrounding Hard or Medium joints do not melt.
3. How do I prevent 'fire scale' on sterling silver chains during soldering?
Fire scale (cuprous oxide) forms when oxygen reacts with the copper alloyed inside sterling silver (which is 92.5% silver and 7.5% copper) under high heat. To prevent this deep-seated discoloration, submerge the entire necklace in a saturated solution of boric acid and denatured alcohol before applying any localized flux. Allow it to dry to a chalky white coating, then apply your localized borax-based flux (like Handy Flux) only to the joint. This dual-barrier method is widely recommended by the Gemological Institute of America (GIA) for maintaining the pristine surface of sterling silver.
Troubleshooting Matrix: Common Soldering Necklace Failures
When soldering micro-links or delicate chains, the margin for error is measured in fractions of a second. Use this diagnostic matrix to identify and correct your technique.
| Failure Mode | Visual Symptom | Root Cause | Actionable Solution |
|---|---|---|---|
| Solder Balling | Solder forms a tight sphere and rolls off the joint. | Oxidation on the base metal; flux burned out; heating the solder instead of the metal. | Re-pickle the piece. Apply fresh Handy Flux. Direct the flame at the chain link, not the solder chip. The metal must conduct the heat to melt the solder. |
| Melted Link | The chain link adjacent to the repair collapses or rounds off. | Torch tip too large; flame held statically in one spot; failure to use a heat sink. | Switch to a Smith Little Torch with a #00 or #1 tip. Use cross-locking titanium tweezers as a heat sink on the adjacent link. |
| Pitted / Brittle Joint | The solder joint looks porous, crusty, or snaps under light pressure. | Overheating the solder, causing zinc or cadmium in the alloy to vaporize (burn out). | Remove the flame the exact millisecond the solder 'flashes' (flows). Do not 'cook' the joint to ensure flow. |
| Solder Creep | Solder flows down the chain link instead of staying in the seam. | Excessive flux; uneven heating; gravity pulling the molten alloy. | Use a minimal amount of flux. Ensure the necklace is perfectly level on your soldering block. Heat the seam evenly. |
Advanced Heat Control: Protecting Micro-Links
The most daunting task in necklace repair is soldering a single 2mm jump ring on a delicate cable chain without melting the adjacent links. Standard butane micro-torches (like the Blazer Big Shot) often produce a flame envelope too large for this precision work. For professional results, invest in an oxy-acetylene or oxy-propane setup, such as the Smith Acetylene Little Torch (Model 23-1001C), which retails around $380 in 2026 but offers unmatched pinpoint flame control.
Step-by-Step Heat Sinking Technique
Heat sinking is the practice of drawing thermal energy away from vulnerable areas of the necklace using a conductive mass.
- Preparation: Thread the broken chain link through its mating link. Ensure the seam is tightly closed with flat-nose pliers. Lightly file the seam to create a flat mating surface for the solder.
- Flux Application: Dip a fine sable brush in water, then into powdered Handy Flux, and paint a microscopic amount directly over the seam. Place a tiny pallion (chip) of Easy silver solder on the seam.
- Heat Sink Placement: Grip the chain link immediately adjacent to the repair with heavy, cross-locking titanium tweezers. Titanium is preferred over steel because it does not magnetize and has a lower thermal conductivity, preventing the tweezers from instantly quenching the joint you are trying to heat.
- Flame Application: Ignite your torch with a #00 tip. Keep the flame moving in a small circle around the target link. Watch the flux: it will bubble, turn clear, and then become glassy.
- The Flash: The moment the solder flashes into the seam, instantly pull the flame away. Quench the entire necklace in water, then move to the pickle pot.
Pro-Tip for Pendants: When attaching a large, heavy pendant to a chain, the pendant acts as a massive heat sink. You must pre-heat the body of the pendant with a broader flame before focusing on the tiny jump ring, otherwise, the pendant will steal all the thermal energy, and the solder will never reach its flow point.
Post-Soldering: The Pickle Pot Protocol
After soldering a necklace, the piece will be coated in oxidized flux (a hard, glassy crust) and minor fire scale. Do not attempt to file or pick this off mechanically, as you will scratch the precious metal. Instead, use a chemical pickle solution.
The industry standard is Sparex #2 (sodium bisulfate). Mix approximately one cup of Sparex granules per gallon of warm distilled water in a dedicated slow-cooker. Maintain the temperature between 120°F and 150°F. Submerge the necklace for 5 to 10 minutes until it emerges a clean, matte white (for sterling silver).
Critical Warning: Never introduce steel tweezers or steel binding wire into the pickle pot. The acidic solution will dissolve microscopic iron particles and plate them onto your silver or gold necklace via a galvanic reaction, leaving a stubborn copper-colored stain. Always use copper, brass, or wooden tongs when retrieving jewelry from the pickle.
Safety and Ventilation Standards
Jewelry soldering generates hazardous fumes, particularly when using silver solders that contain zinc, cadmium, or fluoride-based fluxes. Inhalation of cadmium oxide or fluoride vapors can cause severe respiratory distress and long-term pulmonary damage. According to OSHA Hazard Communication guidelines, local exhaust ventilation (LEV) is mandatory when brazing or soldering precious metals. Ensure your soldering bench is equipped with a dedicated fume extractor featuring a HEPA and activated carbon filtration system, positioned no more than 12 inches from the flame envelope. Always wear didymium safety glasses to protect your retinas from the intense sodium flare produced by heated fluxes.