
Why Soldering Lugs Still Dominate High-Reliability Circuits
In an era dominated by automated PCB assembly and quick-disconnect push-in terminals, the traditional soldering lug remains an irreplaceable component in high-current, high-vibration, and mission-critical applications. Whether you are restoring a vintage vacuum tube amplifier, wiring a marine battery bank, or assembling aerospace telemetry harnesses, a properly selected and terminated soldering lug provides a metallurgical bond that resists thermal cycling and mechanical shock far better than friction-fit alternatives.
However, not all lugs are created equal. The market is currently flooded with substandard, thin-gauge stampings that fail under load. This comprehensive guide breaks down the metallurgy, sizing frameworks, and IPC-compliant soldering techniques required to execute flawless soldering lug terminations in 2026.
Material Science: What Makes a Premium Soldering Lug?
The electrical and mechanical performance of a soldering lug is dictated by its base metal and plating. Understanding these material properties is the first step in the buyer's selection process.
Base Metals: ETP Copper vs. Brass
- Electrolytic Tough Pitch (ETP) Copper (C11000): The gold standard for high-current lugs. ETP copper offers a conductivity rating of 100% IACS (International Annealed Copper Standard). Premium brands like TE Connectivity and Molex use C11000 to ensure minimal voltage drop and heat generation at the termination point.
- Brass and Steel: Often found in budget assortments. Brass has only 28% the conductivity of copper, leading to dangerous thermal runaway in circuits exceeding 30 amps. Steel is strictly for low-current mechanical grounding and should never be used for primary power delivery.
Plating: Matte Tin vs. Bright Tin vs. Nickel
Plating prevents oxidation and improves solder wetting. However, aerospace and medical buyers must be wary of bright tin. Bright tin plating contains organic brighteners that increase the risk of tin whisker growth, which can cause short circuits in dense chassis layouts. Always specify matte tin or nickel-plated lugs for high-reliability environments, as recommended by modern NASA and IPC workmanship standards.
Soldering Lug vs. Crimp-Only Terminals: The Engineering Debate
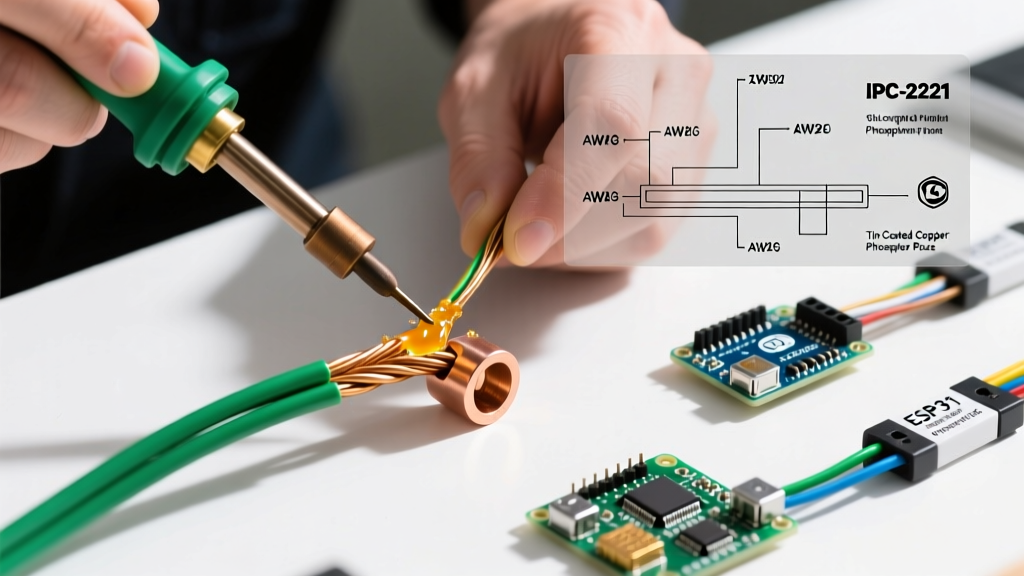
A common misconception among junior technicians is that solder alone provides the mechanical strength of a joint. The IPC J-STD-001 standard explicitly states that solder is for electrical continuity, not mechanical support. A true soldering lug termination requires a mechanical crimp before soldering.
| Feature | Soldering Lug (Crimp + Solder) | Crimp-Only Terminal | Screw Terminal Block |
|---|---|---|---|
| Vibration Resistance | Exceptional (Metallurgical + Mechanical) | High (Relies on cold weld) | Poor (Prone to backing out) |
| Current Capacity | Maximum (Lowest contact resistance) | High | Moderate (Spring fatigue over time) |
| Tooling Cost | High (Crimper + Soldering Station) | High (Precision ratcheting crimper) | Low (Screwdriver) |
| Inspection Difficulty | Moderate (X-ray or destructive pull) | High (Requires micro-sectioning) | Low (Visual torque check) |
The 2026 Buyer's Matrix: Top Brands, Sizing, and Pricing
When sourcing soldering lugs, avoid unbranded marketplace assortments. Counterfeit terminals with undersized wire barrels and non-ETP metals are a leading cause of electrical fires in DIY marine and off-grid solar builds. Stick to authorized distributors like Digi-Key or Mouser for the following industry-leading product lines.
1. TE Connectivity PIDG Series (Industrial & Aerospace)
The Pre-Insulated Diamond Grip (PIDG) line features a serrated barrel interior that bites into the wire strands during crimping, ensuring a gas-tight mechanical bond before solder flows. The nylon insulation sleeve provides excellent strain relief.
Typical Cost: $0.45 - $0.85 per unit (12-10 AWG, #10 stud).
Best For: Avionics, industrial control panels, and high-vibration automotive harnesses. View the TE Connectivity PIDG catalog for exact part numbers.
2. Ancor Marine Grade Heat Shrink Lugs (Marine & Off-Grid)
Ancor lugs feature an integrated, adhesive-lined polyolefin heat shrink tube. Once crimped and soldered, applying heat creates a waterproof, corrosion-proof seal that blocks salt air and moisture wicking.
Typical Cost: $1.10 - $2.50 per unit (depending on AWG).
Best For: Boat battery banks, solar inverter connections, and outdoor EV charging stations. See Ancor Products for marine-specific sizing charts.
3. Molex VersaKrimp (Heavy Duty Power)
For 4 AWG to 1/0 AWG high-current applications, Molex's heavy-duty copper lugs offer thick-walled barrels designed to handle the massive thermal mass required for soldering without deforming.
Typical Cost: $2.80 - $6.50 per unit.
Best For: Welding cables, EV battery packs, and high-amperage DC distribution.
Step-by-Step: IPC-Compliant Soldering Lug Termination
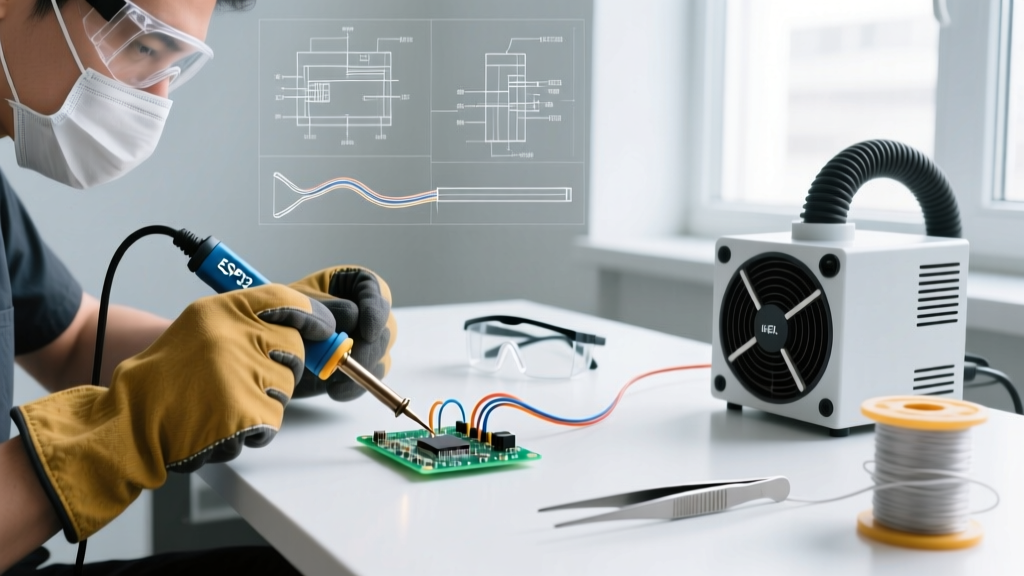
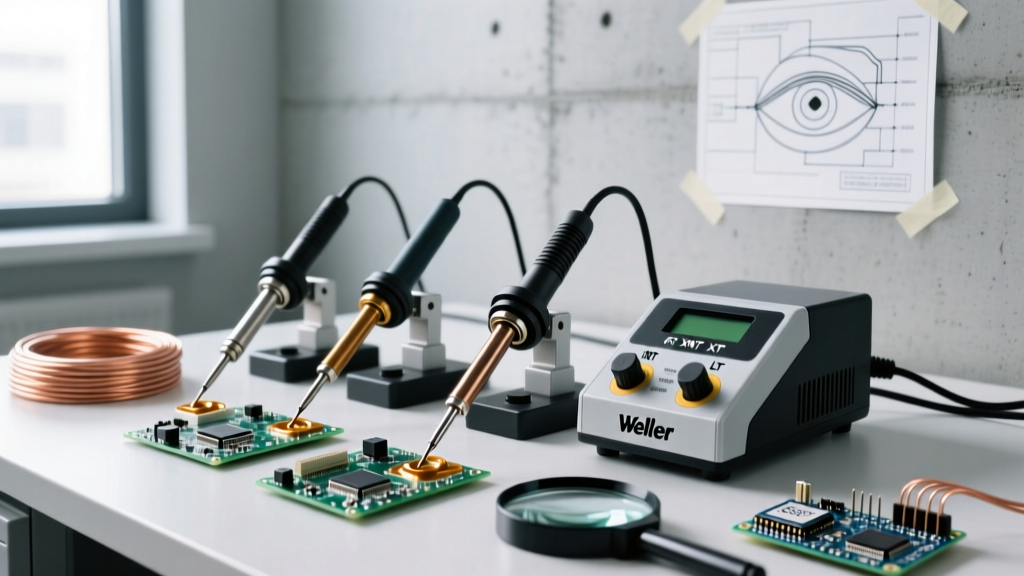
Soldering a lug requires managing significant thermal mass. A standard 40W pencil iron will fail on anything larger than 14 AWG. Follow this precise workflow for a flawless joint.
Pro-Tip: Thermal ManagementFor 10 AWG to 4 AWG lugs, use a high-wattage station (80W-120W) with a heavy chisel tip (e.g., Hakko T18-D32 or Weller RTW045). Set the temperature to 380°C (715°F) for leaded 60/40 solder, or 400°C (750°F) for SAC305 lead-free alloys.
- Precision Stripping: Strip the wire to match the exact depth of the lug barrel. Do not nick the copper strands; a nicked strand creates a mechanical weak point that will snap under vibration.
- The Mechanical Crimp: Insert the wire into the barrel. Using a calibrated ratcheting crimper, crimp the barrel tightly. The wire must not pull out by hand before soldering.
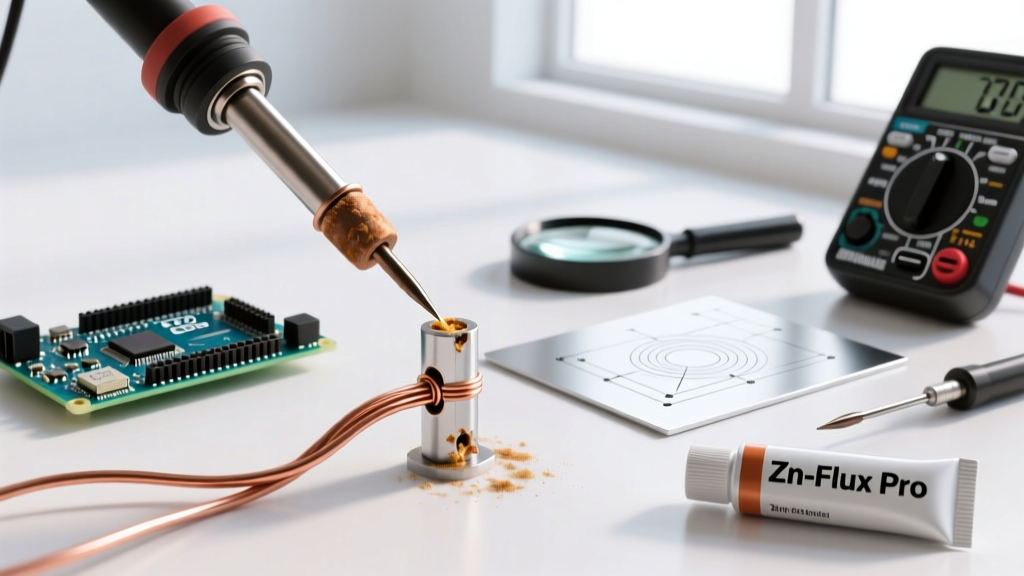
- Flux Application: Apply a high-quality, no-clean or rosin-based (RMA) flux to the wire/barrel interface. Do not use plumbing acid flux, which will cause severe galvanic corrosion over time.
- Thermal Transfer: Apply the flat face of the chisel tip to the barrel, not the wire. Heat the barrel for 2-3 seconds until the flux sizzles.
- Solder Feeding: Feed solder into the wire strands at the opposite end of the barrel from the iron. Capillary action will draw the molten solder through the entire barrel. Stop when a small fillet appears at the wire entry point.
- Cooling and Cleaning: Hold the wire completely still until the solder solidifies (a dull, matte finish for leaded; a slightly grainy but smooth finish for lead-free). Clean with 99% isopropyl alcohol if using RMA flux.
Critical Failure Modes and Troubleshooting
Even experienced builders encounter issues when working with heavy soldering lugs. Here is how to diagnose and prevent the most common failure modes.
1. Solder Wicking Under Insulation
The Problem: Solder flows past the barrel and under the wire's PVC or silicone jacket, turning the flexible wire into a rigid, brittle stick that snaps under vibration.
The Fix: Use a 'thermal strip'—leave a 1mm gap of bare wire between the insulation and the barrel. This gap acts as a thermal break, cooling the solder before it can wick under the jacket.
2. The 'Cold' or 'Disturbed' Joint
The Problem: The solder looks grainy, lumpy, or forms a ball on the wire without wetting the barrel. This happens when the iron lacks the wattage to overcome the thermal mass of a heavy copper lug, or the wire moved during cooling.
The Fix: Upgrade to an 80W+ station. Pre-tin the wire strands before inserting them into the barrel to reduce the required dwell time.
3. Tongue Overheating and Pad Lift
The Problem: When soldering a lug directly to a PCB pad or a delicate phenolic terminal strip, heat travels up the copper tongue and melts the adhesive holding the copper pad to the board.
The Fix: Use a lug with a heat-sink offset (a narrowed neck between the barrel and the tongue). Alternatively, grip the tongue with hemostats or a thermal clamp to draw heat away from the mounting hole.
'In high-reliability wiring, the soldering lug is only as strong as its mechanical crimp. Solder is the seal; the crimp is the muscle. Never rely on solder alone to bridge a gap between an undersized wire and an oversized barrel.' — Senior Avionics Harness Technician
Final Verdict: Sourcing for Success
Investing in high-quality soldering lugs from TE Connectivity, Molex, or Ancor is non-negotiable for any build where failure is not an option. While the upfront cost per terminal may be 400% higher than generic imported alternatives, the elimination of high-resistance joints, thermal runaway risks, and rework time provides an immediate ROI. Pair your premium lugs with a properly maintained, high-wattage soldering station, adhere strictly to the mechanical-crimp-first rule, and your terminations will easily outlast the equipment they are wired into.