
Mastering the Art of Desoldering: An Expert Roundup
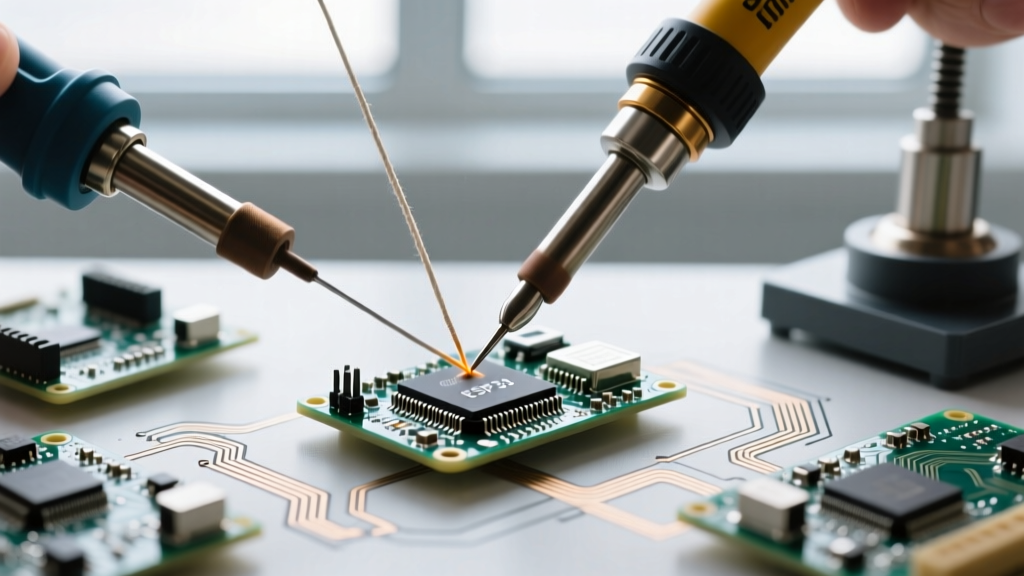
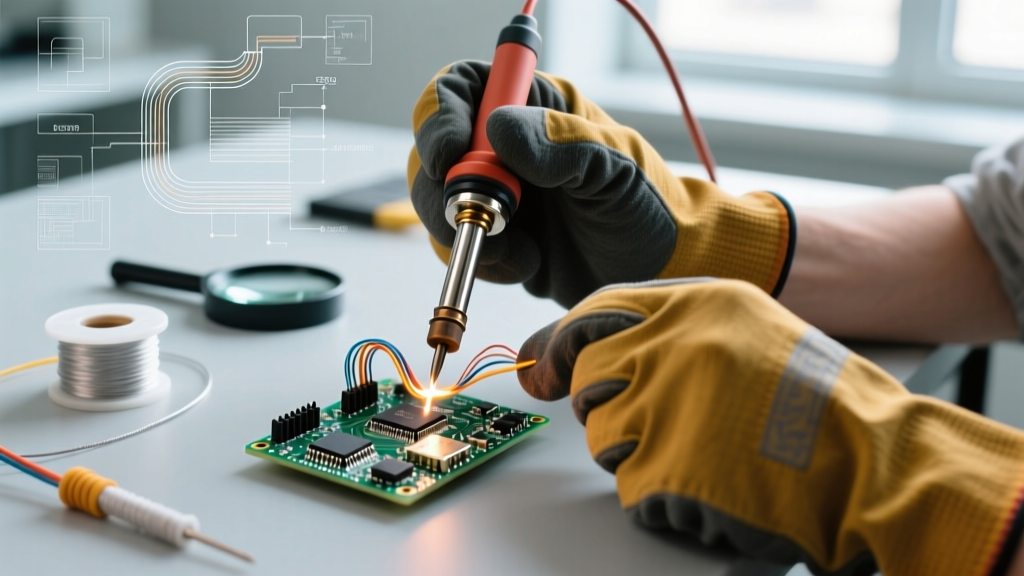
Knowing how to remove soldering joints cleanly is often the dividing line between a hobbyist and a professional electronics technician. While applying solder is a straightforward process of heat and capillary action, reversing it requires a deep understanding of thermal mass, alloy metallurgy, and pad adhesion limits. A single mistake during desoldering can lift a copper trace, delaminate a multi-layer PCB, or destroy a $50 microcontroller.
To cut through the noise of generic internet tutorials, we assembled a 2026 expert panel to evaluate the most effective desoldering methodologies. Whether you are trying to figure out how to remove soldering mistakes on a delicate 0402 SMD component or extracting stubborn through-hole capacitors from a vintage amplifier, this guide provides the exact tools, temperatures, and techniques used by industry veterans.
The 2026 Expert Panel
- Marcus T., IPC Master Specialist: Focuses on aerospace and medical PCB rework, strictly adhering to IPC Standards for pad preservation and thermal stress limits.
- Sarah L., Vintage Audio Restorer: Specializes in high-thermal-mass through-hole components and multi-layer analog boards where ground planes act as massive heat sinks.
- Kenji R., Micro-Soldering Technician: Expert in smartphone logic board repair, BGA reballing, and micro-SMD extraction using advanced hot air and flux chemistries.
Method 1: Desoldering Braid (Wick) for Precision Cleanup
Desoldering braid relies on the capillary action of braided copper wire to wick away molten solder. According to our panel, this is the undisputed champion for flat surface cleanup and removing residual solder from SMD pads after component extraction.
'The biggest mistake beginners make is using dry braid. Flux is the engine of capillary action. If your braid doesn't have a high-quality rosin or no-clean flux core, you are just pressing hot copper into a PCB.' — Marcus T., IPC Master Specialist
Expert Tool Recommendation: Chemtronics 80-5-5 Rosinflux
For general-purpose leaded and lead-free work, the Chemtronics 80-5-5 (approx. $8 per spool) is the industry benchmark. The 0.075-inch width is perfect for standard SOIC and QFP pads. For fine-pitch 0402 components, Kenji recommends stepping down to the 0.025-inch Chemtronics 80-1-5.
The Expert Technique:
- Prep the Surface: Apply a thin layer of tacky flux (e.g., Amtech NC-559) directly to the joint before introducing the braid.
- Iron Temperature: Set your station to 350°C for Sn63/Pb37 (leaded) and 375°C for SAC305 (lead-free). Use a chisel tip for maximum thermal transfer.
- The Drag-and-Lift: Place the braid over the joint, apply the iron on top of the braid, and wait 2-3 seconds for the solder to liquefy. Once you see the wick turn silver, drag it slowly across the pads. Never pull the braid straight up while hot, as the flux residue can glue it to the pad and rip it off the board.
Method 2: Manual Desoldering Pumps for Through-Hole Components
When you need to remove large through-hole components like electrolytic capacitors, potentiometers, or DIP ICs, a manual desoldering pump (solder sucker) is the most cost-effective and efficient tool. However, not all pumps are created equal.
Expert Tool Recommendation: Engineer SS-02
Forget the cheap $5 plastic pumps that lose suction after a month. The Engineer SS-02 (approx. $28) is the gold standard for professionals. It features a fluoropolymer-coated nozzle that resists solder adhesion and a high-tension silicone O-ring that maintains powerful vacuum pressure.
Sarah's Protocol for High-Mass Joints:
- Pre-heat the Board: When dealing with ground-plane connections, use a PCB preheater set to 100°C. This reduces the thermal delta, preventing the inner layers of the PCB from acting as heat sinks that keep the solder perpetually semi-solid.
- The 'Mushroom' Technique: Melt the solder until it forms a shiny, convex dome. Quickly remove the iron, immediately place the SS-02 nozzle directly over the dome, and trigger the pump. The fluoropolymer tip allows you to press down firmly without burning the PCB substrate.
- Maintenance: Disassemble the SS-02 every six months and apply a micro-layer of high-temperature silicone grease to the O-ring to maintain vacuum integrity.
Method 3: Electric Desoldering Guns for High-Volume Extraction
For production-level rework or stripping entire vintage boards, manual pumps cause severe hand fatigue and inconsistent results. Electric desoldering guns integrate a vacuum pump and a hollow heating element into a single wand.
Expert Tool Recommendation: Hakko FR-301
The Hakko FR-301 (approx. $285) is a powerhouse. Its ceramic heating element recovers temperature in seconds, and the built-in vacuum motor extracts molten solder directly into a replaceable paper filter cartridge.
'The FR-301 pays for itself if you do more than 20 through-hole extractions a week. But you must respect the maintenance schedule. If you let the solder solidify inside the ceramic nozzle, you will crack the heating core trying to clear it.' — Sarah L.
Critical Maintenance for Electric Guns:
Always use the included cleaning pin while the tool is still hot after every few joints. Refer to the Hakko Desoldering Tools documentation for the exact replacement intervals for the T13-series nozzles and paper filters. A clogged filter will strain the vacuum motor and lead to catastrophic pump failure.
Method 4: Hot Air Rework for SMDs and BGA
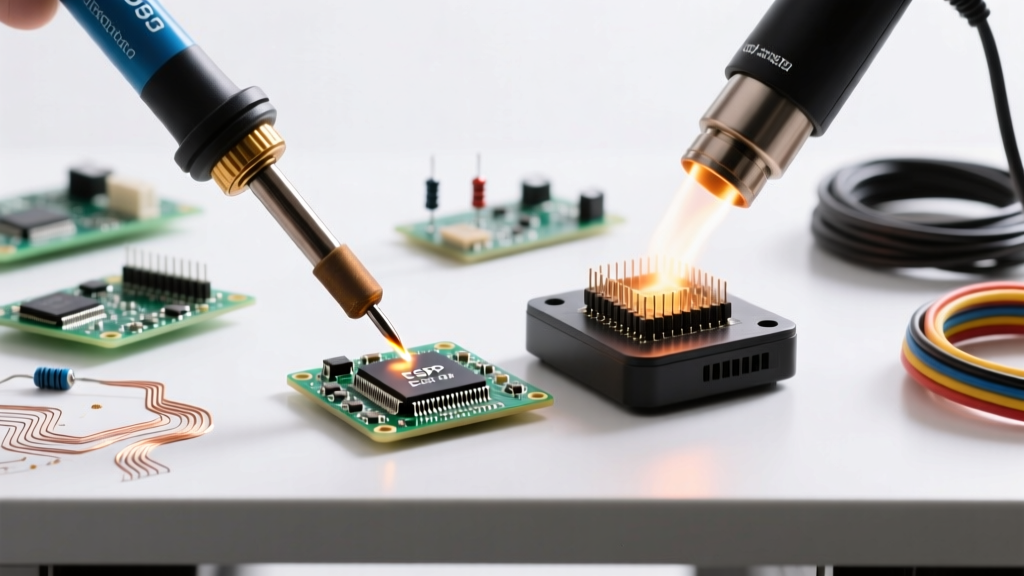
When figuring out how to remove soldering on multi-pin SMDs (like QFNs or BGAs) where wicks and pumps cannot reach the inner thermal pads, hot air is mandatory.
Expert Tool Recommendation: Quick 861DW
The Quick 861DW (approx. $230) offers precise digital control over both temperature and airflow, which is critical for avoiding the 'popcorn effect' (where moisture inside an IC turns to steam and cracks the silicon die).
Kenji's SMD Removal Parameters:
- Flux Application: Flood the component with high-viscosity tacky flux. This ensures even heat distribution across all pins.
- Settings: 340°C with airflow at 30-40%. High airflow will blow away tiny 0201 passive components adjacent to your target IC.
- Shielding: Wrap surrounding sensitive components (like plastic connectors or RF shields) in Kapton tape and use aluminum foil heat shields.
- Extraction: Use precision titanium tweezers to lift the IC only when the solder is fully liquid. Titanium prevents heat from transferring into your fingers and won't scratch the PCB pads.
Expert Comparison Matrix: Desoldering Methods
| Method | Best Application | Avg Cost (2026) | Thermal Risk | Skill Required |
|---|---|---|---|---|
| Desoldering Braid | SMD pad cleanup, fine-pitch ICs | $7 - $12 | Medium (Pad lifting) | Low-Medium |
| Manual Pump (SS-02) | Through-hole, large DIP ICs | $28 | Low | Medium |
| Electric Gun (FR-301) | High-volume through-hole, multi-layer | $285 | High (Core cracking) | High |
| Hot Air Rework | QFN, BGA, dense SMD clusters | $200 - $350 | Very High (Delamination) | Very High |
Critical Failure Modes and Expert Fixes
Even experts make mistakes. According to the NASA Workmanship Standards for electronic assemblies, thermal damage to PCBs is a leading cause of field failures. Here is how our panel handles the most common desoldering disasters.
1. Lifted Copper Pads
The Cause: Pulling a component before the solder is fully liquid, or pulling desoldering braid vertically while the flux is tacky.
The Fix: Do not panic. Scrape away a tiny amount of solder mask from the connected trace using a fiberglass scratch pen. Tin the exposed trace and the component leg, then bridge the gap with a 30 AWG bare copper jumper wire. Secure the jumper with UV-curable solder mask resin and cure it with a 365nm UV flashlight for 3 minutes.
2. Clogged Desoldering Nozzles
The Cause: Solder solidifying inside the narrow orifice of a pump or gun.
The Fix: Never use a steel drill bit to clear a nozzle; you will alter the bore diameter and ruin the vacuum seal. Instead, heat the nozzle to 400°C, apply fresh liquid flux, and use a dedicated brass cleaning wire or the manufacturer's specified stainless steel pin to gently push the blockage out.
3. The 'Cold Solder' Extraction Trap
The Cause: Attempting to desolder an old, oxidized joint from a 1980s PCB. The oxidized solder refuses to melt or bond with your wick.
The Fix: 'Re-tinning before de-tinning.' Apply a generous amount of fresh, leaded 63/37 solder mixed with aggressive RA (Rosin Activated) flux to the old joint. The fresh solder and flux will chemically reduce the oxidation and lower the melting point of the entire joint, allowing your desoldering tool to extract it easily.
Frequently Asked Questions (Expert Insights)
How to remove soldering without a wick or pump?
If you are dealing with a surface-mount IC and lack advanced tools, you can use a low-melting-point alloy like Chip Quik SMD291AX. This bismuth-based solder melts at just 58°C. By mixing it into the existing solder joints, you drastically lower the overall melting point of the joint, allowing you to slide the IC off the pads with minimal heat, completely eliminating the risk of thermal pad damage.
What is the safest temperature for desoldering lead-free boards?
Lead-free alloys (like SAC305) have a higher melting point (217°C) and a 'pasty' phase transition. Marcus recommends setting your iron to 375°C - 380°C. While this seems high, the rapid heat transfer prevents you from having to dwell on the pad for more than 3 seconds, which is the threshold where the epoxy resin in the PCB begins to degrade and delaminate.
Final Expert Consensus
Understanding how to remove soldering mistakes or legacy components is fundamentally about managing thermal energy and chemical flux activity. Invest in high-quality extraction tools like the Engineer SS-02 or Hakko FR-301, respect the thermal limits of your PCB substrates, and never underestimate the power of fresh, high-grade flux. By adopting these professional methodologies, you will transform desoldering from a nerve-wracking chore into a precise, predictable science.