
The High-Stakes World of Audio Connectors
Soldering a headphone plug is a deceptively complex task that separates amateur tinkerers from seasoned audio technicians. Unlike standard through-hole PCB components, audio jacks present a unique triad of challenges: massive thermal sinks (especially on the ground sleeve), fragile internal plastic insulators that melt at high temperatures, and microscopic tolerances where a single stray copper strand can short a stereo channel. As we navigate the audio repair landscape in 2026, the demand for custom IEM cables, balanced 4.4mm Pentaconn terminations, and rugged stage-ready 1/4-inch TRS cables is higher than ever.
To cut through the noise and provide actionable, high-level guidance, we convened a panel of three industry veterans. They shared their exact workflows, preferred metallurgy, and the specific failure modes they see most often on the bench.
Meet the Expert Panel
- Marcus Thorne: Custom cable builder and founder of a boutique audiophile wire company. Specializes in silver-alloy solders and balanced topologies.
- Sarah Jenkins: Lead maintenance technician at a premier mastering studio. Responsible for keeping dozens of Neutrik-terminated studio headphones operational.
- David Lin: Consumer electronics repair specialist focusing on micro-soldering and 3.5mm TRRS smartphone headset repairs.
Wire Preparation: The Foundation of a Perfect Joint
According to Marcus Thorne, 90% of headphone plug failures originate before the soldering iron is even turned on. Audio wire, particularly multi-strand oxygen-free copper (OFC) like Mogami 2534 or Canare L-4E6S, requires meticulous preparation.
'Stripping the enamel coating off Litz wire or tightly wound OFC strands with a flame is an outdated, dangerous trick that oxidizes the copper and guarantees a brittle joint. In 2026, you should be using a high-precision thermal wire stripper or a carefully calibrated mechanical stripper, followed by a bath in 99% isopropyl alcohol.' — Marcus Thorne
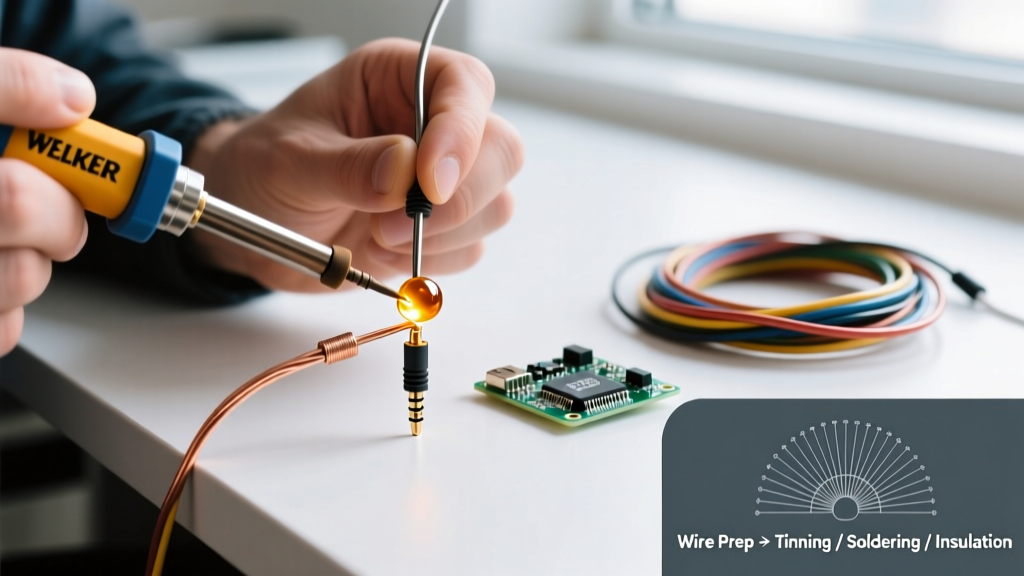
After stripping exactly 4mm of insulation, Thorne insists on applying a no-clean liquid flux, such as Kester 951, before tinning. Tinning the wires with a 63/37 leaded rosin-core solder (like Kester 44 0.031-inch) at 350°C (662°F) ensures the strands are fused into a single solid conductor, preventing the 'birdcaging' effect that causes shorts inside the narrow barrel of a 3.5mm plug.
Thermal Management: Choosing the Right Iron
Sarah Jenkins deals primarily with heavy-duty 1/4-inch (6.35mm) connectors like the Neutrik NP3X. The ground sleeve on these professional connectors acts as a massive heat sink, rapidly drawing thermal energy away from the iron's tip.
'If you use a cheap, unregulated 30W pencil iron, you will hold it against the sleeve for ten seconds trying to get the solder to flow. By the time it melts, you have cooked the wire insulation and created a dry, crystalline cold joint,' Jenkins explains. She mandates the use of temperature-controlled stations with high thermal recovery rates. Her bench standard is the Hakko FX-888D paired with a T12-D24 chisel tip, set to 380°C (716°F) specifically for heavy sleeves. For portable field repairs, she recommends the Pinecil V2 running on a 24V PD power supply, which achieves melting temperature in under 8 seconds.
The 3.5mm Trap: Avoiding Melted Insulators
David Lin’s repair queue is dominated by 3.5mm TRS and TRRS plugs, with the Switchcraft 35RAPC2BV3 being a frequent subject. The primary danger here is the internal plastic dielectric that separates the tip, ring, and sleeve.
'The melting point of the nylon insulators inside standard 3.5mm jacks is often around 260°C. If you apply a 400°C iron directly to the tip lug for more than two seconds, the plastic softens, the lug shifts, and the plug will permanently short out when you screw the barrel back on,' Lin warns. His solution is the use of a hemostat or aluminum heat-sink clip clamped between the solder lug and the plastic body to draw excess heat away from the dielectric.
The 2026 Audio Connector & Gear Matrix
| Connector Model | Type | Best Use Case | Target Iron Temp (Leaded) | Avg. Price (2026) |
|---|---|---|---|---|
| Neutrik NP3X | 1/4-inch TRS | Studio headphones, stage gear | 380°C (716°F) | $4.50 |
| Switchcraft 35RAPC2BV3 | 3.5mm TRS | Portable DACs, consumer audio | 340°C (644°F) | $3.20 |
| NDICS Pentaconn | 4.4mm TRRRS | Balanced audiophile IEMs | 350°C (662°F) | $12.00 |
| Viablue T6s | 3.5mm TRS | Premium custom cables | 350°C (662°F) | $18.50 |
Balanced Topologies: The 4.4mm Pentaconn Standard
As balanced audio continues to dominate the portable audiophile market, soldering a headphone plug in the 4.4mm Pentaconn format has become a mandatory skill. Unlike standard unbalanced TRS plugs, the Pentaconn features five distinct solder cups: L+, L-, R+, R-, and Ground.
The spacing between these lugs is exceptionally tight. Marcus Thorne advises using a micro-chisel tip (such as the Hakko T12-IL) and ultra-thin 0.015-inch diameter solder wire. Furthermore, verifying the pinout with a multimeter in continuity mode before applying heat shrink is non-negotiable, as reversing the L- and R- phases will result in catastrophic audio cancellation and potential amplifier damage.
Step-by-Step: The Consensus Method for Soldering a Headphone Plug
- Prep the Cable: Strip the outer jacket to 20mm. Slide the connector barrel, strain relief boot, and a piece of 3M EPS300 dual-wall adhesive heat shrink onto the cable before doing anything else.
- Strip and Tin: Strip 4mm of insulation from the inner conductors. Apply Kester 951 flux and tin each wire with a shiny, concave bead of 63/37 solder.
- Tin the Lugs: Apply flux to the plug's solder cups. Touch the iron to the cup, feed a tiny amount of solder, and remove. The cup should look like a silver crater.
- Solder the Ground First: The ground sleeve requires the most heat. Hold the tinned wire to the tinned lug, apply the iron for 1-2 seconds, and let it cool naturally. Do not blow on it.
- Solder Tip and Ring: Use a lower temperature or shorter dwell time for the tip and ring lugs to protect the internal plastic insulators.
- Inspect and Seal: Use a 10x loupe to check for stray copper whiskers. Slide the adhesive heat shrink over the solder joints and apply heat until the adhesive seals the wire entry point.
Leaded vs. Lead-Free: The Audio Debate
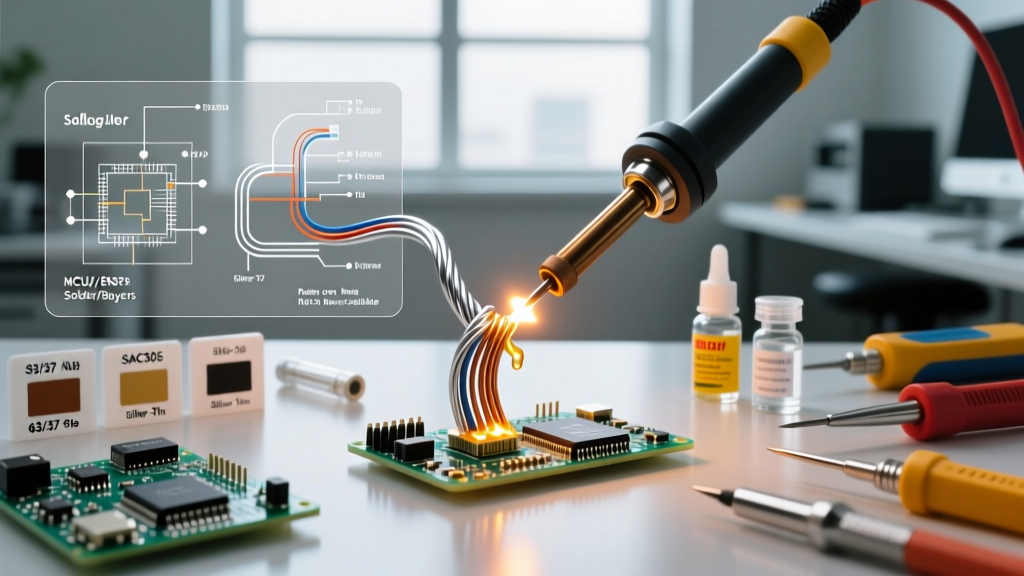
While environmental regulations push for lead-free alternatives, the audio repair community heavily favors traditional leaded solder for headphone plugs. As detailed in the metallurgical resources provided by Kester, 63/37 (Tin/Lead) eutectic solder has a single melting point of 183°C, eliminating the 'pasty' phase that causes micro-cracks in flexible audio cables. Lead-free alloys like SAC305 require higher temperatures (217°C+), increasing the risk of melting 3.5mm jack insulators and accelerating tip oxidation.
Common Failure Modes & Troubleshooting
- Intermittent Ground (Crackling Audio): Usually caused by a cold joint on the massive ground sleeve. The solder looks dull and grainy. Fix: Apply fresh liquid flux, increase iron temp by 20°C, and reflow with a wider chisel tip.
- Right Channel Bleeding into Left: A microscopic strand of the right-channel wire is touching the left-channel lug, or excess solder has bridged the gap. Fix: Use a copper desoldering braid (Goot Wick) to remove excess solder and inspect under magnification.
- Melted Barrel Threads: Heat traveled down the solder lug and melted the plastic threading inside the connector barrel. Fix: The plug is destroyed and must be desoldered and discarded. Use heat-sink clips next time.
Final Verdict
Soldering a headphone plug requires a synthesis of mechanical preparation, thermal awareness, and metallurgical understanding. By investing in a temperature-controlled station like the Hakko FX-888D, utilizing high-quality flux, and respecting the thermal limits of modern connector plastics, you can build terminations that rival or exceed factory-manufactured cables. For comprehensive foundational techniques on through-hole and wire soldering, the tutorials at SparkFun Electronics remain an invaluable, free resource for beginners looking to refine their iron handling before tackling delicate audio jacks. Always ensure your workspace is equipped with proper fume extraction, adhering to OSHA guidelines for rosin and flux vapor ventilation, to protect your respiratory health during long bench sessions.