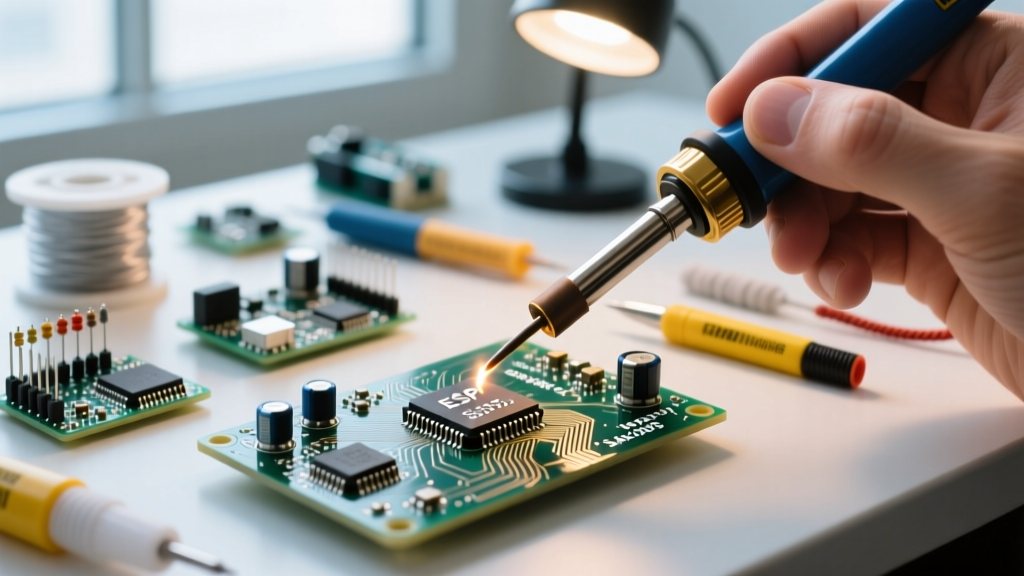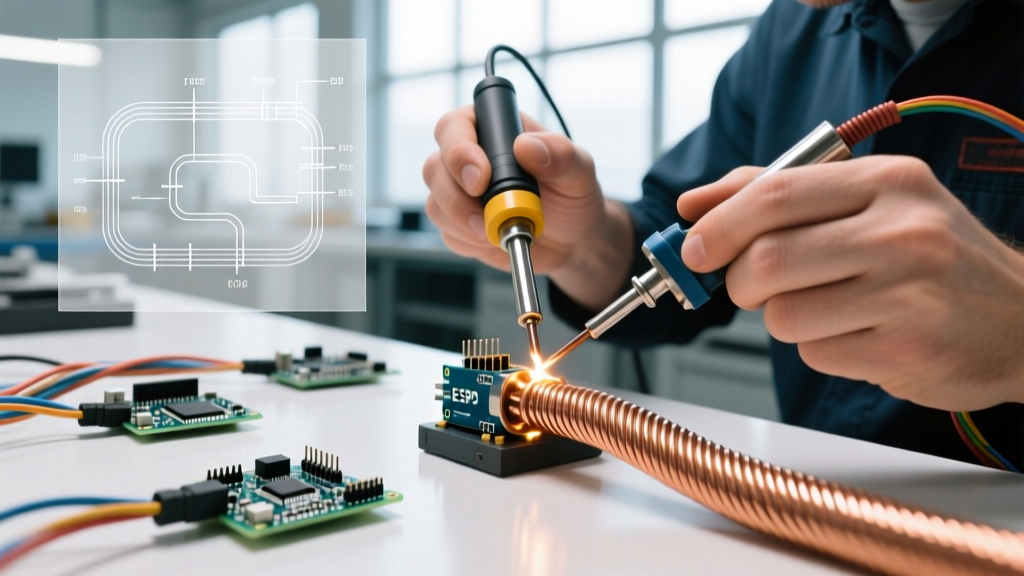

In the realm of industrial manufacturing, aerospace engineering, and heavy automotive production, electric wire soldering transcends basic hobbyist techniques. It demands rigorous adherence to metallurgical principles, thermal management, and stringent quality standards. When a soldered wire termination fails in an industrial control panel or a marine navigation system, the consequences range from costly downtime to catastrophic safety hazards. This comprehensive guide explores the technical depths of industrial electric wire soldering, covering alloy selection, IPC compliance, and high-volume production tooling.
The Regulatory Landscape: IPC and Aerospace Standards
Industrial electric wire soldering is governed by strict workmanship standards. The most universally recognized benchmark is the IPC J-STD-001 (Requirements for Soldered Electrical and Electronic Assemblies) and the IPC-A-610 (Acceptability of Electronic Assemblies). For high-reliability applications—such as medical devices, military hardware, and aerospace—manufacturers must target Class 3 compliance.
Class 3 Definition: Products where continued performance is critical, and downtime cannot be tolerated. The end-use environment may be uncommonly harsh, and the equipment must function on demand, such as life support systems or critical flight controls.
Under Class 3 guidelines for wire terminations, inspectors look for specific wetting angles (typically 30 to 45 degrees), complete 360-degree solder coverage on cup terminals, and zero evidence of solder wicking under the wire insulation. Furthermore, aerospace applications often default to NASA-STD-8739.3, which mandates specific stripping tools, flux chemistries, and thermal profiling to prevent conductor damage.
Metallurgy in Manufacturing: Selecting Industrial Solder Alloys
Choosing the correct solder alloy is the first critical decision in electric wire soldering. While the EU RoHS Directive has pushed the global market toward lead-free alternatives, specific high-reliability sectors retain exemptions for leaded alloys due to the risk of tin whiskers and thermal fatigue.
| Alloy Designation | Composition | Melting Point | Tensile Strength | Primary Industrial Application |
|---|---|---|---|---|
| Sn63Pb37 | 63% Tin / 37% Lead | 183°C (Eutectic) | 7,500 psi | Aerospace, Military, Legacy Automotive (Exempt from RoHS) |
| SAC305 | 96.5% Sn / 3.0% Ag / 0.5% Cu | 217°C - 220°C | 8,500 psi | Consumer Electronics, Commercial Control Panels (RoHS Compliant) |
| Sn96.5Ag3.5 | 96.5% Tin / 3.5% Silver | 221°C - 224°C | 8,200 psi | High-Vibration Automotive, Marine Harnesses |
| Sn10Pb90 | 10% Tin / 90% Lead | 268°C - 302°C | 6,100 psi | High-Temp Environments, Pre-soldering Step-Down Terminals |
Flux Chemistry Matters: For industrial wire harnesses, flux selection is just as vital as the alloy. ROL0 (Rosin, Low Activity, Zero Halides) fluxes are the industry standard for high-reliability electric wire soldering. They provide excellent wetting without leaving corrosive halide residues that could degrade the copper strands over time in humid environments.
High-Volume Production Equipment & Tooling
You cannot achieve Class 3 terminations on heavy-gauge wires (AWG 10 to AWG 18) with standard 40-watt hobby irons. Industrial electric wire soldering requires high-thermal-recovery stations capable of pushing heat into thick copper conductors and large brass terminals without dwelling long enough to melt the insulation.
Industrial Soldering Stations
- Weller WX2021 (Approx. $1,450): A dual-channel powerhouse featuring IoT connectivity for production floor tracking. When paired with the Weller RTU1120 ultra-high-power tip (delivering 120W active heating), it can solder AWG 8 wires to heavy ground lugs in under 4 seconds, preventing thermal damage to surrounding components.
- Hakko FX-951 (Approx. $380): The workhorse of mid-tier manufacturing. Its T18 series tips and rapid thermal recovery make it ideal for continuous AWG 22 to AWG 16 wire harness assembly.
Specialized Wire Preparation Tooling
Thermal-stripping or precision mechanical stripping is mandatory. Tools like the Schleuniger EcoStrip 9380 (automated) or the IDEAL Industries Reflex series ensure the copper strands are never nicked. A nicked strand reduces the wire's ampacity and creates a stress riser that will snap under vibration.
Solder Sleeves and Heat Shrink
For environmental sealing, manufacturers rely on one-step solder sleeves from companies like TE Connectivity (Raychem brand). These sleeves contain a pre-measured preform of solder and thermoplastic sealing rings. When heated with a calibrated hot air gun (set to 350°C), the sleeve simultaneously solders the splice, shrinks the insulation, and seals the joint against moisture ingress.
Step-by-Step Class 3 Wire Termination Protocol
Follow this precise workflow for soldering a stranded wire into a turret terminal or solder cup:
- Strip and Inspect: Strip the wire to the exact depth of the solder cup plus one wire diameter. Inspect for nicked strands. Do not 'twist' the strands tightly; a gentle lay is preferred to allow solder wicking.
- Pre-Tin the Wire: Apply a small amount of ROL0 flux. Iron tip temperature should be set to 350°C for SAC305 or 320°C for Sn63Pb37. Tin the exposed strands until the solder flows evenly. Crucial: Keep the solder at least two wire diameters away from the insulation cutoff to prevent wicking.
- Pre-Tin the Terminal: Apply flux to the solder cup. Touch the iron to the cup wall and feed solder until it forms a smooth, concave meniscus. Do not overfill.
- The Marriage: Insert the pre-tinned wire into the pre-tinned cup. Apply the iron to the side of the terminal (not the wire) for 1.5 to 3 seconds. The existing solder will reflow and merge.
- Cooling and Inspection: Remove the heat and hold the wire perfectly still for 3-5 seconds. Any movement during the plastic-to-solid phase transition will cause a cold, disturbed joint. Inspect for a 360-degree fillet and a visible wire outline beneath the solder surface.
Edge Cases: Troubleshooting High-Current Failure Modes
Even experienced technicians encounter edge cases in industrial electric wire soldering. Here is how to diagnose and resolve the most common high-reliability failures:
- Solder Wicking: Symptom: Solder creeps under the wire jacket, making the flexible wire rigid and prone to snapping. Fix: Lower your iron temperature by 15°C, use a faster-wetting flux, and reduce dwell time. Utilize a thermal barrier (like Kapton tape) at the strip line.
- Rosin Char / Flux Burn: Symptom: Blackened, crusty residue around the joint. Fix: Your tip temperature is too high, or you are dwelling too long. Switch to a wider tip to increase thermal mass transfer without raising the temperature setting.
- Icicling and Protrusions: Symptom: Sharp spikes of solder extending from the joint. Fix: This indicates insufficient heat or premature withdrawal of the iron. Reheat the joint fully and pull the iron away in a swift, fluid motion along the wire's axis.
Crimping vs. Soldering: A Production Matrix
In industrial harness manufacturing, the debate between crimping and electric wire soldering is ongoing. While soldering provides superior environmental sealing and electrical conductivity, crimping offers distinct advantages in high-vibration, high-volume scenarios. Below is a comparative matrix to aid production managers in selecting the right termination method.
| Parameter | Electric Wire Soldering | Mechanical Crimping |
|---|---|---|
| Electrical Conductivity | Excellent (Approaches bare copper) | Very Good (Gas-tight metal-to-metal bond) |
| Vibration Resistance | Moderate (Solder can fatigue/crack) | Excellent (Strain relief built into crimp barrel) |
| Production Speed | Slow (Requires heating, cooling, cleaning) | Very Fast (Sub-second automated crimp cycles) |
| Operator Skill Required | High (Requires thermal management training) | Moderate (Relies on calibrated tooling) |
| Environmental Sealing | High (When paired with heat shrink/adhesives) | Moderate (Requires specialized sealed terminals) |
| Cost per Termination | Low (Consumables: solder, flux) | High (Consumables: precision stamped terminals) |
Ultimately, the choice depends on the application. For high-current, low-vibration environments like industrial control cabinets and marine battery banks, electric wire soldering remains the gold standard. For automotive engine bays and aerospace flight surfaces subject to extreme harmonic resonance, a gas-tight crimp—or a soldered connection reinforced with a strain-relief crimp—is the mandated approach.
By mastering alloy metallurgy, adhering strictly to IPC Class 3 visual and structural requirements, and investing in high-thermal-recovery tooling, manufacturing teams can ensure their wire harnesses perform flawlessly in the most demanding industrial environments.