
The Evolution of Soldered Earrings in Modern Fabrication
Attaching earring posts to backing pads is one of the most common, yet deceptively complex, tasks in jewelry fabrication. In 2026, the term soldered earrings encompasses a wide spectrum of metallurgical joining techniques, ranging from traditional capillary-action torch soldering to advanced fusion welding. For jewelers, choosing the right method dictates not only the structural integrity of the earring but also production speed, thermal impact on sensitive gemstones, and overall overhead costs.
This comprehensive method comparison breaks down the four primary techniques for creating soldered earrings: traditional torch soldering, pulse arc welding, laser welding, and the often-misused electronics soldering iron. We will examine exact equipment models, operational parameters, and failure modes to help you optimize your bench setup.
The Core Challenge: Thermal Spread and Joint Integrity
The fundamental challenge in manufacturing soldered earrings is managing thermal spread. Earring pads are typically small (3mm to 6mm in diameter) and are often attached to delicate findings or bezel-set stones. Excessive heat can cause catastrophic thermal shock in gems like opals, emeralds, and turquoise, or induce severe fire scale (cupric oxide formation) in sterling silver alloys. Conversely, insufficient heat results in cold joints that fail under the sheer stress of daily wear.
Metallurgical Insight: True soldering relies on capillary action, where a lower-melting-point filler metal is drawn into the microscopic gap between two heated base metals. Welding (pulse arc or laser) relies on localized fusion, melting the base metals themselves to form a monolithic joint without filler.
Method 1: Traditional Torch Soldering (The Industry Baseline)
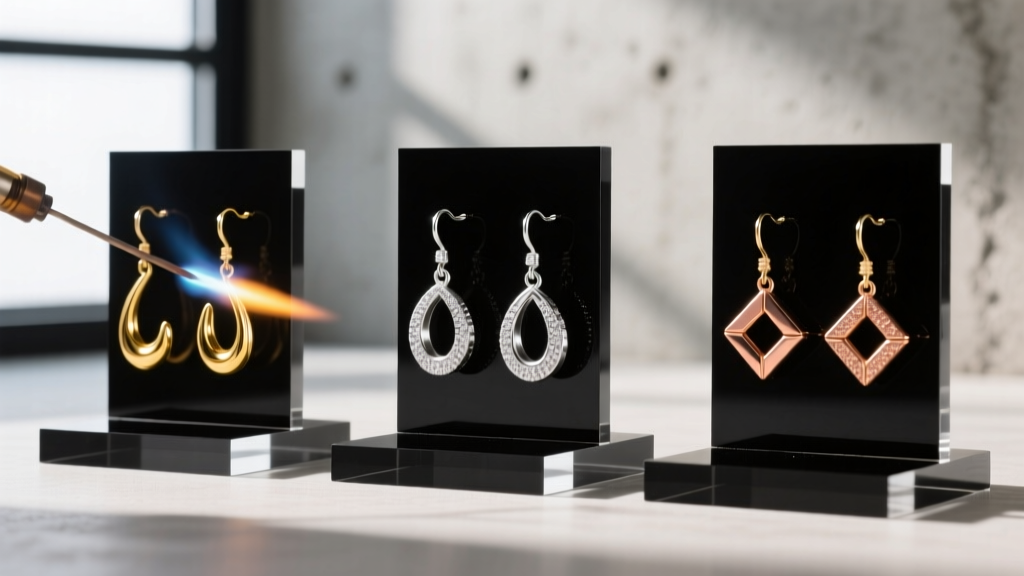
Torch soldering remains the foundational skill for bench jewelers. For soldered earrings, the Smith Little Torch (Model 11-101C) equipped with a #00 or #1 acetylene/oxygen tip is the gold standard, offering pinpoint flame control.
Equipment and Consumables
- Filler Metal: Easy-Flo 56 silver solder (flow temperature 1205°F / 652°C). This cadmium-free alloy provides excellent capillary flow and a color match close to sterling silver.
- Flux: Stay-Silv Black Flux or a custom boric acid/denatured alcohol slurry to prevent oxidation and promote flow.
- Setup Cost: Approximately $350 to $450 for the torch, regulators, and hoses.
Failure Modes and Edge Cases
The most common failure in torch-soldered earrings is the 'ball-up' effect. This occurs when the solder chip reaches its melting point before the base metals (the post and the pad) reach the capillary flow temperature. The solder forms a sphere and fails to wick into the joint. Additionally, heating sterling silver in an oxygen-rich environment causes fire scale, requiring post-soldering pickling in a warm sodium bisulfate solution, which adds 15-20 minutes to the production cycle per batch.
Method 2: Pulse Arc Welding (The Modern Fabricator's Choice)
Pulse arc welding has revolutionized the production of soldered earrings by eliminating the need for flux, solder chips, and pickling. Machines like the Sunstone mPulse 200 use a high-frequency, low-voltage electrical arc to create a localized plasma weld.
How It Works for Earring Posts
The earring pad and post are placed in contact. When the foot pedal is depressed, a brief arc (measured in milliseconds) melts a microscopic amount of both base metals, fusing them instantly. According to Sunstone Pulse Arc Welders, the thermal spread is so tightly controlled that you can weld a post millimeters away from a heat-sensitive gemstone without damaging it.
Specific Settings for Sterling Silver
- Energy Setting: 40 to 55 Watt-seconds (Ws) for standard 0.8mm sterling silver posts.
- Atmosphere: Argon gas shielding is highly recommended to prevent oxidation, yielding a bright, clean weld that requires no pickling.
- Setup Cost: $4,000 to $5,500, representing a significant capital investment that pays off in high-volume production environments.
Method 3: Laser Welding (The High-End Precision Standard)
For high-end bespoke jewelry or complex assemblies where zero thermal transfer is acceptable, Nd:YAG or fiber laser welders (such as the Orion 150s) are utilized. Laser welding uses concentrated light energy to achieve fusion.
While laser welding produces the smallest, most precise weld spots (down to 0.2mm), it is generally overkill for standard earring post attachment due to the high equipment cost ($9,000 to $15,000+) and the slower cycle time compared to pulse arc welding. However, it excels when repairing soldered earrings that have already been set with highly sensitive stones, as noted in gemological thermal studies documented by the GIA Gems & Gemology journal.
Method 4: Electronics Soldering Irons (The Craft Warning)
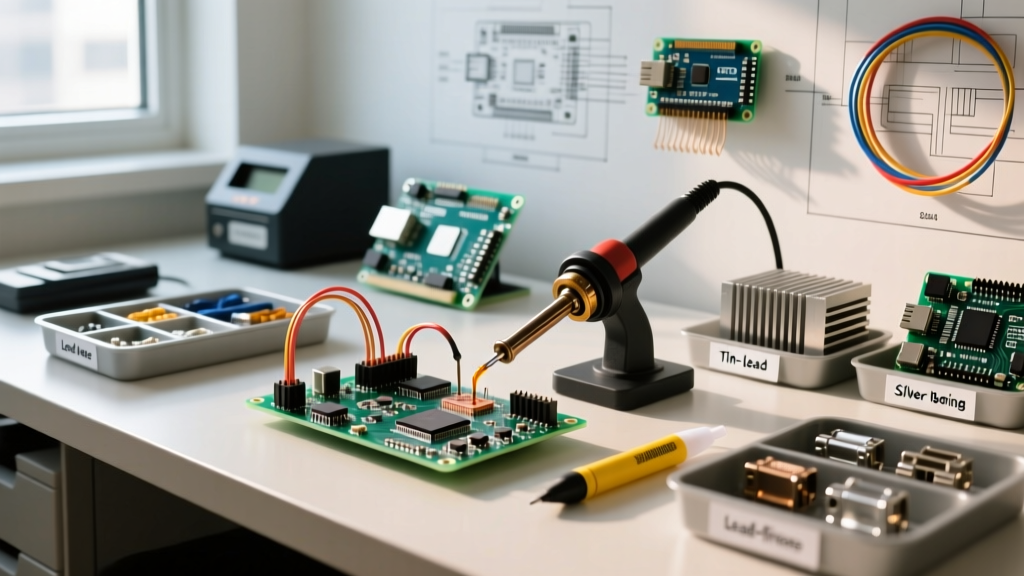
A frequent question from DIY crafters is whether a standard electronics soldering iron (like a Weller WLC100) can be used for soldered earrings. The definitive answer from a professional metallurgical standpoint is no.
Electronics solder utilizes tin-lead (Sn/Pb) or lead-free SAC305 alloys with a rosin core. These alloys melt at very low temperatures (360°F - 430°F) and lack the shear strength required for jewelry. Furthermore, tin-based solders are prone to galvanic corrosion when in prolonged contact with human sweat and copper/silver alloys. Finally, as outlined in OSHA Soldering Safety Guidelines, heating rosin-core fluxes and lead-bearing alloys without specialized fume extraction poses severe respiratory and neurological risks. Reserve soldering irons for copper wire and PCBs, never for fine jewelry.
Head-to-Head Comparison Matrix
| Method | Joint Type | Est. Setup Cost (2026) | Thermal Spread | Post-Solder Cleanup |
|---|---|---|---|---|
| Torch Soldering | Capillary (Filler) | $350 - $450 | High (Risk to stones) | Pickling & Polishing |
| Pulse Arc Welding | Fusion (Base Metal) | $4,000 - $5,500 | Extremely Low | Minimal (Light polish) |
| Laser Welding | Fusion (Base Metal) | $9,000 - $15,000+ | Zero | None |
| Electronics Iron | Capillary (Filler) | $40 - $80 | Moderate | Flux residue removal |
Step-by-Step: Attaching a Post via Pulse Arc
To illustrate the modern workflow for soldered earrings, here is the exact procedure for attaching a 0.8mm sterling silver post to a 4mm pad using a pulse arc welder:
- Preparation: Ensure both the post tip and the earring pad are perfectly flat. Use a 400-grit sanding disc to remove any microscopic oxidation or oils.
- Alignment: Secure the earring finding in a locking tungsten-tipped jig. Hold the post perfectly perpendicular using a ceramic-tipped tweezer.
- Shielding: Turn on the argon gas flow to 3 CFH (Cubic Feet per Hour) to displace atmospheric oxygen around the weld zone.
- Polarity Check: Set the workpiece to negative (-) and the electrode to positive (+) for optimal heat distribution in silver.
- The Pulse: Set the machine to 45 Ws. Depress the foot pedal. The arc will fire for roughly 4 milliseconds, fusing the metals instantly.
- Inspection: Examine the weld under a 10x loupe. A successful weld will show a smooth, concave fillet around the base of the post with no pitting or porosity.
Expert Verdict and Buying Advice
If you are a hobbyist or a low-volume artisan producing fewer than 50 pairs of soldered earrings a month, mastering the Smith Little Torch with Easy-Flo 56 solder remains the most cost-effective and structurally reliable method. The initial learning curve of managing heat and flux is a fundamental rite of passage for bench jewelers.
However, if you are scaling a commercial jewelry brand, producing high volumes, or frequently working with pre-set heat-sensitive gemstones, investing in a Pulse Arc Welder is a non-negotiable upgrade. The elimination of pickling, the drastic reduction in thermal spread, and the sheer speed of the 4-millisecond weld cycle will yield a massive return on investment within the first year of production. Avoid electronics soldering irons entirely to ensure your jewelry remains durable, hypoallergenic, and professional.