
The Copper Pipe Disconnection Decision Framework
Modifying or repairing existing plumbing often presents a daunting challenge for DIYers and professionals alike: figuring out exactly how to disconnect soldered copper pipe without causing collateral damage to the system or the surrounding structure. Unlike modern push-to-connect or crimp systems, soldered joints create a permanent metallurgical bond. Breaking this bond requires a strategic approach tailored to your specific environmental constraints.
In 2026, the arsenal for copper pipe disconnection has expanded well beyond the traditional propane torch. From high-frequency induction heaters to advanced mechanical severing tools, the 'right' method depends entirely on three variables: water presence, fire risk, and fitting reuse requirements. This decision framework will guide you through the exact methodologies, tool specifications, and failure modes associated with each path.
The Disconnection Decision Matrix
Before striking an arc or lighting a torch, evaluate your workspace against this matrix to select the optimal disconnection pathway.
| Constraint / Scenario | Optimal Method | Tool Requirement | Est. Cost (2026) | Fire Risk |
|---|---|---|---|---|
| Line is 100% drained; fitting must be reused | Thermal Desoldering | Bernzomatic TS8000 + MAP-Pro | $85 | High |
| Active water / Cannot drain line completely | Mechanical Severing | RIDGID 101 + SharkBite Max | $65 | None |
| Tight spaces near wooden studs / drywall | Induction Heating | Mini-Ductor Venom | $649 | Very Low |
| Severely oxidized / inaccessible joints | Abrasive Severing | Milwaukee M12 Copper Cutter | $160 | Low (Spark) |
Path 1: Thermal Desoldering (The Purist's Route)
Thermal desoldering is the only method that allows you to salvage and reuse the existing copper fittings. However, it requires a precise understanding of metallurgy and heat transfer. The goal is to bring the solder alloy past its liquidus temperature without annealing (weakening) the base copper pipe.
Understanding Solder Alloys and Temperatures
According to the Copper Development Association (CDA), different solder alloys require vastly different heat inputs:
- 50/50 Tin-Lead: Found in pre-1986 homes. Melts between 361°F and 421°F. (Note: Never use this for potable water repairs today).
- 95/5 Tin-Antimony (Lead-Free): The modern standard for potable water. Melts between 430°F and 460°F.
- Silver-Bearing Solder: Used for high-vibration or high-pressure lines. Melts upward of 600°F.
Execution and Failure Modes
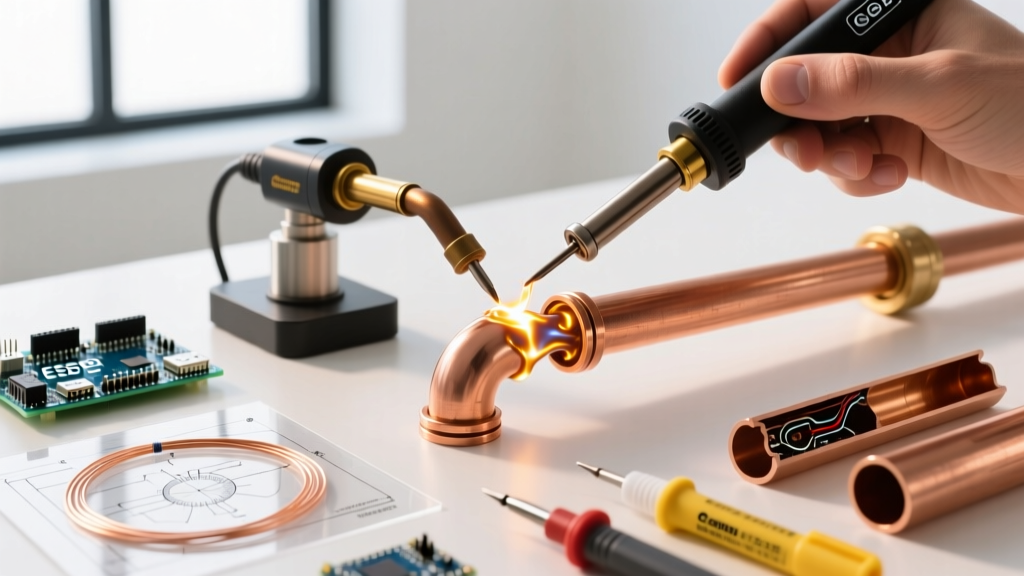
To disconnect the joint, apply the flame to the fitting, not the pipe. Copper conducts heat rapidly; heating the fitting draws thermal energy inward via capillary action. Once the solder flashes (turns shiny and liquid), grip the pipe with channel-lock pliers and twist.
Critical Safety Warning: If the pipe is not completely drained, trapped water will boil at 212°F. Steam expands 1,600 times its liquid volume. Heating a water-logged joint will result in an explosive release of scalding steam and molten solder. Always open downstream valves and use a wet rag as a heat sink 4 inches away from the joint to protect adjacent soldered connections from degrading.
Tool Recommendation: The Bernzomatic TS8000 running on MAP-Pro gas burns at roughly 3,730°F, providing the rapid, concentrated heat necessary to overcome the thermal mass of 3/4-inch and 1-inch copper lines before the surrounding drywall scorches.
Path 2: Mechanical Severing & Push-Fit (The Pragmatist's Route)
When a line refuses to drain, or when working inside finished walls where fire risk is unacceptable, thermal methods are disqualified. The pragmatic alternative is to sever the pipe and transition to a mechanical push-to-connect system like SharkBite Max or a crimp system like Viega ProPress.
The Severing Protocol
A clean, square cut is non-negotiable for push-to-connect fittings. An angled cut will compromise the O-ring seal, leading to catastrophic leaks under 80+ PSI municipal water pressure.
- Score and Cut: Use a RIDGID 101 Close-Quarters Tubing Cutter ($35). It requires only a 1-3/4 inch clearance radius, making it ideal for tight joist bays.
- Deburr the Edge: This is the most skipped, yet most critical, step. Use a dedicated deburring tool to remove the internal ridge. A sharp internal burr will slice the EPDM O-ring inside a SharkBite fitting during insertion.
- Chamfer the Exterior: Lightly file the outside edge at a 45-degree angle to prevent catching the fitting's release collar.
Transitioning to Push-Fit
For temporary or accessible repairs, a SharkBite Max 1/2-inch coupling ($11) is rated for up to 200 PSI and 200°F. Unlike older generations, the Max series features a stainless steel retainer sleeve that resists corrosion and provides a stronger grip on the copper. Always mark the pipe with a depth gauge to ensure the tube liner is fully seated past the O-ring and grab ring.
Path 3: Induction Heating (The Tech's Route)
For professionals who frequently modify existing copper systems in high-risk fire zones, flameless induction heating has revolutionized the workflow. The Mini-Ductor Venom (approximately $649 in 2026) utilizes high-frequency magnetic fields to induce eddy currents directly within the copper fitting.
Why Induction Wins in Confined Spaces
Unlike a torch, which heats the ambient air and surrounding materials, an induction coil heats only the metal inside the coil. You can wrap the coil around a copper elbow resting directly against a wooden stud, and the wood will remain completely unaffected. The fitting reaches 700°F in roughly 15 seconds, allowing you to twist the joint apart with zero fire watch requirements. Furthermore, it entirely eliminates the risk of steam burns from trapped water, as the heat is localized and instantaneous.
Edge Cases and Troubleshooting
Even with the right framework, you will encounter stubborn joints. Here is how to handle the most common edge cases:
The 'Capillary Lock' Phenomenon
Sometimes, a joint is heated to the correct temperature, but the pipe refuses to pull out. This is caused by a vacuum lock or excessive solder buildup inside the fitting cup. Solution: Do not yank the pipe, as you will tear the copper wall. Instead, apply fresh liquid flux to the seam while hot; the flux will break the surface tension of the oxidized solder, allowing the joint to release.
Severe External Oxidation
Pipes in humid environments (like crawlspaces) develop heavy green patina (copper carbonate). This layer acts as a thermal insulator, preventing heat transfer during desoldering and preventing O-ring seals in push-fittings. Solution: Use Norton 3X Sand Cloth (120-grit) to aggressively strip the pipe down to bare, shiny copper before attempting any mechanical or thermal disconnection.
Final Code and Safety Considerations
Whenever utilizing open-flame thermal desoldering, adherence to the NFPA Hot Work Safety Guidelines is mandatory. Always utilize a flame-retardant cloth barrier behind the joint, keep a pump sprayer filled with water immediately on hand, and maintain a 60-minute fire watch after the torch is extinguished. By applying this decision framework, you ensure that your copper pipe disconnection is not only successful but structurally sound and safe for the long term.