
The Economics of Wire Termination: Beyond the Soldering Iron
When building custom harnesses, repairing industrial control panels, or executing high-end residential AV installations, the method you choose for wire termination dictates your project's profitability and longevity. While soldering electrical wire is often romanticized as the gold standard for conductivity, a rigorous 2026 cost analysis reveals a more complex financial picture. The true cost of a wire joint extends far beyond the price of a spool of solder; it encompasses capital expenditure (CapEx) on tools, operational expenditure (OpEx) in labor time, consumable burn rates, and the catastrophic financial impact of field failures.
In this comprehensive buyer's guide, we break down the exact dollar figures of soldering versus modern crimping and push-in termination methods. Whether you are a boutique audio cable builder or an industrial automation technician, understanding these micro-costs will optimize your workflow and protect your bottom line.
Capital Expenditure (CapEx): Tooling and Equipment Matrix
The barrier to entry for each termination method varies wildly. A common misconception is that soldering is the 'cheaper' route because a basic hardware store iron costs $25. However, professional IPC-compliant soldering requires precise thermal recovery, especially when dealing with the high thermal mass of 12 AWG or 10 AWG electrical wires.
| Termination Method | Primary Tooling (2026 Pricing) | Ancillary Equipment | Total Initial CapEx |
|---|---|---|---|
| Professional Soldering | Hakko FX-888D or Weller WE1010NA (~$120 - $140) | Brass tip cleaner, fume extractor, heat gun ($85) | $205 - $225 |
| Precision Crimping | Knipex 97 53 14 or Titan 11510 Ratcheting Crimper (~$160 - $190) | Wire strippers (Jokari), heat gun ($60) | $220 - $250 |
| Push-In (Lever) | Wago 221 Series Lever Nuts (Consumable) | Wago 221-413 mounting carrier, strippers ($45) | $45 - $60 |
Note: While crimping requires a slightly higher upfront tooling investment, the lack of a fume extraction system and heating element maintenance offsets the cost over a 5-year depreciation schedule.
Operational Expenditure (OpEx): The Hidden Labor Costs
In commercial electrical and manufacturing environments, labor is the most expensive variable. For our 2026 analysis, we utilize a standard skilled technician burdened labor rate of $75 per hour ($1.25 per minute). Let us analyze the time required to create a single, insulated, splice joint on 12 AWG stranded wire.
Time-Motion Breakdown per Joint
- Soldering Electrical Wire: Strip wire (10s) + Mechanically twist/wrap (15s) + Apply flux and heat joint (25s) + Feed solder and cool (15s) + Apply and shrink adhesive-lined heat shrink (25s) = 90 seconds.
- Heat-Shrink Crimping: Strip wire (10s) + Insert into crimp barrel and ratchet tool (12s) + Apply heat to shrink sleeve (20s) = 42 seconds.
- Wago 221 Lever Nut: Strip wire to gauge mark (10s) + Lift lever, insert, and close (8s) = 18 seconds.
Labor Cost per Joint
At $1.25 per minute, the labor cost to solder a single joint is $1.87. Crimping drops this to $0.87, and Wago lever connectors reduce it to a mere $0.37. If a custom control panel requires 400 splices, soldering costs $748 in labor alone, whereas crimping costs $348, and lever nuts cost $148. The labor savings of abandoning the soldering iron for panel internals easily pays for the crimping tools on the very first job.
Consumables and Thermal Mass Challenges
When soldering electrical wire, the consumable costs scale with the wire gauge due to thermal mass. A 22 AWG signal wire requires minimal solder and a standard 60W iron. However, 10 AWG or 8 AWG power wires act as massive heatsinks.
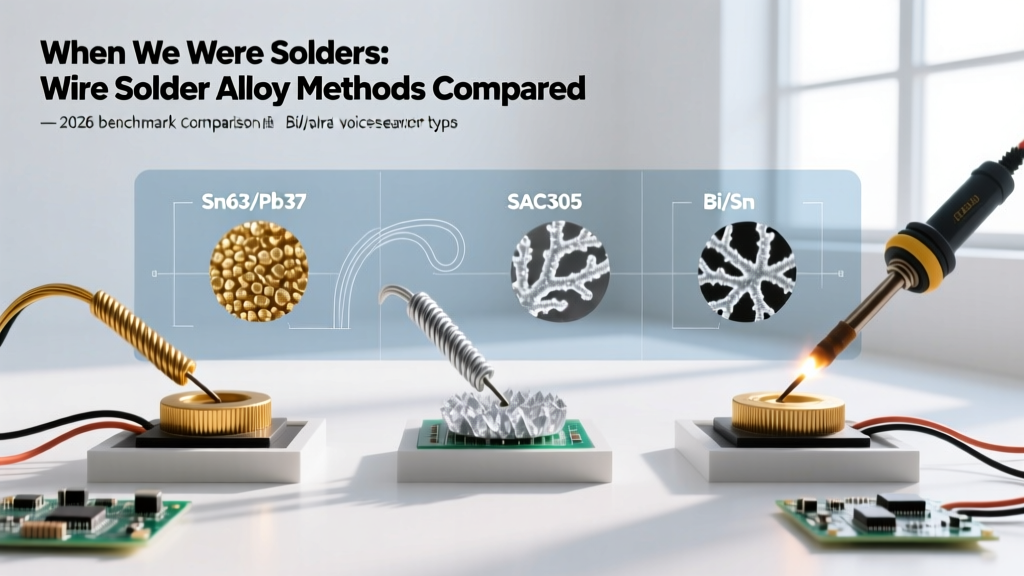
To properly solder 8 AWG wire without creating a 'cold joint,' you must upgrade to high-wattage stations like the Metcal CV-5200 (approx. $450) or use a bulky 250W American Beauty iron. Furthermore, the shift toward RoHS-compliant lead-free alloys (like SAC305 - Sn96.5/Ag3.0/Cu0.5) has increased solder costs. A 1lb spool of 63/37 eutectic leaded solder costs roughly $35, while an equivalent spool of SAC305 costs upwards of $55 in 2026. Lead-free solder also requires higher tip temperatures (350°C+), which accelerates tip oxidation, forcing you to replace $12 iron tips every few weeks instead of every few months.
Long-Term Failure Modes and Rework Expenses
The most devastating cost in any electrical project is a field failure. Troubleshooting an intermittent fault in a bundled wire harness can take hours, and replacing a failed joint inside a sealed enclosure can result in thousands of dollars in warranty claims.
Soldering Failure Modes
- Vibration Fatigue: Solder creates a rigid, brittle connection. In automotive, marine, or HVAC applications, the transition point between the flexible wire and the rigid solder blob becomes a stress riser, leading to copper strand fracture.
- Flux Corrosion: If acid-core solder (intended for plumbing) is mistakenly used on electrical wire, the residual flux will corrode the copper, creating high resistance and eventual thermal runaway.
- Wicking: Solder can wick under the wire insulation, stiffening the cable and making it prone to snapping near the termination point.
Crimping and Push-In Reliability
A properly executed ratcheting crimp creates a cold-weld, gas-tight connection that actually allows the copper strands to flex and absorb vibration without breaking. According to industry experts and electrical code educators, a calibrated crimp is vastly superior to soldering for high-vibration environments. Similarly, modern push-in connectors utilize stainless steel clamping springs that maintain constant pressure on the wire, compensating for thermal expansion and contraction over decades.
Code Compliance Warning: The National Electrical Code (NEC) strictly regulates how splices are handled. According to NFPA 70 (NEC) Article 110.14(B), splices must be mechanically secure before being soldered. Solder alone cannot provide the mechanical strength of a joint. If an inspector finds a 'dripped' solder joint that lacks a proper mechanical wrap (like a Western Union splice), you will face costly rework and inspection fines.
Decision Framework: When to Solder and When to Crimp
Based on our cost and reliability analysis, here is the definitive 2026 framework for choosing your termination method:
- Choose Soldering When: You are working on PCB-level repairs, attaching delicate shield drains, building high-end audiophile cables where the joints will be potted in epoxy and never subjected to flexing, or working in environments where specific mil-spec soldering standards (like NASA-STD-8739.3) are contractually mandated.
- Choose Crimping When: You are building wire harnesses for automotive, marine, or aerospace use; terminating heavy gauge wires (4 AWG and larger); or working in high-vibration industrial panels where long-term fatigue resistance is critical.
- Choose Push-In/Lever Nuts When: You are executing residential or commercial building wiring (junction boxes), retrofitting lighting fixtures, or needing to make rapid, inspectable, and code-compliant splices without specialized tooling.
Frequently Asked Questions (FAQ)
Is it cheaper to solder or crimp electrical wires at home?
For a DIY homeowner making a few repairs, soldering is cheaper because a basic 40W iron and a small roll of solder cost under $30. However, for an entire home rewiring project, Wago lever nuts are significantly cheaper when factoring in the hours of labor saved and the elimination of fire risks associated with amateur soldering.
Does soldering electrical wire increase conductivity compared to crimping?
No. While solder has lower resistance than copper, a proper crimp compresses the copper strands so tightly that the joint resistance is practically zero. The perceived conductivity advantage of soldering is a myth; the real advantage of solder is sealing out oxygen to prevent oxidation, which is equally achieved by adhesive-lined heat shrink crimps.
Why do some vintage audio technicians still insist on soldering?
In stationary, low-voltage, low-current audio signal chains, soldering provides a reliable, permanent connection that can be easily inspected and reworked with a simple iron. Because audio cables are rarely subjected to the heavy mechanical stress of industrial power lines, the brittleness of solder is not a liability in this specific, niche application.