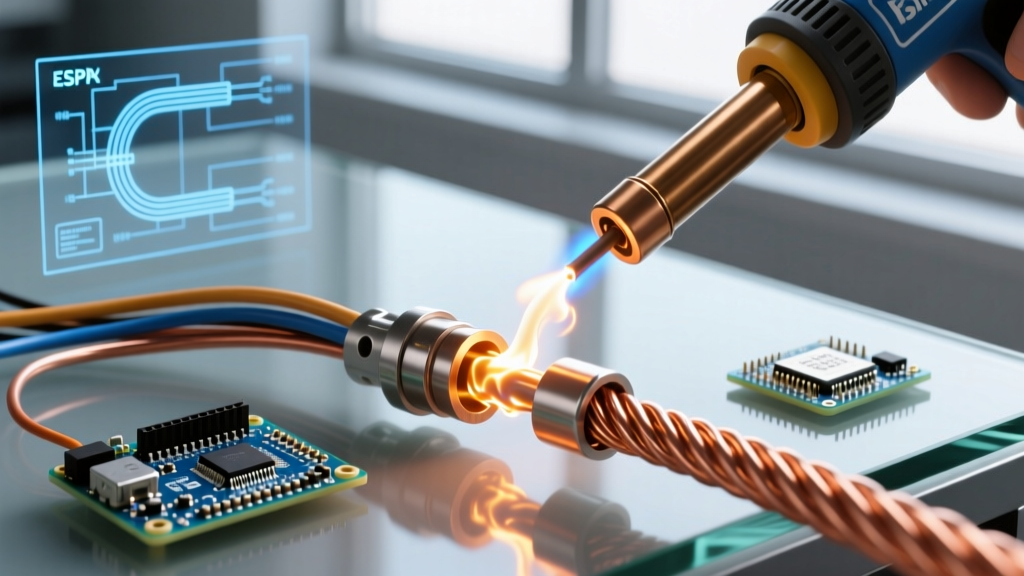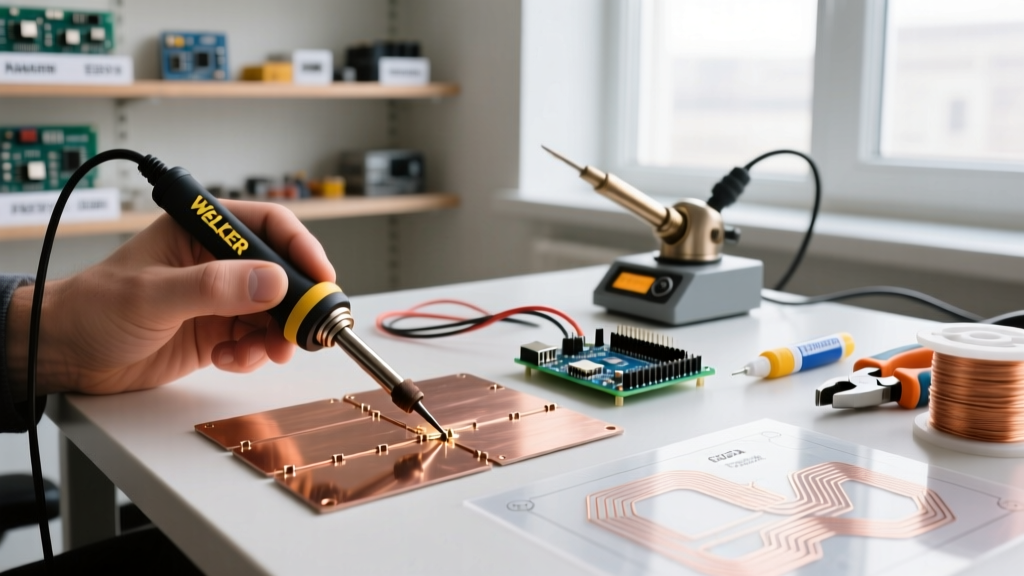

The Thermal Challenge of Copper Sheet Soldering
Soldering copper sheet metal presents a unique metallurgical hurdle that catches many DIYers and junior technicians off guard: thermal conductivity. Pure copper boasts a thermal conductivity of approximately 401 W/(m·K). To put that in perspective, mild steel sits at roughly 50 W/(m·K), and brass is around 109 W/(m·K). This means copper dissipates heat away from your soldering iron tip nearly eight times faster than steel. When attempting to join copper sheets, the metal acts as a massive heat sink, often resulting in cold, brittle joints or burnt flux before the solder ever reaches its liquidus state.
Whether you are fabricating custom battery busbars, building RF shielding enclosures, or crafting architectural metalwork, understanding how to overcome this thermal barrier is critical. In this comprehensive 2026 buyer and technique guide, we break down the exact tools, chemical fluxes, and execution strategies required to achieve flawless, high-strength copper sheet solder joints.
Tool Selection Matrix: Irons vs. Torches
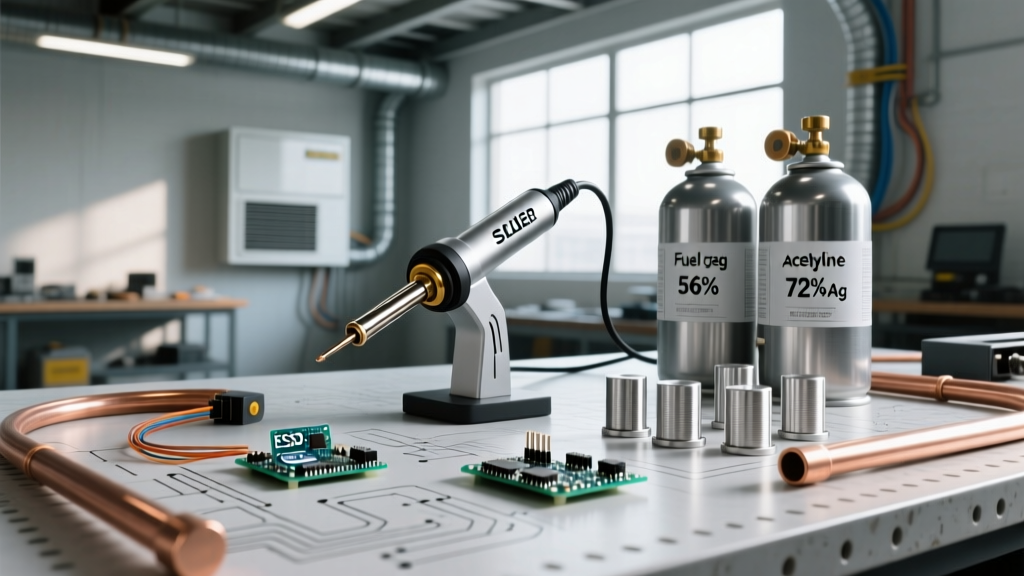
The most common failure point in copper sheet soldering is using an underpowered heat source. A standard 40W hobby iron is utterly useless for anything thicker than foil. Your tool selection must be dictated by the sheet gauge (thickness) and the joint's thermal mass. According to guidelines published by the Copper Development Association, matching the BTU output to the mass of the copper is the first rule of a successful joint.
| Copper Sheet Gauge | Thickness (mm) | Recommended Heat Source | Specific Tool Models (2026 Market) | Estimated Cost |
|---|---|---|---|---|
| 30 - 24 AWG | 0.25 - 0.50 mm | High-Wattage Soldering Iron | Hakko FX-601 (Adjustable to 67W), Weller WES51 (with heavy-duty tip) | $65 - $110 |
| 22 - 16 AWG | 0.60 - 1.50 mm | Heavy-Duty Iron or Pencil Torch | Weller W100PG (100W), Bernzomatic ST2200T (Detail Torch) | $90 - $140 |
| 14 AWG and Thicker | > 1.60 mm | High-BTU Swirl Combustion Torch | Bernzomatic TS8000, Worthington 332103 TurboTorch | $50 - $85 |
Why Tip Mass Matters More Than Wattage
When using a soldering iron for sheets between 24 and 18 AWG, wattage alone is not enough. You need thermal mass at the tip. A 100W iron with a fine conical tip will still fail because the tip's physical mass cannot store enough heat to transfer into the copper sheet before cooling down. Always pair high-wattage irons with chisel or bevel tips (e.g., the Hakko T18-D24 or Weller RT8) that maximize surface area contact with the sheet.
Consumables: Choosing the Right Flux and Solder
The IPC J-STD-001 standard heavily emphasizes the role of flux in removing oxides and preventing re-oxidation during the heating phase. Raw copper sheet oxidizes rapidly when heated, forming a black cupric oxide layer that solder simply will not wet.
Flux Chemistry for Raw Copper
- Rosin Flux (RMA/RA): Suitable only for pre-tinned copper sheets or electronics-grade copper clad boards. It lacks the chemical aggression to strip raw copper oxide.
- Organic Acid (OA) Paste: Superior Flux #30 or similar water-soluble pastes are ideal for medium-gauge sheets. They activate around 150°C and clean the surface effectively without the violent spattering of liquid acids.
- Zinc Chloride (Tinning Fluid): For heavy structural sheet soldering or HVAC work, liquid zinc chloride (like Harris Stay-Clean) is mandatory. It aggressively strips heavy oxidation but is highly corrosive and must be neutralized post-solder.
Solder Alloy Selection
As of 2026, the DIY market has largely bifurcated into leaded and lead-free camps. For copper sheet work, the alloy choice dictates your required temperature profile:
- 60/40 or 63/37 Leaded (Sn/Pb): Melts at 183°C - 190°C. Excellent wetting action and lower thermal stress on the copper. Best for electrical busbars and thin enclosures. (e.g., Kester 24-6040-00273).
- SAC305 Lead-Free (Sn/Ag/Cu): Melts at 217°C - 220°C. Required for potable water or RoHS-compliant commercial products. Requires roughly 20% more thermal input and a higher-quality flux to prevent dry joints.
- Silver-Bearing (Sn/Ag): Alloys like Harris Stay-Brite (95% Tin, 5% Silver) melt around 227°C. The silver adds structural shear strength, making it the premium choice for load-bearing copper sheet brackets and architectural seams.
Step-by-Step Execution: The Sweat Soldering Method
When overlapping two pieces of copper sheet, attempting to melt solder directly into the seam usually results in a messy, weak external fillet. The professional approach is sweat soldering (pre-tinning both surfaces, then melting them together).
- Mechanical Preparation: Do not use standard sandpaper, which can embed silica particles into the soft copper. Use a Scotch-Brite pad or a fine brass wire brush to expose bright, shiny metal on both the top and bottom sheets.
- Chemical Cleaning: Wipe both surfaces with 99% Isopropyl Alcohol to remove skin oils and machining lubricants.
- Flux Application: Apply a thin, even layer of OA paste or zinc chloride to the mating surfaces. Do not over-apply; excess flux will boil and blow the molten solder away.
- Pre-Tinning: Using your high-mass iron or torch, heat the first sheet until the flux bubbles and settles. Touch the solder wire to the copper (not the iron tip). Capillary action and proper fluxing will cause the solder to 'flash' across the surface in a mirror-like finish. Repeat for the second sheet.
- The Sweat Joint: Clamp the two pre-tinned sheets together. Apply heat to the top sheet. Watch the edges closely. The moment you see the solder at the seam 'flash' or turn liquid, remove the heat immediately. The joint is now fused.
Expert Tip: When sweat soldering large copper sheets, use copper or aluminum clamps rather than steel. Steel clamps will act as heat sinks, pulling thermal energy away from your joint and causing uneven solder flow.
Troubleshooting Edge Cases and Failure Modes
Even with the right tools, copper sheet soldering presents specific failure modes. Here is how to diagnose and fix them based on insights from the Harris Products Group Knowledge Center:
1. The 'Frost Line' (Burnt Flux)
Symptom: The flux turns black and crusty, and the solder balls up and rolls off the sheet like water on a hot pan.
Cause: You exceeded the flux's activation temperature before the copper reached the solder's melting point. This happens when using an underpowered iron on thick sheet metal.
Fix: Clean the sheet with a wire brush, switch to a higher-BTU torch or a larger iron tip, and re-apply fresh flux. Never try to solder through blackened flux.
2. Thermal Warping
Symptom: Thin copper sheets (24 AWG+) buckle and warp violently when hit with a propane torch.
Cause: Localized, high-intensity heat causing uneven thermal expansion.
Fix: Switch to a broad, soft flame (using a flame-spreading nozzle) or use a high-wattage iron with a wide bevel tip to distribute heat evenly. Clamp the sheets to a thick aluminum backing plate to act as a thermal stabilizer.
3. Grainy or Dull Joints
Symptom: The cooled solder joint looks matte, grey, and cracked.
Cause: A 'cold joint' caused by movement during the cooling phase, or the use of lead-free solder without sufficient heat to fully wet the copper grain structure.
Fix: Ensure absolute mechanical stability during the 3-to-5 second cooling phase. If using SAC305, increase your iron temperature by 20°C to ensure proper alloy flow into the copper's micro-pores.
Post-Solder Cleanup and Passivation
If you utilized zinc chloride or aggressive water-soluble OA fluxes, post-solder cleaning is non-negotiable. Left on the copper, these fluxes will cause severe galvanic corrosion, eventually eating through the sheet and destroying the joint's electrical and mechanical integrity. Wash the assembly in hot water with a mild baking soda solution to neutralize the acid, followed by a distilled water rinse. For architectural copper sheets where patina or oxidation must be controlled, apply a micro-crystalline wax or a dedicated copper passivation spray immediately after the joint is cleaned and dried.